Seriously lush Cookies & Cream brownie cupcakes [+RECIPE]

Sharing is caringShare on FacebookTweet about this on TwitterPin on PinterestShare on Google+Share on Tumblr

I really don’t like letting any food items go to waste. It just seems too unfair considering there are so many people in the world less fortunate than me who would appreciate any leftovers. So when I have more eggs than I can eat, half a packet of double stuffed Oreos (which wouldn’t go to waste but would most likely get eaten in one go resulting in days of self-loathing for it), some butter and half a tub of double cream, I bake. Like any self respecting baker, I am rarely out of flour, sugar and dark chocolate, which of course helps.

As if by request, Smitten Kitchen had just posted a recipe for lush brownies with only 5 ingredients which I automatically decided to pimp with the cream and Oreos. I crushed the Oreos and put them on the bottom of the paper cases, and the cream I whipped and piped on top. I have so far made them twice and even the pickiest brownie eaters were impressed with the part brownie, part muffin creation.
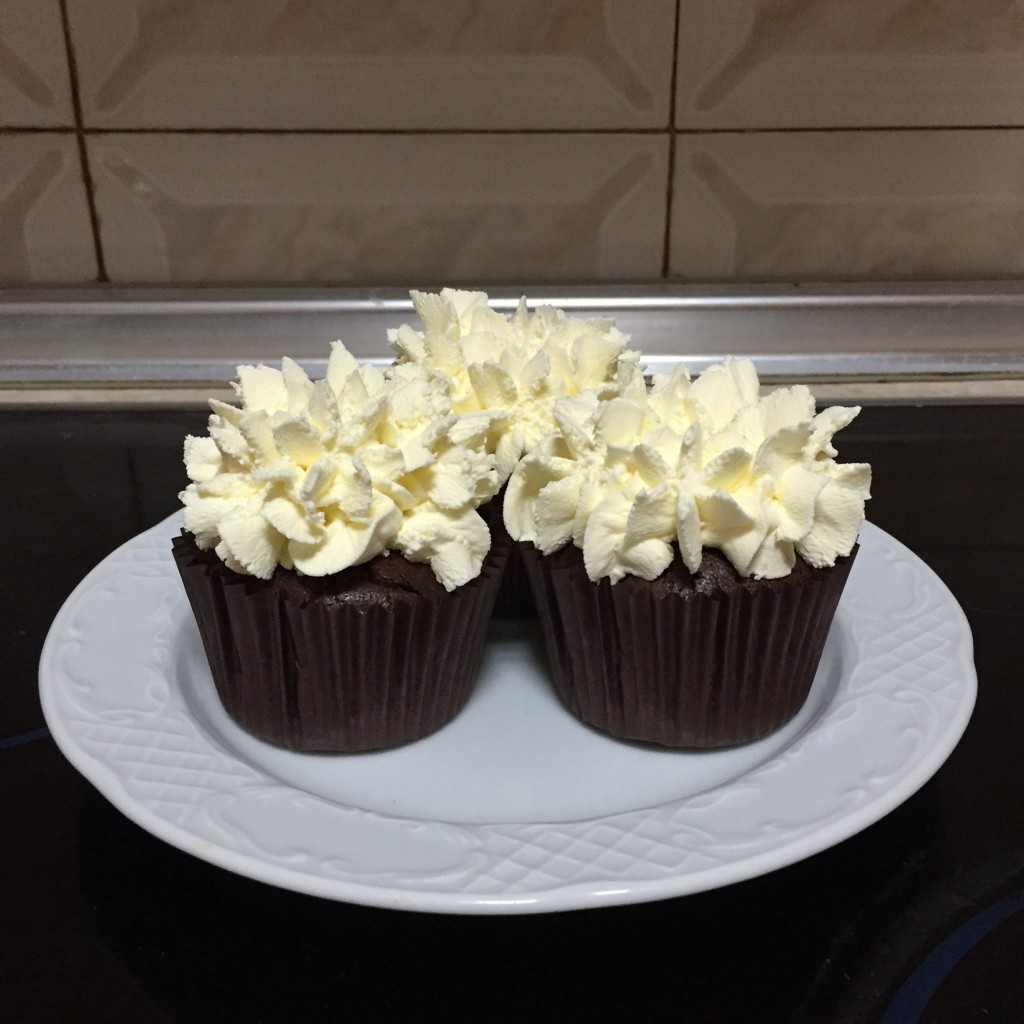
These babies disappeared shortly after

These babies disappeared shortly after this picture was taken

Seriously lush (leftover) Cookies & Cream brownie cupcakes
(makes 12)

Ingredients:
200g unsalted butter
200g dark chocolate (around 70% cocoa solids)
200g sugar
4 large eggs
1/4 tsp salt (fine sea salt preferrably)
2 tablespoons plus 1 teaspoon (20 grams) plain flour
1 packet of Oreos (around 130g)
250ml double cream
1tbsp icing sugar
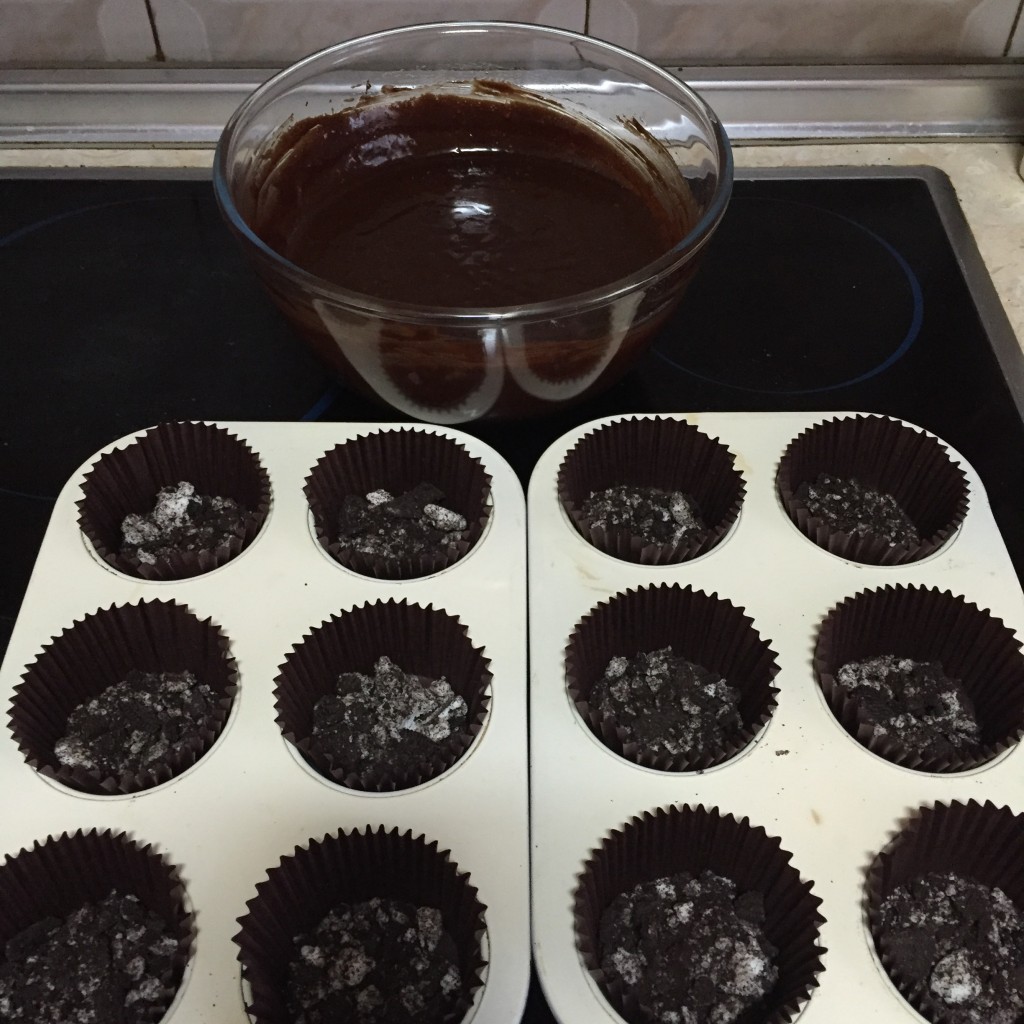
before 1

The mix is just chilling out

Method:
Preheat the oven to 165 degrees celsius. Line a 12-muffin tin with paper cases.
Melt the butter and the chocolate. I prefer doing it over bain marie (over simmering water in a heat proof bowl) but you can do it in the microwave. Just be careful not to burn it in the microwave – put it in for 15 to 30 seconds, stir well and repeat till all melted. Add the sugar which will cool it down. Then whisk in the salt and the eggs, one a time mixing well between them. Stir flour in and then cover with clingfilm and let is rest for about half an hour, this will thicken the mix. While it’s sitting in the bowl, crush Oreos (I bash them in a ziplock bag with a wooden rolling pin) – but not too finely, make sure you have small chunks and not just breadcrumbs. Split the crushed Oreos in the muffin cases (it’s about a tablespoon in each). Whisk double cream with icing sugar till soft peaks form (you can do it by hand but I recommend using an electric mixer so that your arms are not sore after).

When the mixture has sat for 30 minutes or so, scoop it into the muffin cases. Bake for around 25 to 30 minutes, but make sure you don’t overbake as you want them to be a little gooey still. Look for no batter on a toothpick but wet crumbs! Let them cool completely, then pipe cream on top and enjoy!
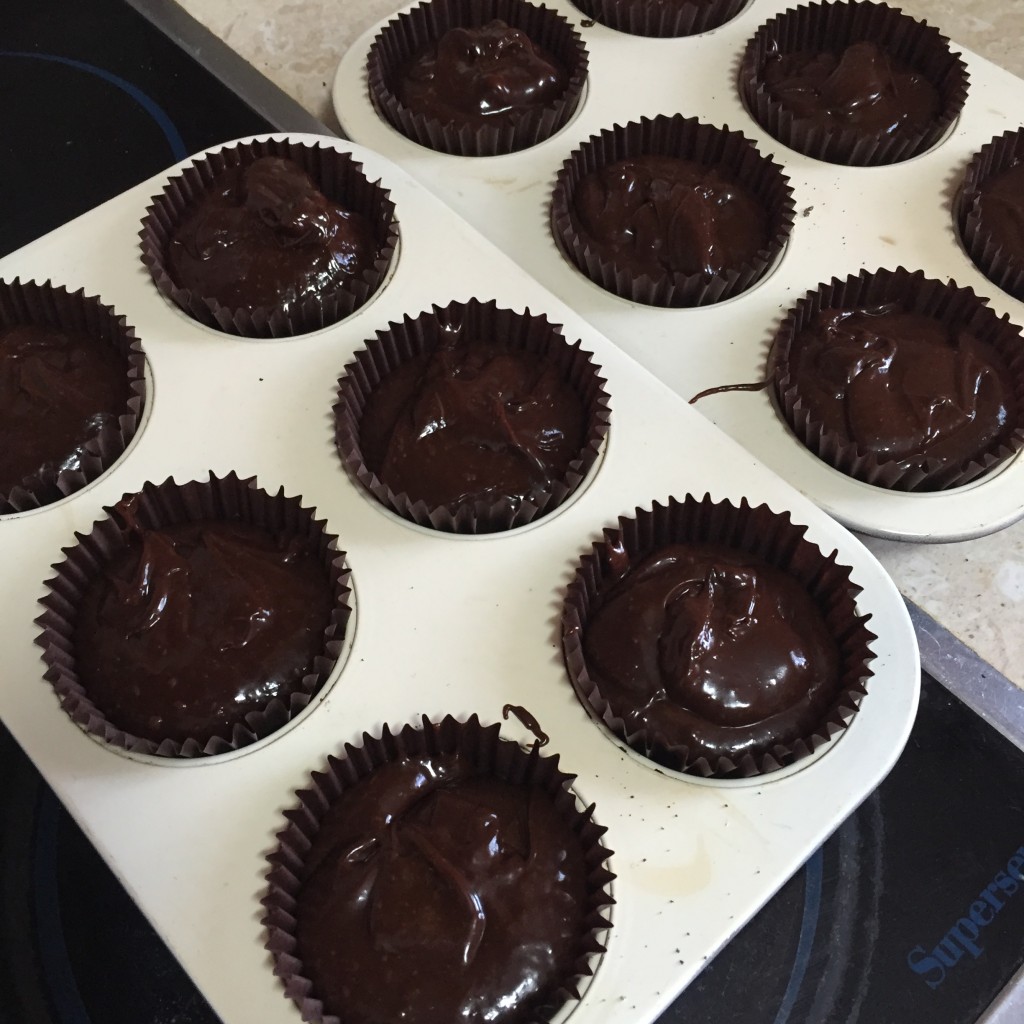
Before they went into the oven

Before they went into the oven
Sharing is caringShare on FacebookTweet about this on TwitterPin on PinterestShare on Google+Share on Tumblr

Star Wars Frenzy

Sharing is caringShare on FacebookTweet about this on TwitterPin on PinterestShare on Google+Share on Tumblr

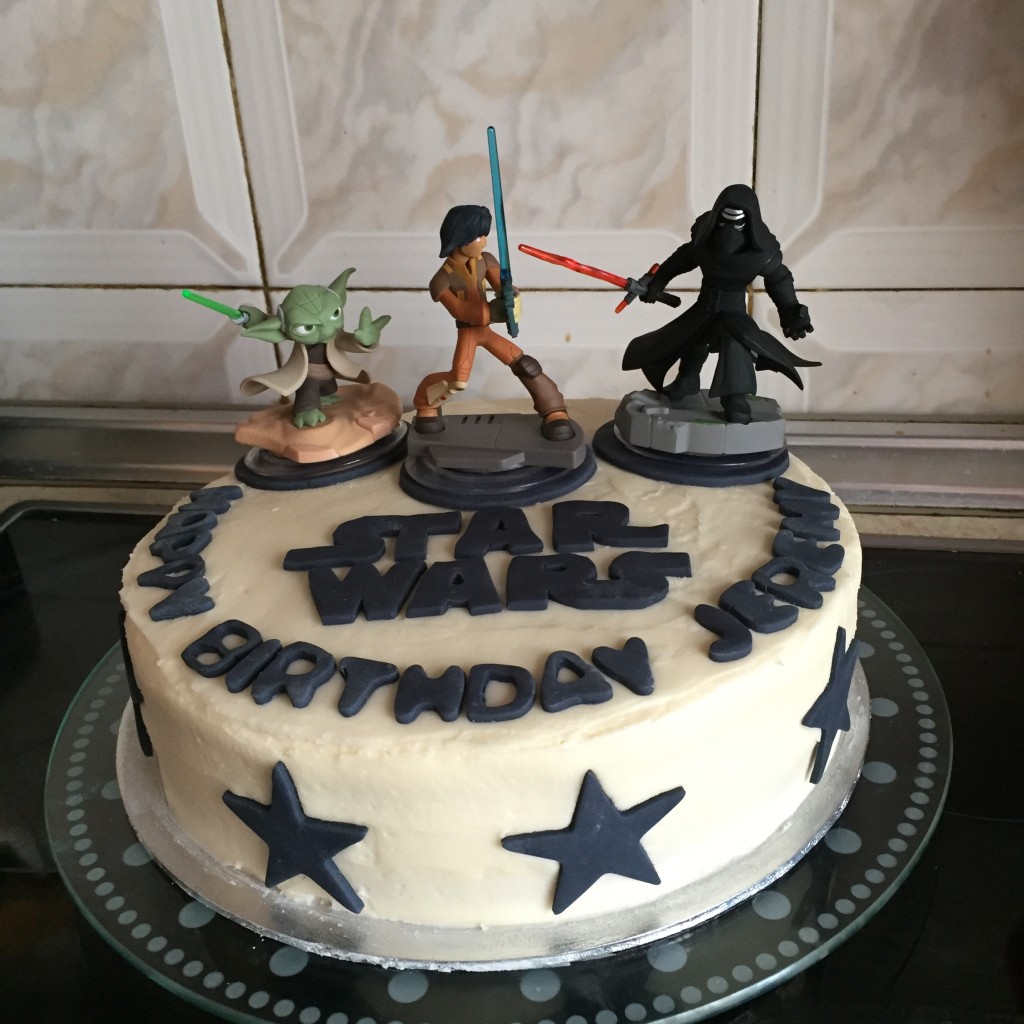
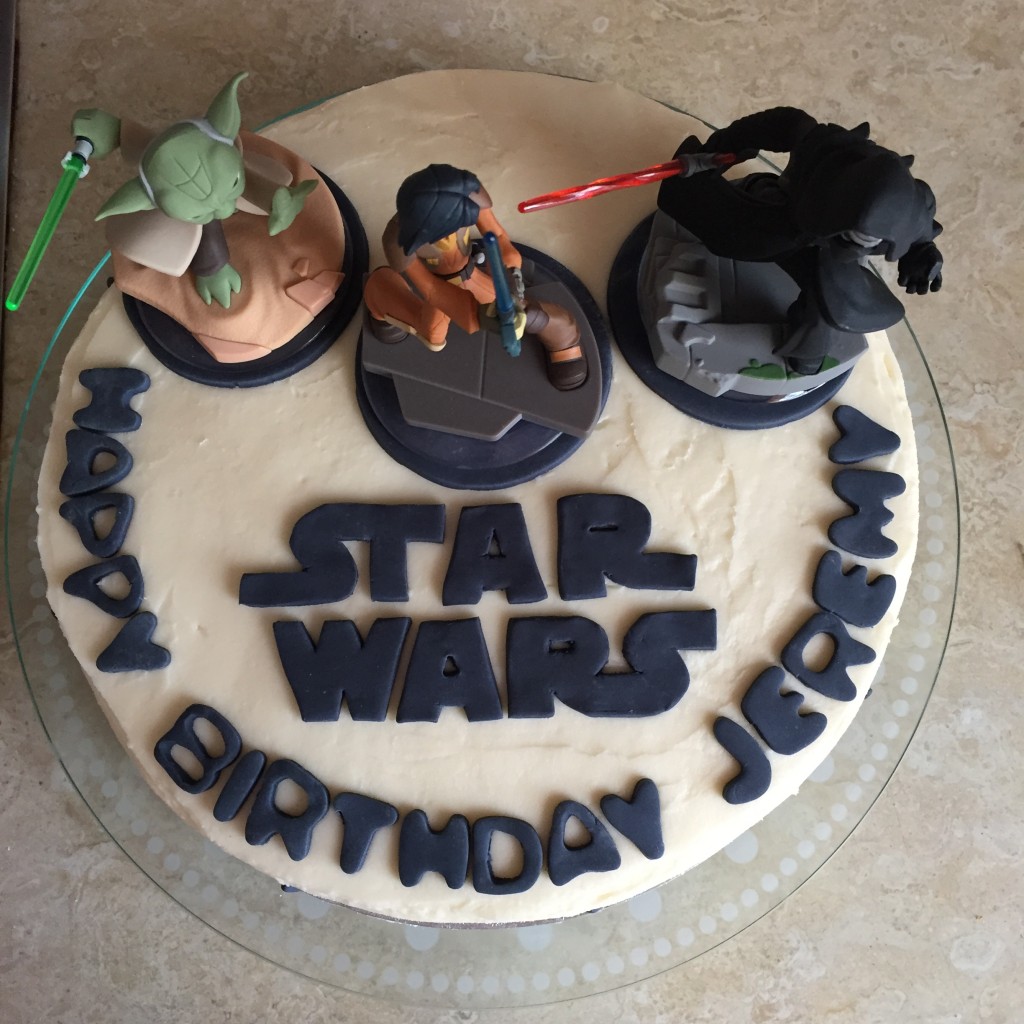
The last few months have been all about Star Wars. Did you see the movie? What did you think of it? Did you buy everything Star Wars themed? I may be guilty of buying a Star Wars toothbrush for G – they were on offer, is my excuse. But no, I didn’t watch the movie, same as I haven’t really seen any of the other ones before. It did not, however, come as a surprise when I was tasked to make a Star Wars cake for a friend’s son’s birthday. Lucky for me, modern day game consoles made my job really simple by providing the perfectly sized figurines of the movie characters. All that was really left for me was to make a few stars (it’s all about them, isn’t it? Ok, maybe it isn’t but it seemed to match), cut out the logo from fondant (which in itself was no easy task but I used a paper stencil I had printed out and cut out) and personalize the cake for birthday boy. I know this is cheating but it does save a lot of time.

I used a vanilla sponge base but sprinkled chocolate chips on top before baking and finished it off with some tasty cream cheese frosting. Upon request, the cake was gluten free – I am becoming quite the master of gluten free baking, even if I say so myself! I hope Jeremy had a lovely 8th birthday.

side top

Sharing is caringShare on FacebookTweet about this on TwitterPin on PinterestShare on Google+Share on Tumblr

One step closer

Sharing is caringShare on FacebookTweet about this on TwitterPin on PinterestShare on Google+Share on Tumblr

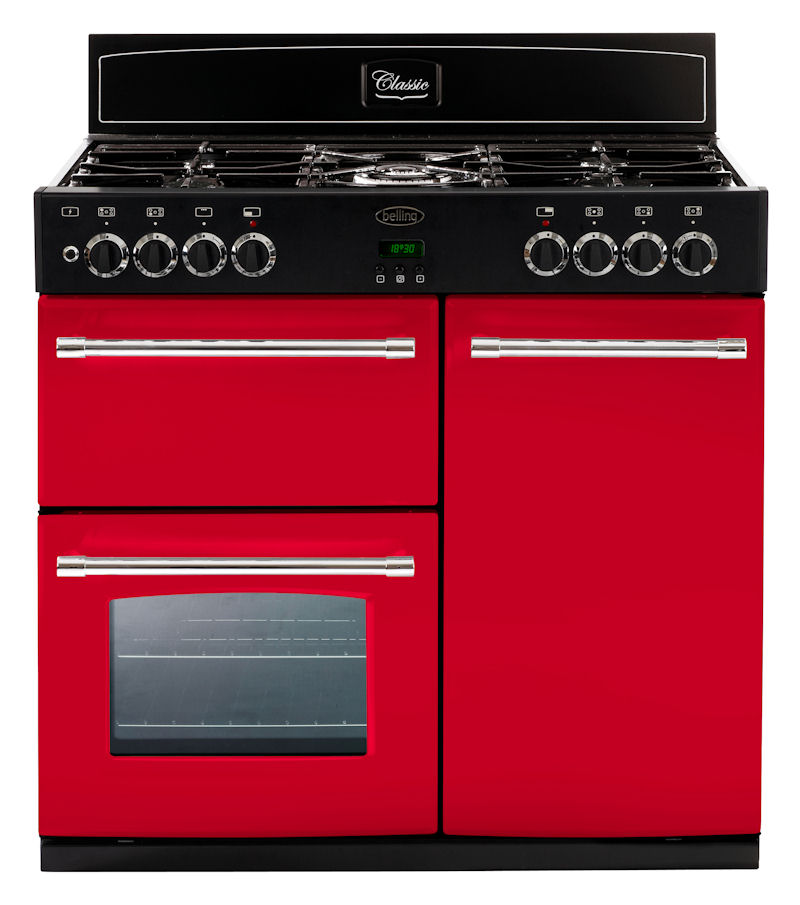
I have some very exciting news to share! This week we got one (huge) step closer to me having a brand new kitchen, just as I want it, with a freestanding range cooker in bright red. We got the keys to our first owned flat! Soon I will be able to bake 8 cakes, or 8 trays of cupcakes or cookies, no biggie. You want rainbow cake? Yours in 2 hours. You want 95 cupcakes? Be ready in an hour.

This may not sound like a big deal to most people, however I have spent the last 4 years in a rental flat which is admittedly decent, but the oven is way older than me by the looks of it. It cannot retain it’s temperature throughout the bake, it’s so stained that I cannot see through the glass (despite my best cleaning efforts) and it doesn’t seem to work at all on lower temperatures. Plus, it isn’t fan so I can only bake one thing at a time. We’re talking a lot of burned cheesecake here or cakes taking forever to bake. SO CAN YOU TELL I’M SUPER EXCITED?

This may well mean less baking and consecutively less blogging but I will let you admire my future oven for a bit. Then you will know yourself it’s totally worth it in the long run.

oven

Sharing is caringShare on FacebookTweet about this on TwitterPin on PinterestShare on Google+Share on Tumblr

Foreign eats

Sharing is caringShare on FacebookTweet about this on TwitterPin on PinterestShare on Google+Share on Tumblr

In December I spent a considerable time out of town visiting foreign, German speaking countries. And as a true baker, I was on a mission to sample local sweet delicacies in order to be able to report on them here, and no other reason. Honest.

So here we go, in order of appearance:

1. Chimney cake in Vienna, Austria
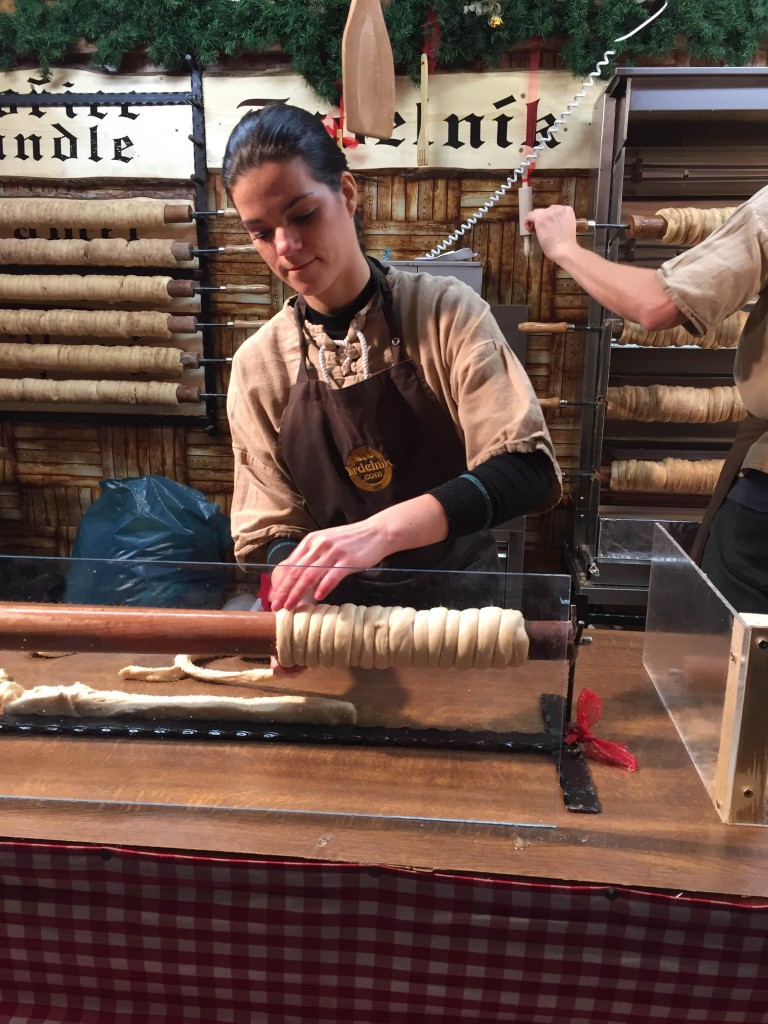
Although the Austrians have no claim over this cake, also known as Kürtőskalács, I am forever grateful that it features in their traditional Christmas Markets. It originates from Hungarian-speaking regions of Romania apparently and is a sweet yeast dough which they roll around a spit, dip in cinnamon sugar (but there are variations to the dips – they can contain nuts e.g.)  and bake in a rotisserie. For me, there are only a few things better than digging into some of this chimney cake while it’s still hot. It is divine – soft and fluffy on the inside and crunchy and caramelized on the outside. We discovered it early on and kept coming back. Tip: We decided to save some for breakfast one evening but I recommend you didn’t. It had gone hard so best eaten while still hot!

chimney cake

The dough is being rolled around the spit – rotisserie in the background

2. Kaiserschmarrn in Vienna, Austria
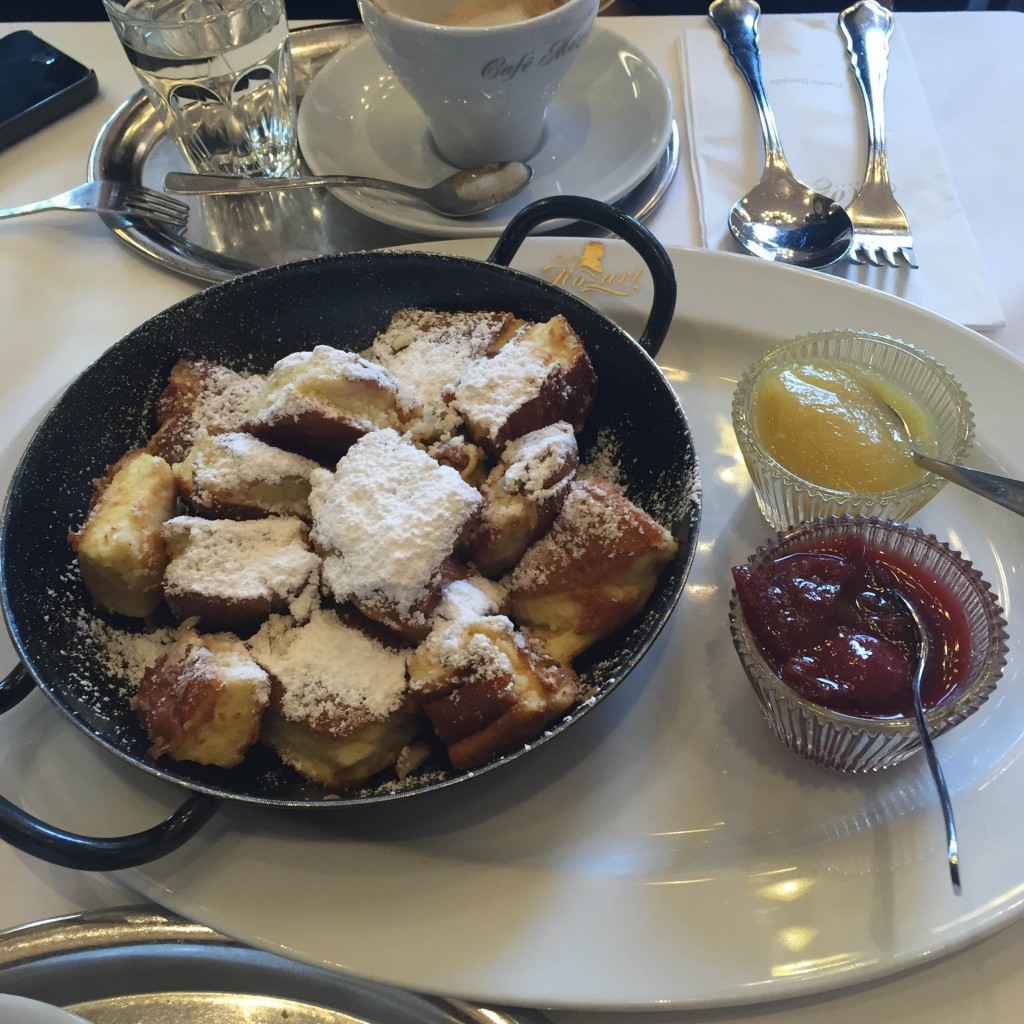
G insisted we had some Sachetorte in Vienna. I however, refuse to give any more attention to this plain chocolate cake as it is already getting way more than deserved. Anyways, the queue at the original Sacher Hotel was about 3 miles long and it was freezing cold outside, so we settled for Cafe Mozart just around the corner from it. We ordered some Sacher cake but I wanted him to try Kaiserschmarrn – this is a shredded thick pancake which can be served directly in the skillet, usually sprinkled with powdered sugar and accompanied by plum jam or apple sauce (we were lucky, or should I say paid enough to get both). But to best describe it – imagine an incredibly light and fluffy sponge cake prepared in a pan on the hob rather than in the oven. And the best part about it? It can be legitimately eaten as a main course in Austria, not just dessert. Win!

The Kaiserschmarrn in Cafe Mozart

The Kaiserschmarrn in Cafe Mozart

3. Bavarian Snowball in Speyer, Germany
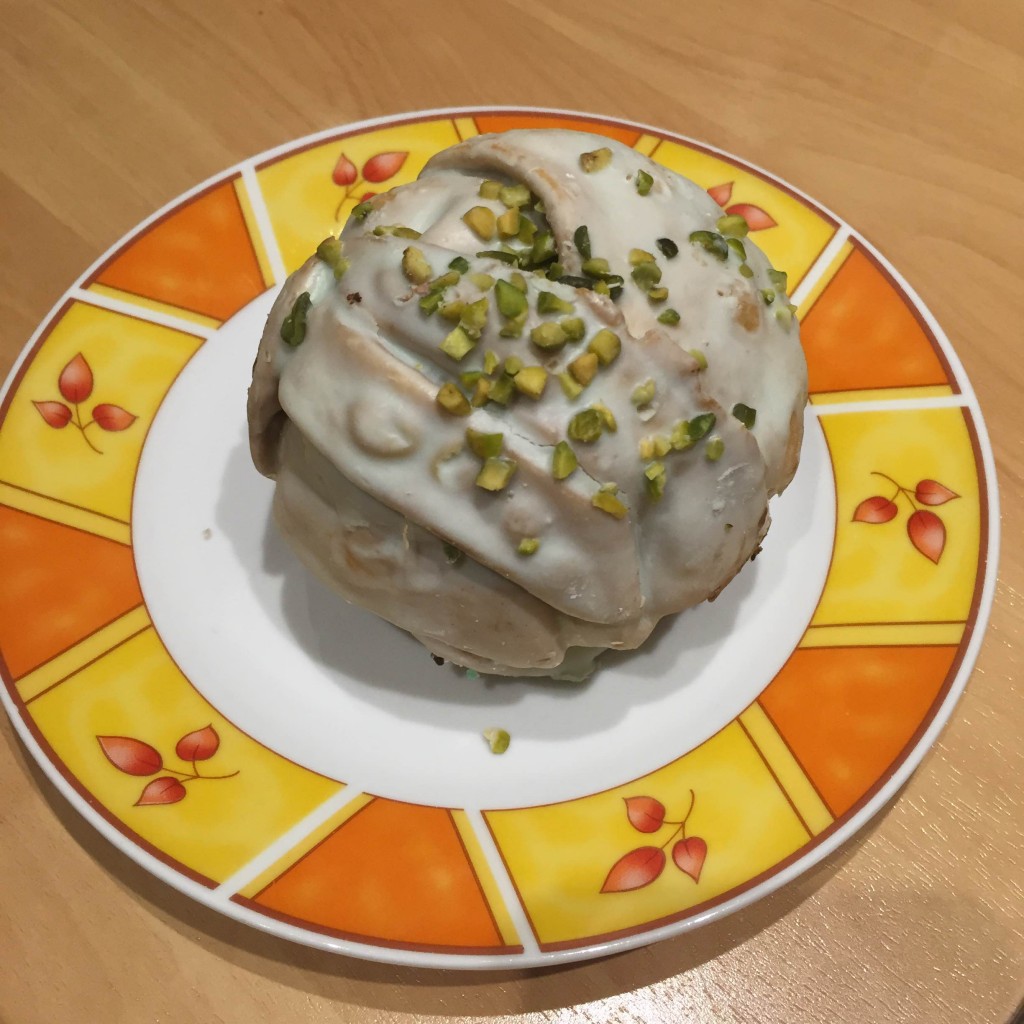
We didn’t actually go to Bavaria but they had Rothenburger Schneeballen (or Snowballs from Rothenburg) in Speyer, where we were spending Christmas. I just had to have one – it looked too good to miss out on. Turned out it’s nothing special – shortcrust pastry scrunched up in a ball, deep fried and sprinkled either with icing sugar or drizzled with glaze. I opted for a pistachio one and there seemed to be some green-ish looking paste in it but it didn’t taste to pistachios too much. I still recommend to try it but don’t expect to be wow-ed by it quite the same was by the chimney cake. It also makes a decent souvenir since it has a very long shelf life and looks better than a fridge magnet.

My pistachio Snowball

My pistachio Snowball

4. Black Forest Gâteau in the Black Forest, Germany
You must have heard of this cake before, also known as a Schwarzwälder Kirschtorte, which is pretty much chocolate sponge, whipped cream and cherries. It sound simple enough but it’s pretty delicious, especially if you soak the sponge in Kirschwasser, a clear cherry liqueur. So when I was told we were going to spend a few days in the Black Forest mountains, you can imagine what was on my mind – I need to try me some cherry cake from the place it actually comes from (or is at least named after – the history of this bake seems to be a little vague). But guess what – I didn’t actually have any for one reason or another. So I am unable to report on it – I did, however, think it important to mention I have at least been there. I did bring some vanilla Kirschwasser so may just make a Black Forest gâteau myself soon.

Do you also first think of trying the local desserts when you travel or do you have different priorities? I’d be curious to hear of any interesting desserts you have tried!

Sharing is caringShare on FacebookTweet about this on TwitterPin on PinterestShare on Google+Share on Tumblr

Pink or blue, that is the question

Sharing is caringShare on FacebookTweet about this on TwitterPin on PinterestShare on Google+Share on Tumblr

When the lovely Polly from Polly Mixtures / Mum on the Rock told me she is expecting baby number 2, I was very excited and happy for her. When a few weeks later she asked me if I would make a gender reveal cake for her, I was very happy and excited for myself! I had seen it on Cake boss but as it is more of an American tradition, I really did not expect to ever have to make one myself! So, of course, I jumped at the opportunity. Here’s how we made it happen:

Polly gave me a folded note from the doctor after her appointment (kudos for not looking!) and I made her a cake which was plain white on the outside. But she knew she’d know the gender of the baby when they cut it open – my task was to make the sponge either pink or blue! It was so hard not to go: ‘It’s a boy, Polly, a boy!’ when delivering the cake but I am glad I didn’t so the expecting parents could share this moment with friends and family 🙂

And here a few photos from before and after:

before 1 before 2 afer 1

Would you find out the gender of your baby with a cake? I personally think it’s very sweet (in more than one way). Only problem is I won’t be able to make my own cake, and isn’t this a shame?

Sharing is caringShare on FacebookTweet about this on TwitterPin on PinterestShare on Google+Share on Tumblr

Minion pinata cake or else

Sharing is caringShare on FacebookTweet about this on TwitterPin on PinterestShare on Google+Share on Tumblr

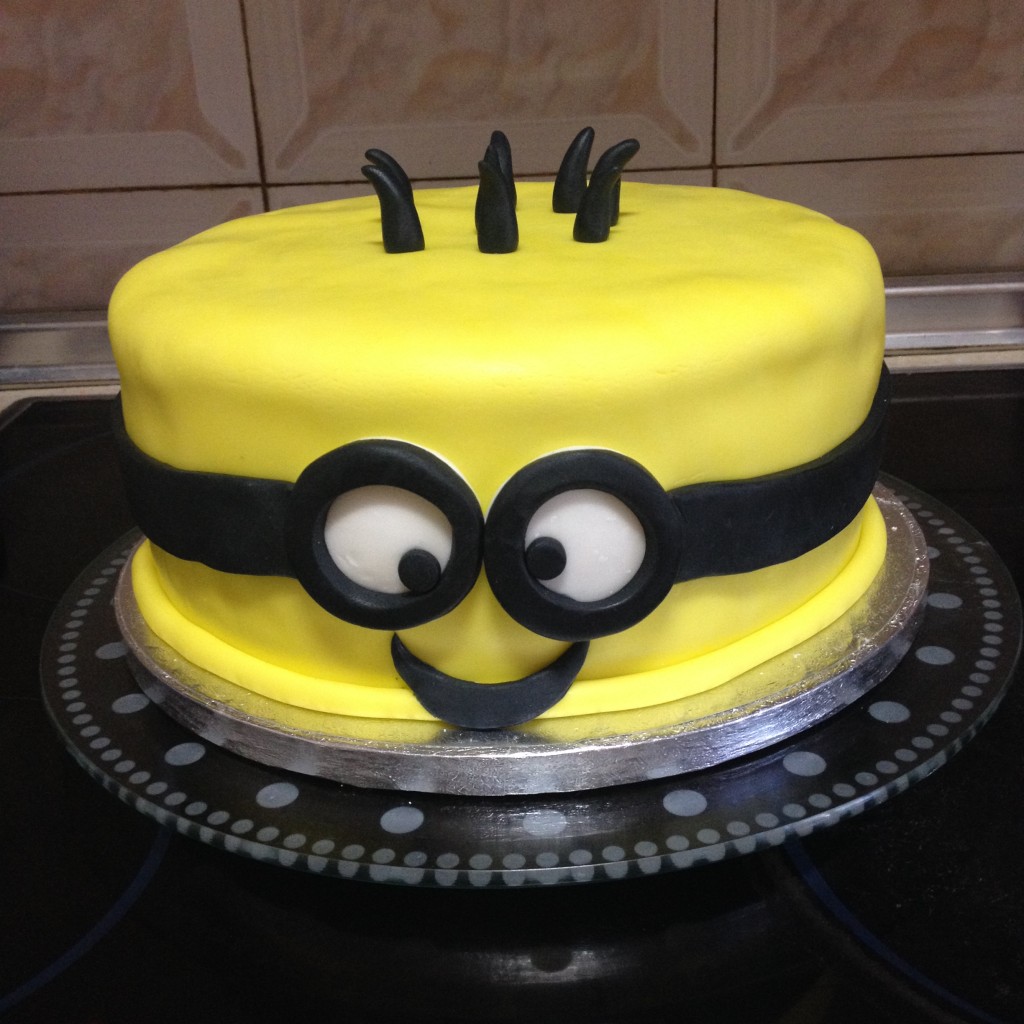
A friend of mine wanted a cake with a wow factor for her son’s 7th birthday who is currently very much into the Minions. She gave me cart blanche provided the cake has chocolate in it so my imagination went wild. Rainbow cake was out of the question since it’s quite hard to colour chocolate sponge but I reckoned a combination of the Minion yellow and chocolate will go down well. But this wasn’t wow enough – so I decided to make an otherwise unsuspecting Minion pinata cake!

ready cake

Looks like any other cake…

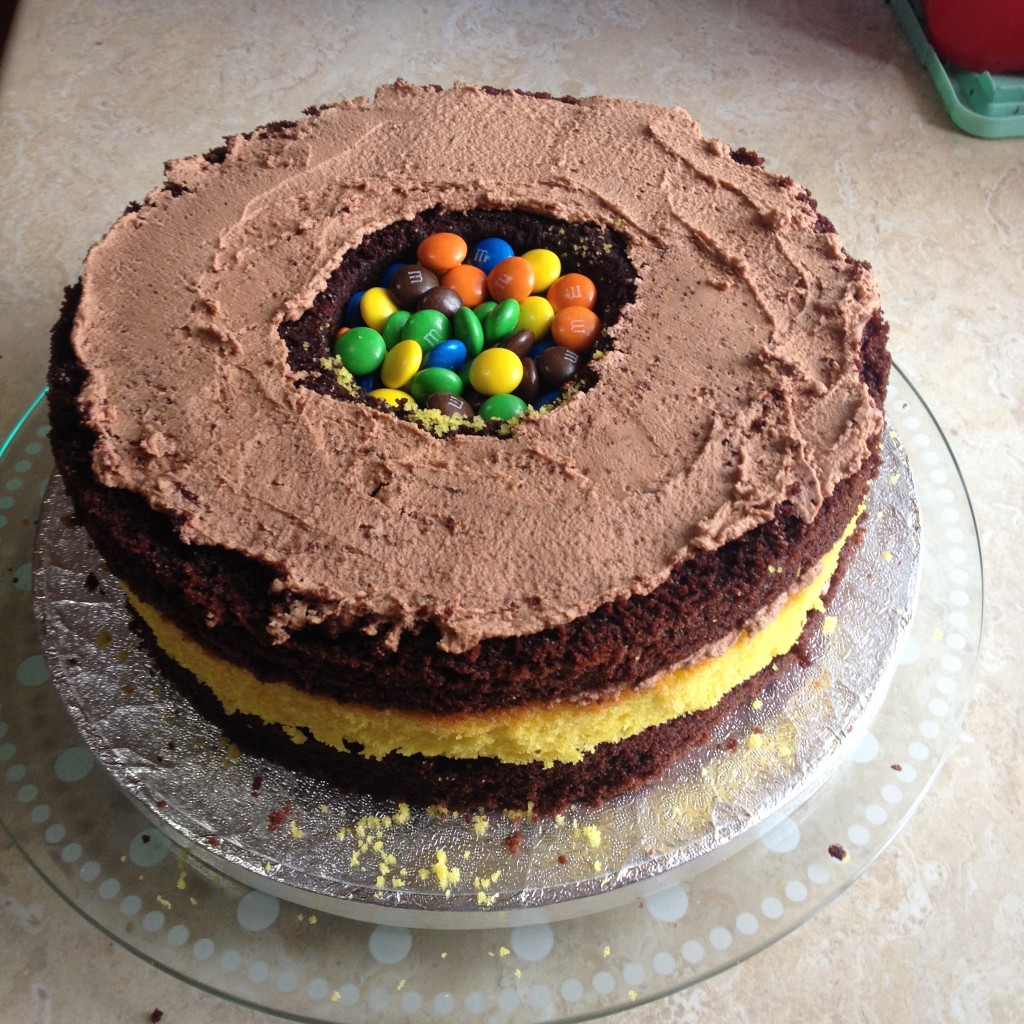
Here’s how to: You’d need 4 layers to achieve the pinata effect. I baked 2 yellow layers and 2 chocolate ones so the cake can be stripey. You then cut a round hole in the middle 2 layers. When assembling the cake, make sure you only put frosting around the edges of the first layer. Then put one cut layer on top, more frosting and the second layer with a hole. Then fill the hole with small candy of your choice – I like M&Ms as they’re colourful but you can use Maltesers, Skittles etc. Then put the top layer on top and ice the cake as usual. When you cut into it, the candy will spill out making it a pinata! And pinatas make any party amazing, don’t they?

before frosting

…until you cut it open!

Sharing is caringShare on FacebookTweet about this on TwitterPin on PinterestShare on Google+Share on Tumblr

Little Mermaid but not the Disney one, please

Sharing is caringShare on FacebookTweet about this on TwitterPin on PinterestShare on Google+Share on Tumblr

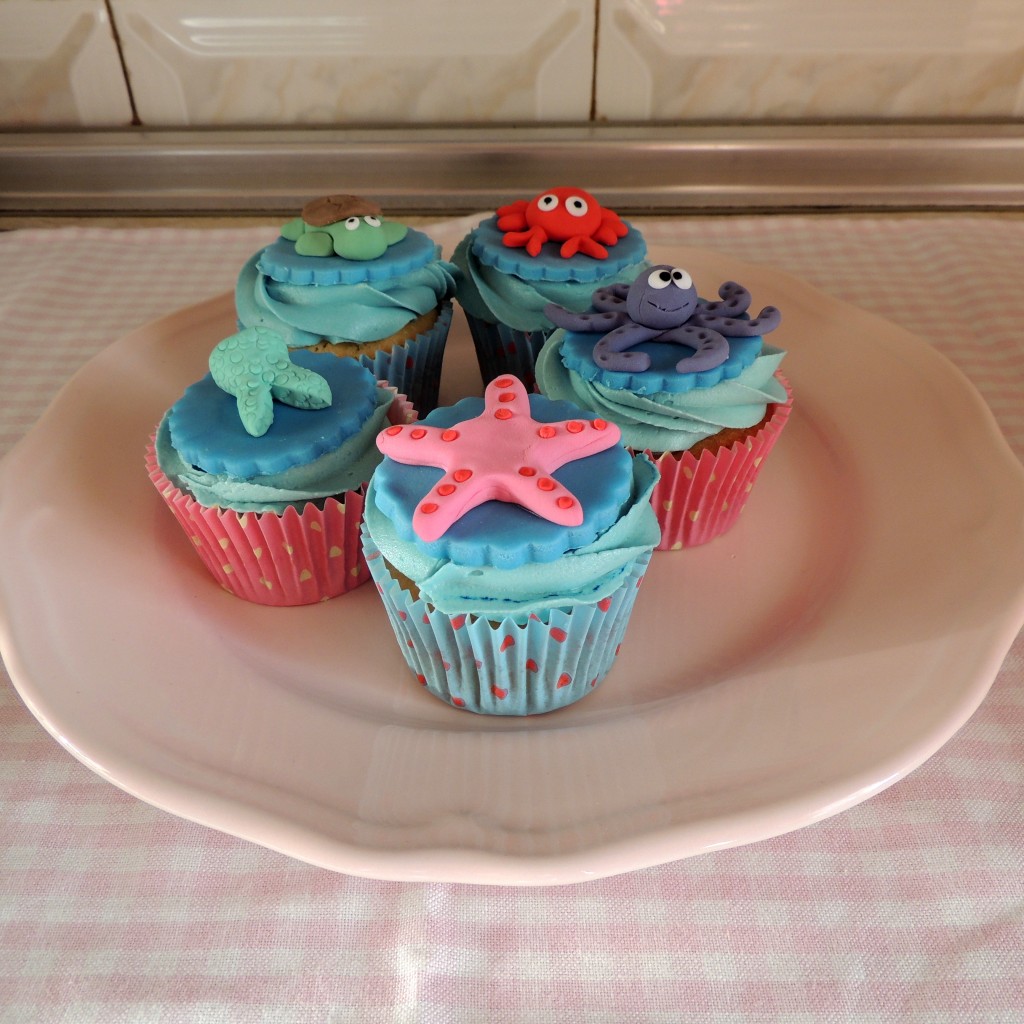
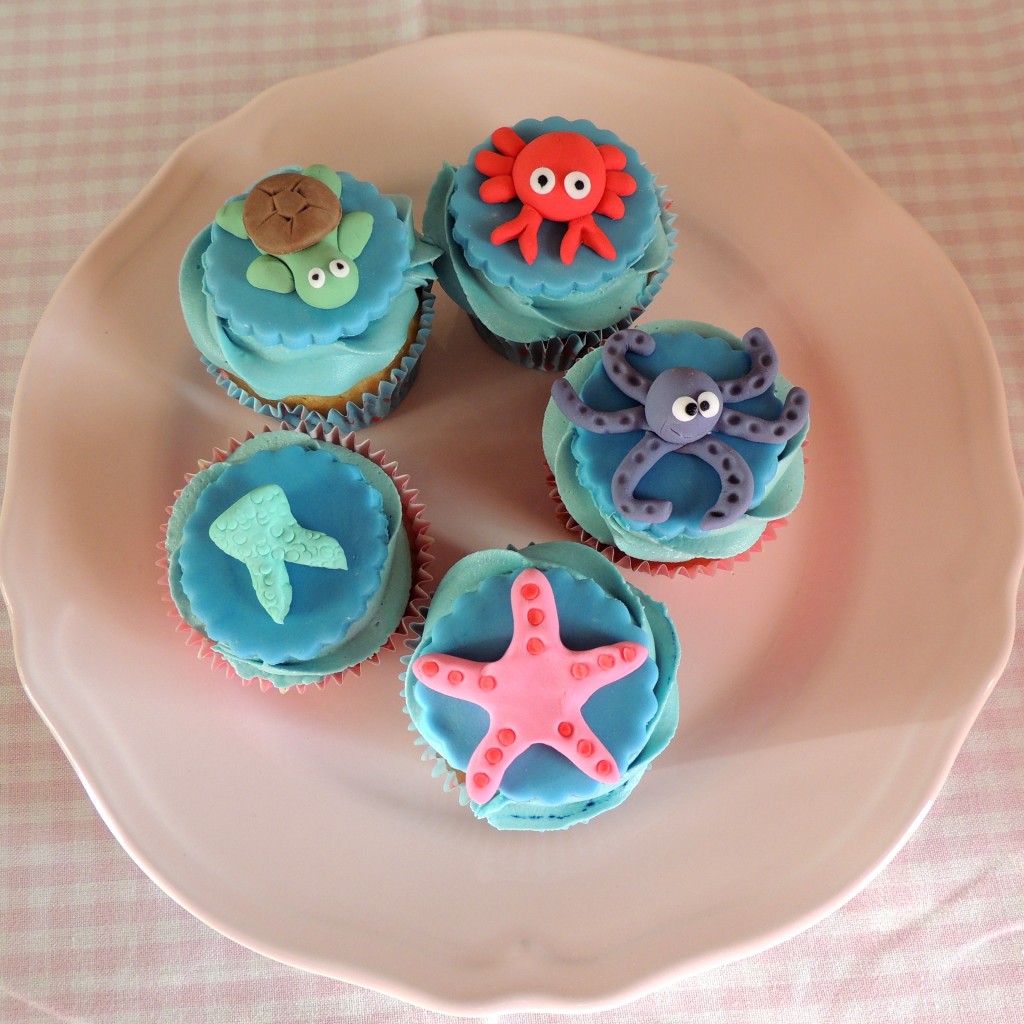
This request for a bachelorette cake was changed approximately 5 million times. From cake to cupcakes back to cake back to cupcakes. From gentle pastel coloured flowers and a golden ‘Hen Party’ sign to ‘Little Mermaid but not the Disney one, please’. I was secretly glad we settled for cupcakes as they are, after all, my speciality and I very much enjoy doing even the fiddliest decorations. As it was a summer party, we went with a piña colada flavour – it was extremely difficult to resist eating all the pineapple cupcakes and the coconut buttercream frosting while decorating them. They were so much fun to make, and don’t they look pretty?

Little Mermaid Cupcakes 1 Little Mermaid Cupcakes 2

Sharing is caringShare on FacebookTweet about this on TwitterPin on PinterestShare on Google+Share on Tumblr

Cookie making

Sharing is caringShare on FacebookTweet about this on TwitterPin on PinterestShare on Google+Share on Tumblr

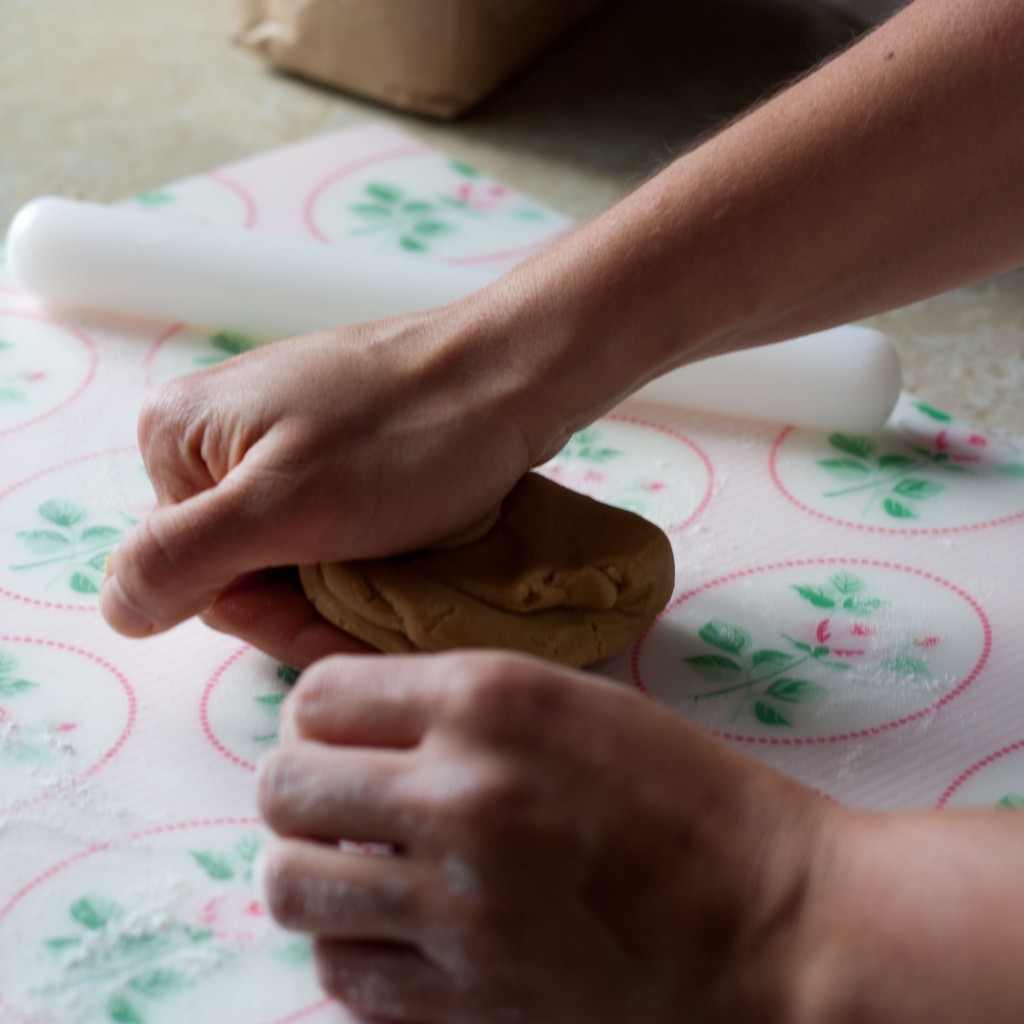
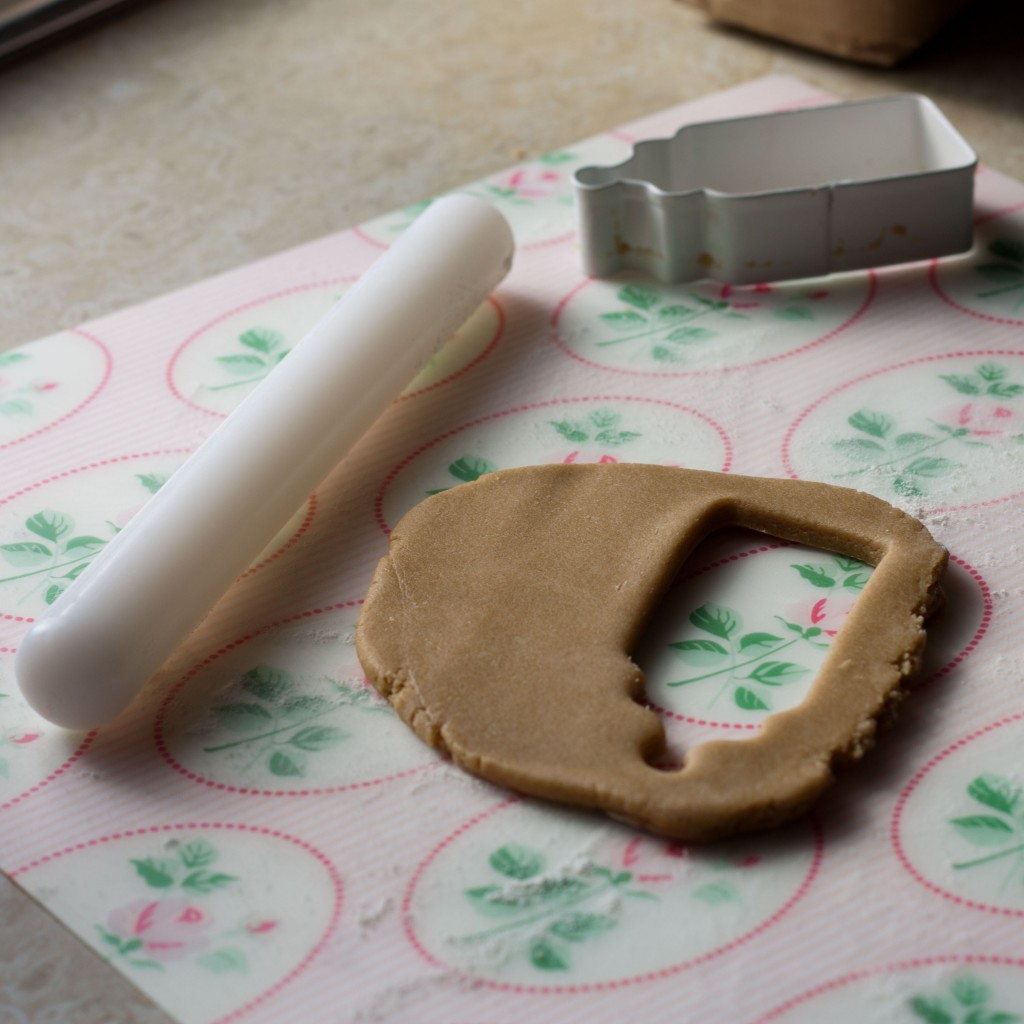
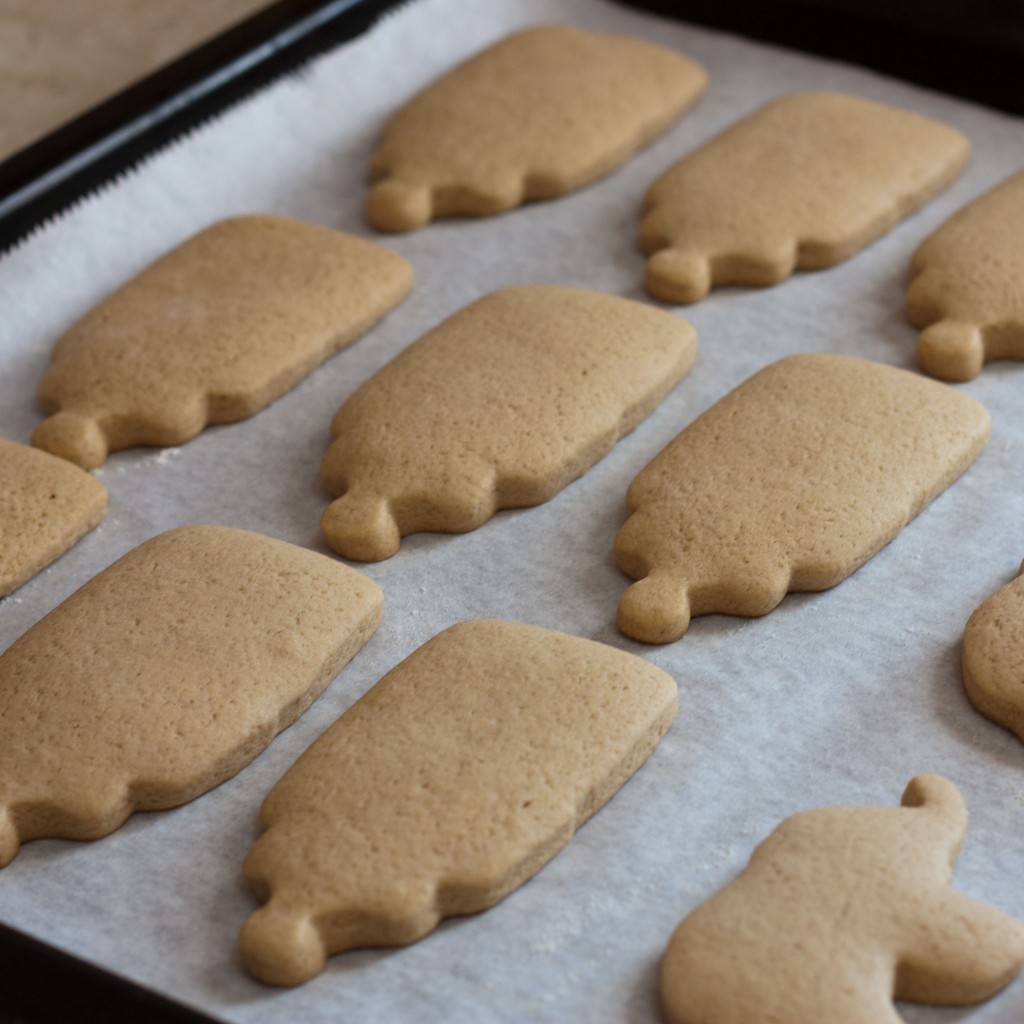
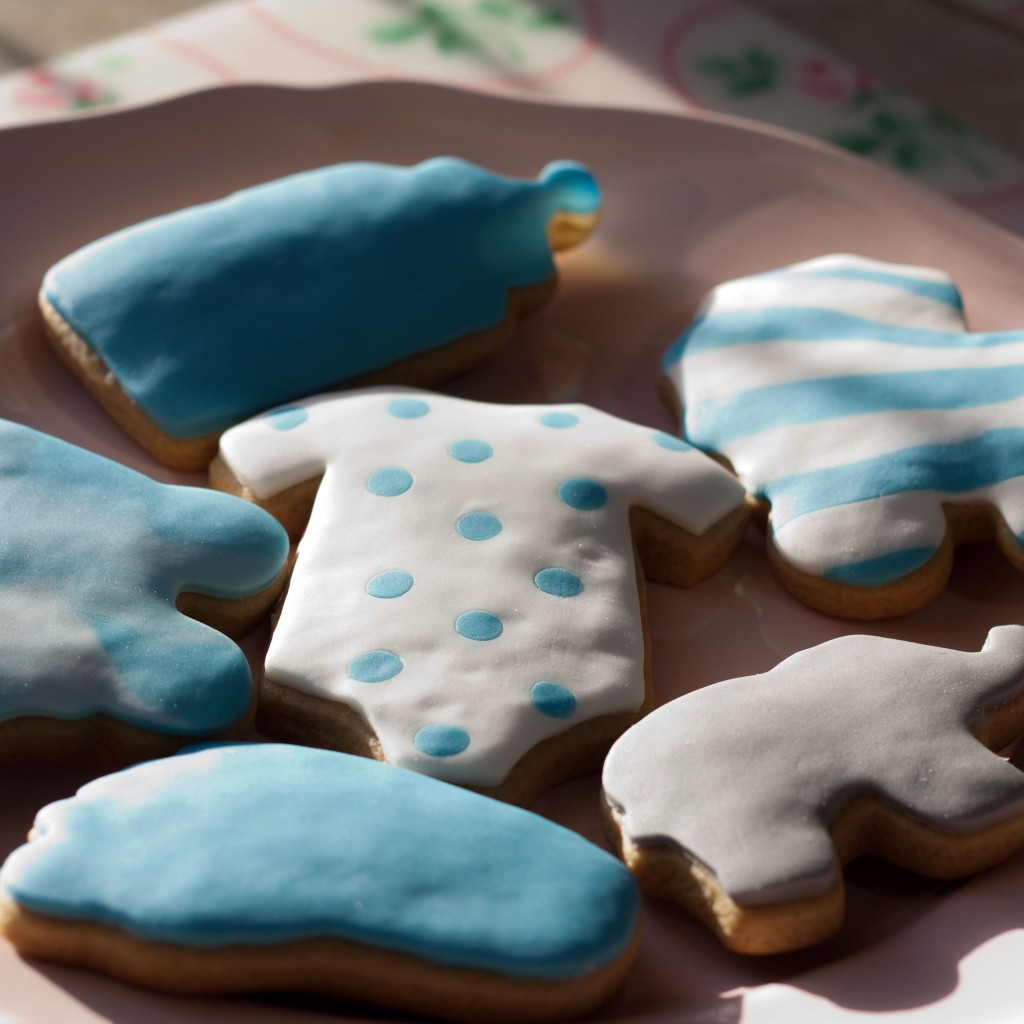
I admire cooking and baking blogs which have beautiful photographs but often struggle with photographing my own creations or the process of making them. The kitchen is normally a mess so finding a good spot is a struggle, the natural light at my current home is pretty awful, I often bake late at night, the camera isn’t charged. And often not even the fanciest filter on Instagram (long live iPhone photography) cannot help. So it is a rare treat when someone is willing to take photos of me or my baking. These photos are well overdue – my wonderfully talented sister took them of me a year ago and I’ve been dying to share them but one thing led to another… Anyways, I am a strong believer in ‘Better late than never’ so here we go. Thank you, Vanina, I  love those shots almost as much as I love you!

Cookies & hands Tools Baked Cookies Decorated cookies

Sharing is caringShare on FacebookTweet about this on TwitterPin on PinterestShare on Google+Share on Tumblr

A horse stable cake

Sharing is caringShare on FacebookTweet about this on TwitterPin on PinterestShare on Google+Share on Tumblr

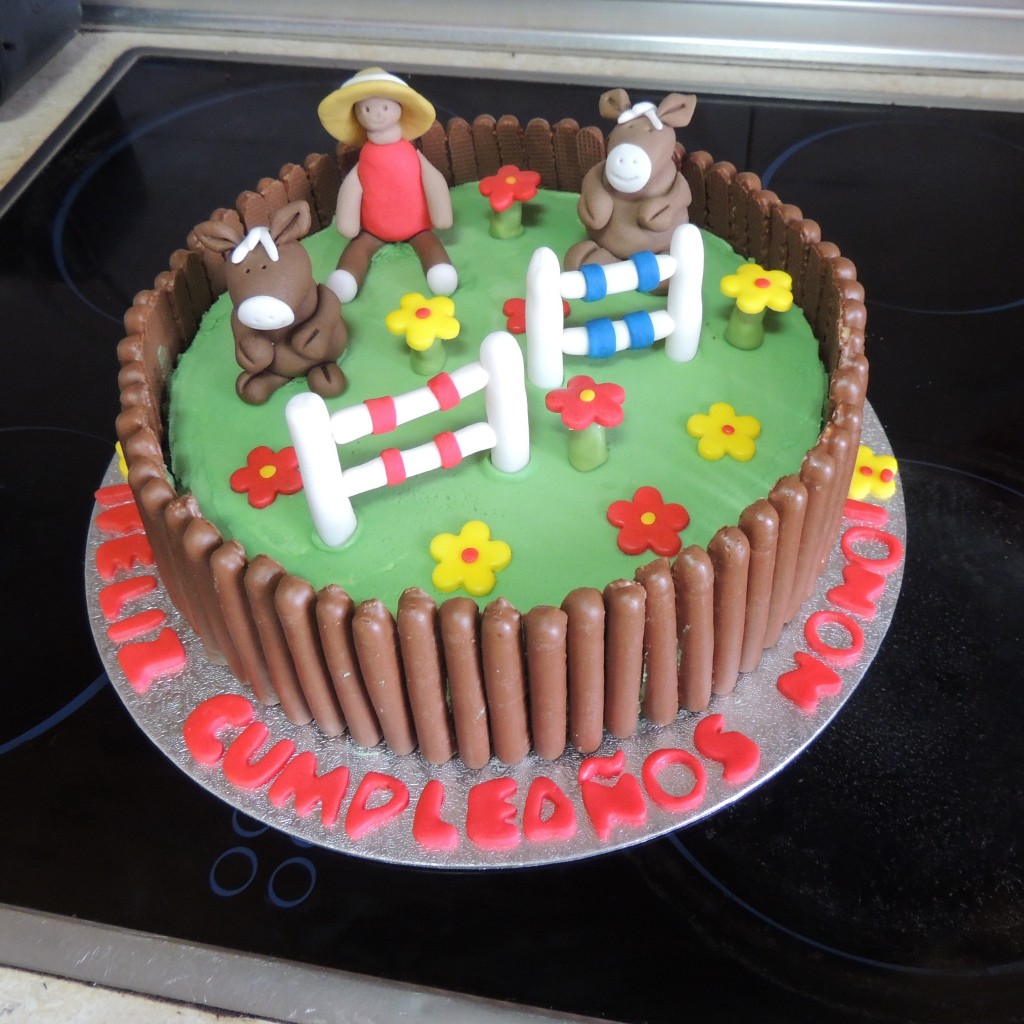
YouTube is full of video tutorials for more or less anything you ever need to learn doing. Regardless if you’re looking for a hair style, how to change a car tire or how to pack a suitcase – it’s got it all. One thing it does lack though is decent tutorials on making horses out of florist paste or fondant. So when I was asked to make a horse riding themed cake, I had all these magnificent ideas how to make a horse jumping over a hurdle. However, after hours of trying and tons of florist paste wasted (and a million videos watched), I had no other choice but to settle for cartoonish looking horses, made a few jumps and the birthday boy out of fondant and decorated the cake as a horse stable. I was still happy with the result but if you are a good cake decorator, you know how to make horses and have free time, please make a video tutorial. I will be eternally grateful.

Horse_riding_cake

The end result

Sharing is caringShare on FacebookTweet about this on TwitterPin on PinterestShare on Google+Share on Tumblr

Gift idea: Cookie jar

Sharing is caringShare on FacebookTweet about this on TwitterPin on PinterestShare on Google+Share on Tumblr

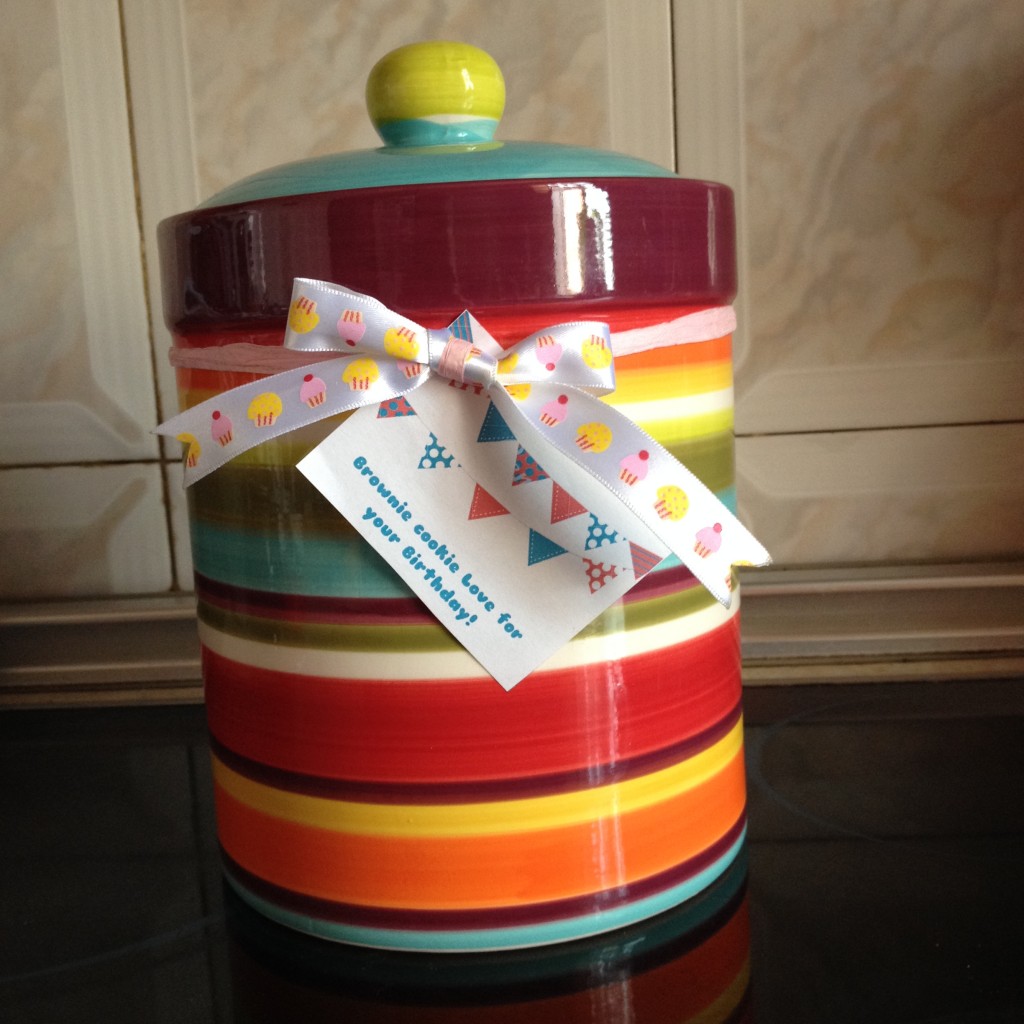
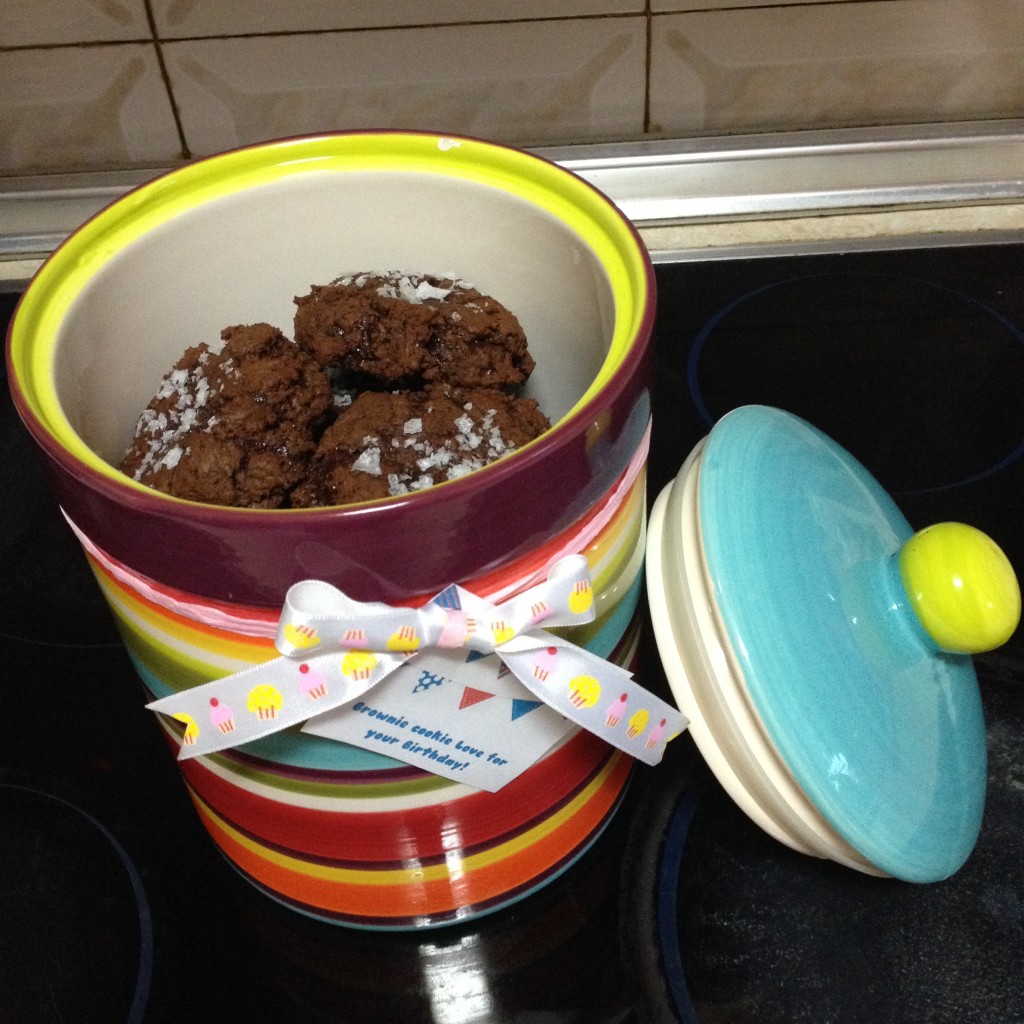
No matter whether it is for a birthday, Christmas, Mother’s day etc. – you cannot go wrong with giving someone a cookie jar. And no, I don’t mean an empty one – to achieve maximum points, you’d need to actually bake the cookies to fill the jar. Home baked love is the best, I’m telling you. And the best part is you can customize the actual jar and the label so it makes a totally personal and awesome gift, especially if you are on a budget.

I had some ribbon which is covered in cupcakes (Coincidence? I think not 😉 ) and made the label using Canva which worked like a charm, and their free designs are really neat. Best part is that it saves your old designs once you register an account so you can reuse them. I filled the jar with these beauties but you can, of course, fill it with cookies of your choice. A spicy gingerbread will go nicely for Christmas. Would you give cookies as a present?

IMG_5226 IMG_5227

Sharing is caringShare on FacebookTweet about this on TwitterPin on PinterestShare on Google+Share on Tumblr