Party Idea: Sweet Station

Sharing is caringShare on FacebookTweet about this on TwitterPin on PinterestShare on Google+Share on Tumblr

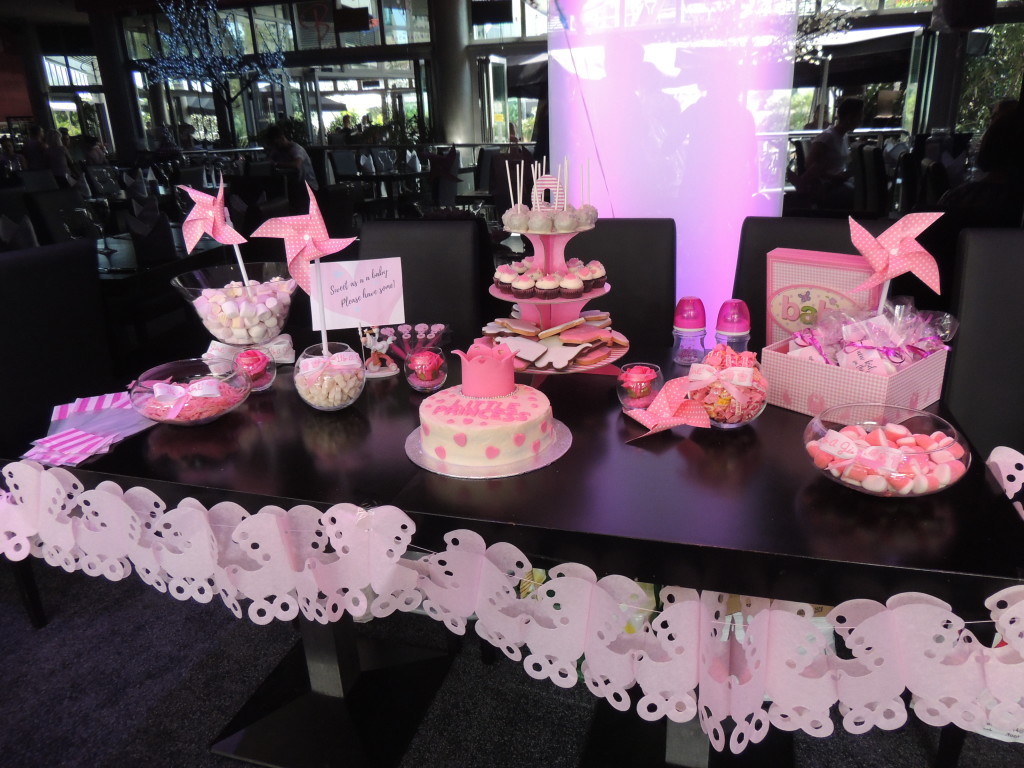
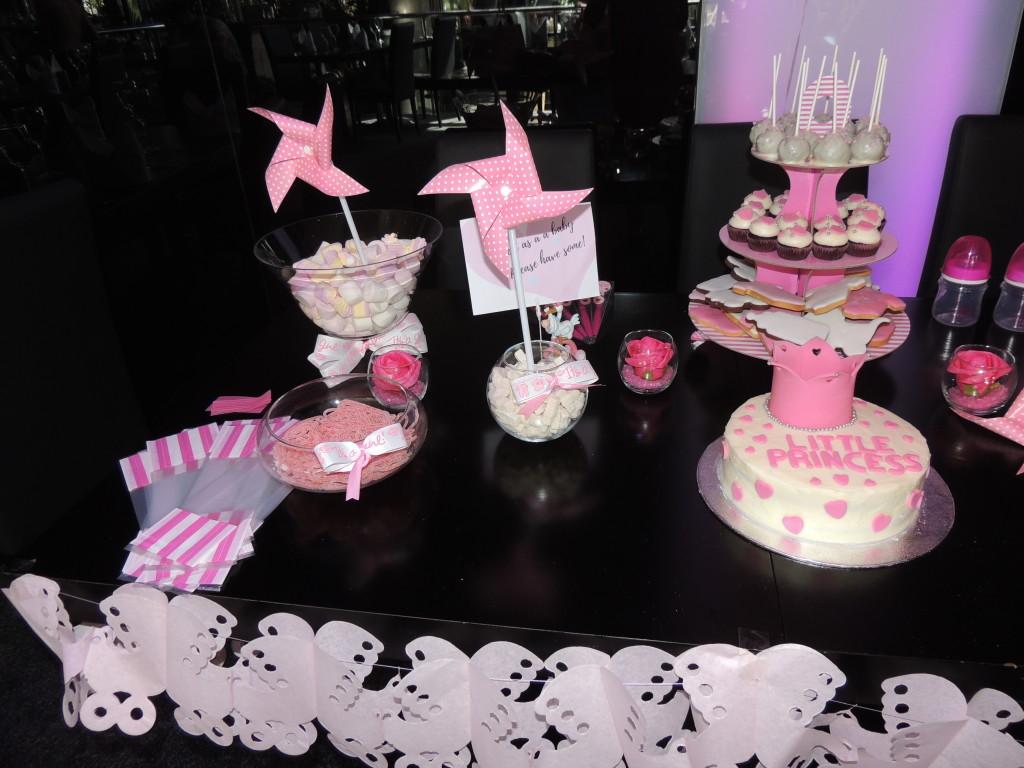
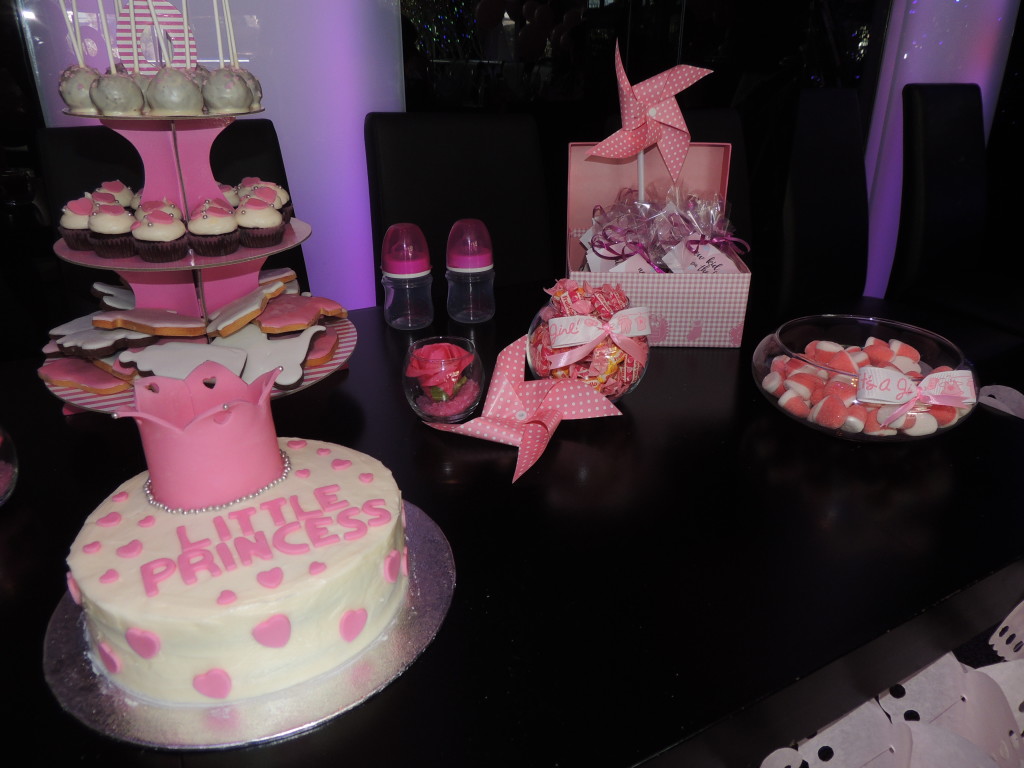
I was holding back on this post until a certain baby Isabella made an appearance. Now that she got to exist as a human, I really wanted to show you how we prepared for her arrival with a baby shower some time back. As sweet as babies are, we all wanted to make the day even nicer so I prepared a sweet station. It was quite simple to put together and it was such a hit – so much so I really want to be throwing another party soon so I can repeat it! We went with pink but as you decorate it all yourself, you can really go all out on the theme, the options are endless. I reckon a rainbow theme would work really well too.

DSCN2020 DSCN2024 DSCN2035Here’s what you’ll need:

– A few large bowls in all sorts of shapes, the huge decorative martini or wine glasses would work well too
– Ribbon to decorate
– As many types of sweets as you’d like (one per bowl)
– Cellophane bags with ties for takeaways
– Cookies
– Mini cupcakes
– A cake
– A cupcake stand (I used a cardboard one found in the pound store)
– Any party decorations/props which would suit your theme
– A party!

Arrange it all as artistically as possible and don’t forget to stuff yourself with all sorts of marvelous sweet things.

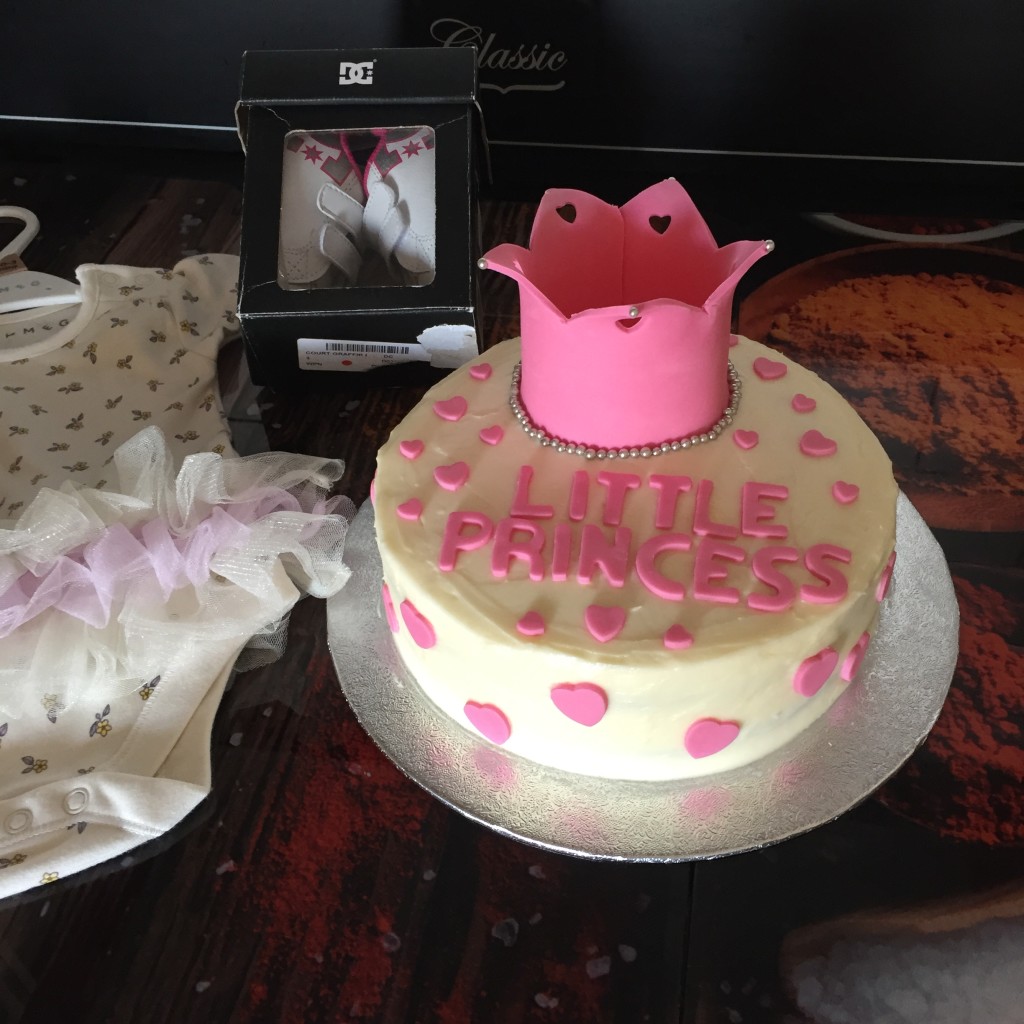
Here’s a close-up of the cake with the cutesy tiny presents I picked out for Isabella too:

IMG_7425

Et voila!

Sharing is caringShare on FacebookTweet about this on TwitterPin on PinterestShare on Google+Share on Tumblr

The pinkest cake ever!

Sharing is caringShare on FacebookTweet about this on TwitterPin on PinterestShare on Google+Share on Tumblr

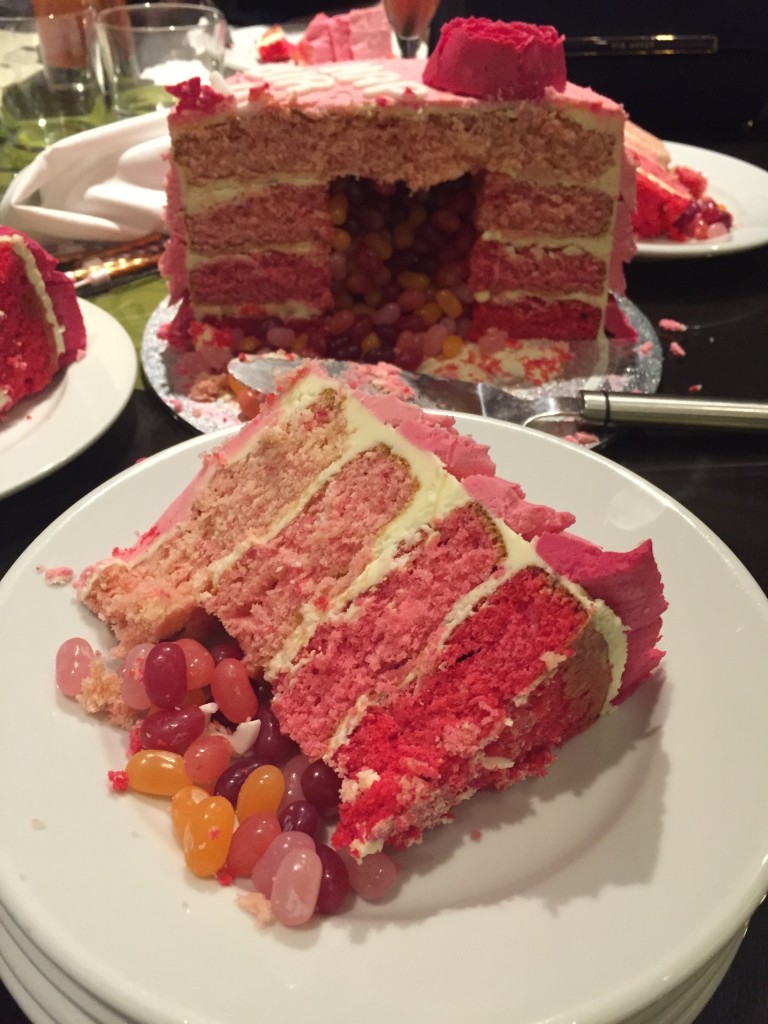
When you have a few picky eaters to please but want a show stopper cake, you need to get creative. No chocolate, no fruit (or in particular berries), no cream cheese frosting. So what do you do? You create a vanilla ombre pinata cake full of jelly beans, of course. It’s that simple – if the flavor must be rather plain, you just go all out on decorations.

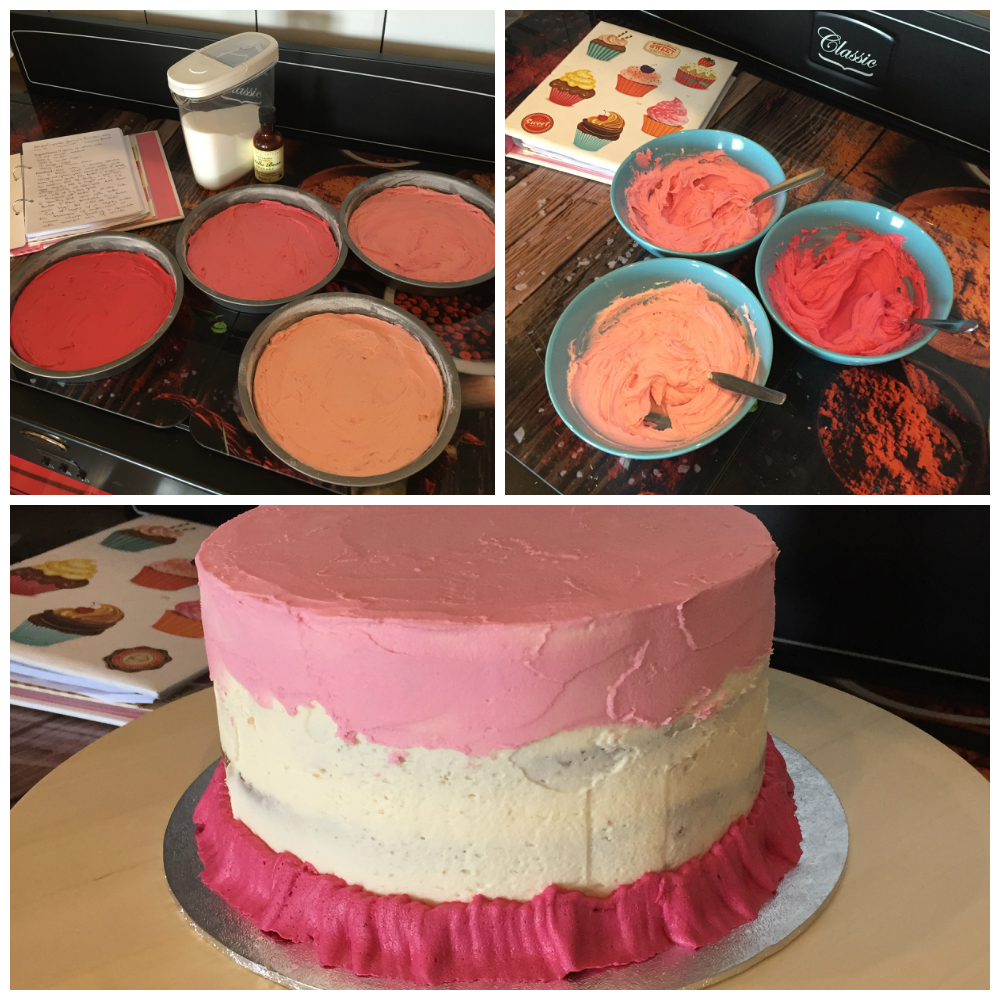
I started by preparing three quarters of the batter for Jemma’s Rainbow Cake – I wanted 4 layers instead of 6 as it was to be a small family celebrations and I didn’t want any cake to go to waste. But instead of colouring them in rainbow colours, I created 4 shades of pink.

cake1

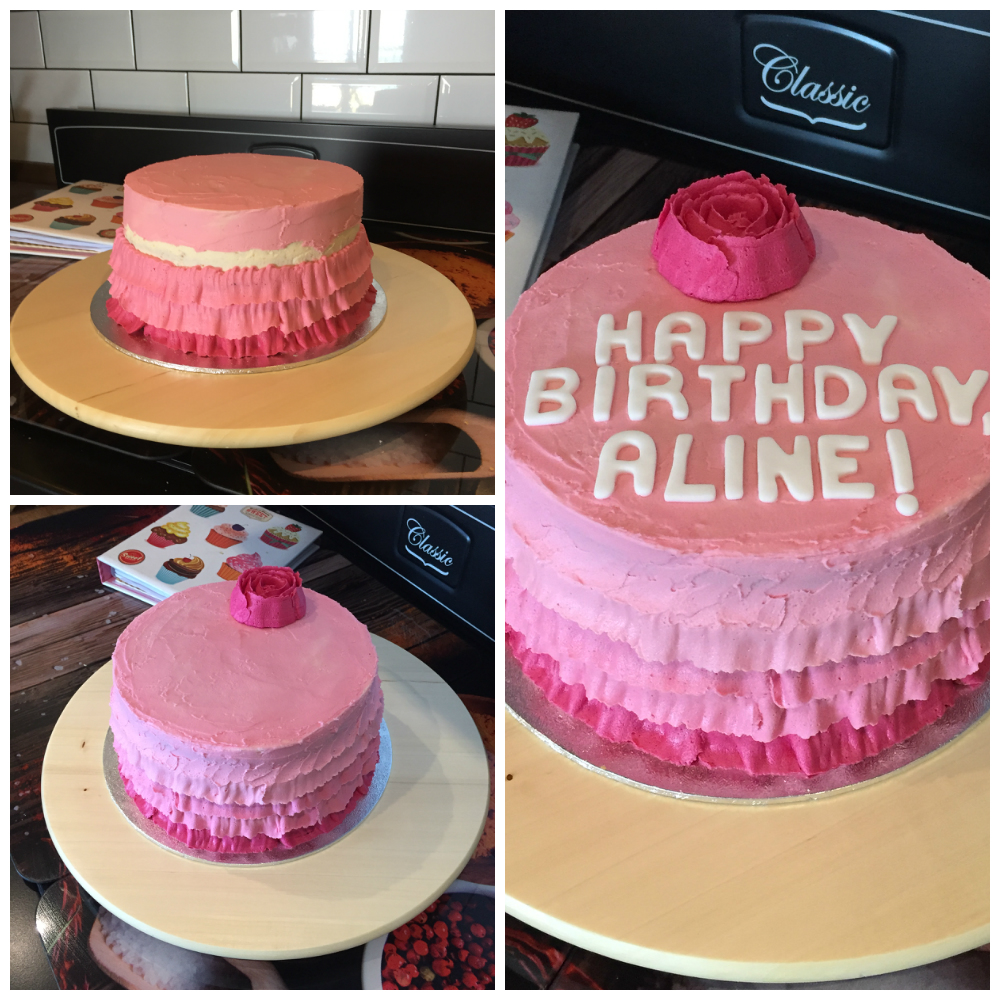
Once the cakes were baked and cooled, I used a round cutter to cut holes in the 3 darker shades, leaving the palest layer untouched. Once I had those 3 layers arranged on my cake board (using vanilla buttercream between them), I filled the gap with jelly beans all in pinks. I applied the top layer and did the crumb coat (a thin layer of icing meant to lock all crumbs). I left the cake to chill in the fridge for the icing to set and in the meantime I coloured the rest of my buttercream in 3 shades of pink. Using a large petal nozzle I then created a dark pink rose for the top and then created ruffles on the side of the cake for extra lush. You can see how to make the ruffles in this video (of course, again by Jemma – it also shows how to create the pinata effect).

cake2When you’re done with this and it’s time for the party, sit back and enjoy the faces of the crowd as they cut into the cake and the jelly beans spill out!

img_7197

Sharing is caringShare on FacebookTweet about this on TwitterPin on PinterestShare on Google+Share on Tumblr

Textured frosting – a little secret

Sharing is caringShare on FacebookTweet about this on TwitterPin on PinterestShare on Google+Share on Tumblr

Frosting is quite an important element in baking. It’s not a coincidence that there’s a saying ‘The frosting on the cake’ for something which makes good things even better. But a lot can go wrong with frosting – and you don’t want a nice bake spoiled by a cream cheese frosting which is too runny or buttercream which is too stiff of not mixed quite enough, therefore has a very grainy/sandy texture.

There are plenty of tutorials on YouTube how to get best results for smooth frosting so I won’t focus on that. But here a little tip if you want to achieve textured frosting (NB: not for piping – chances are it’ll clog your nozzle and this may or may not result into a piping bag explosion and frosting all over): Crushed biscuits. Not only does it look cool if you’re e.g. recreating soil on a garden themed cake or want to create sandy feeling (beaches always have some rocks etc. on them) but it gives the frosting a nice unexpected crunch. The original Oreo biscuits are great for chocolate frosting, while Golden Oreos or rich tea biscuits work well for paler colours (e.g vanilla buttercream or cream cheese frosting).

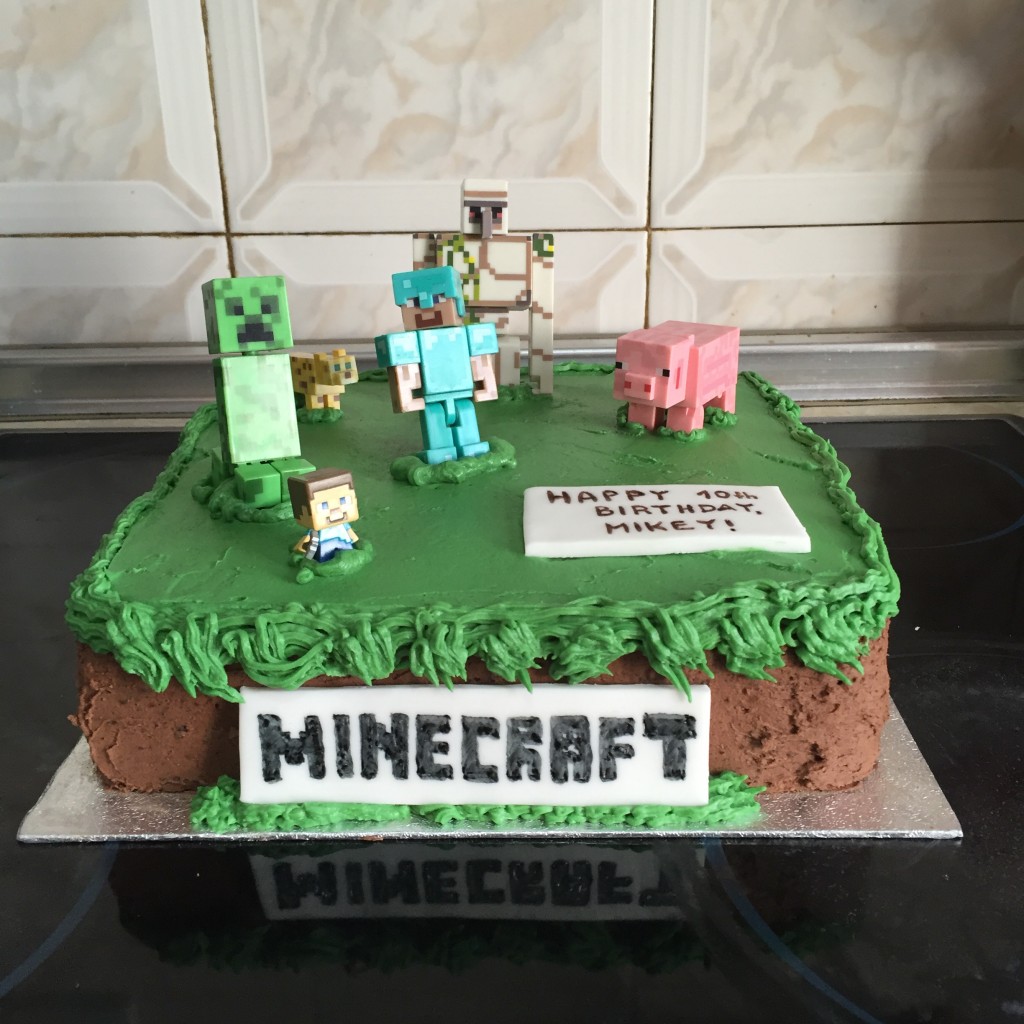
A while ago I was tasked with a Minecraft cake (lucky for me the actual figures we used were toys – phew) and I simply crushed Oreos, popped them in the chocolate frosting et voila! A few people later asked how I gave the frosting the wow-look and taste – and it’s that simple.

IMG_6462

Sharing is caringShare on FacebookTweet about this on TwitterPin on PinterestShare on Google+Share on Tumblr

And they ate cake happily ever after

Sharing is caringShare on FacebookTweet about this on TwitterPin on PinterestShare on Google+Share on Tumblr

Because very few things makes living happily ever after happier than doing so while eating cake! Or at least eating a wedding cake, right?

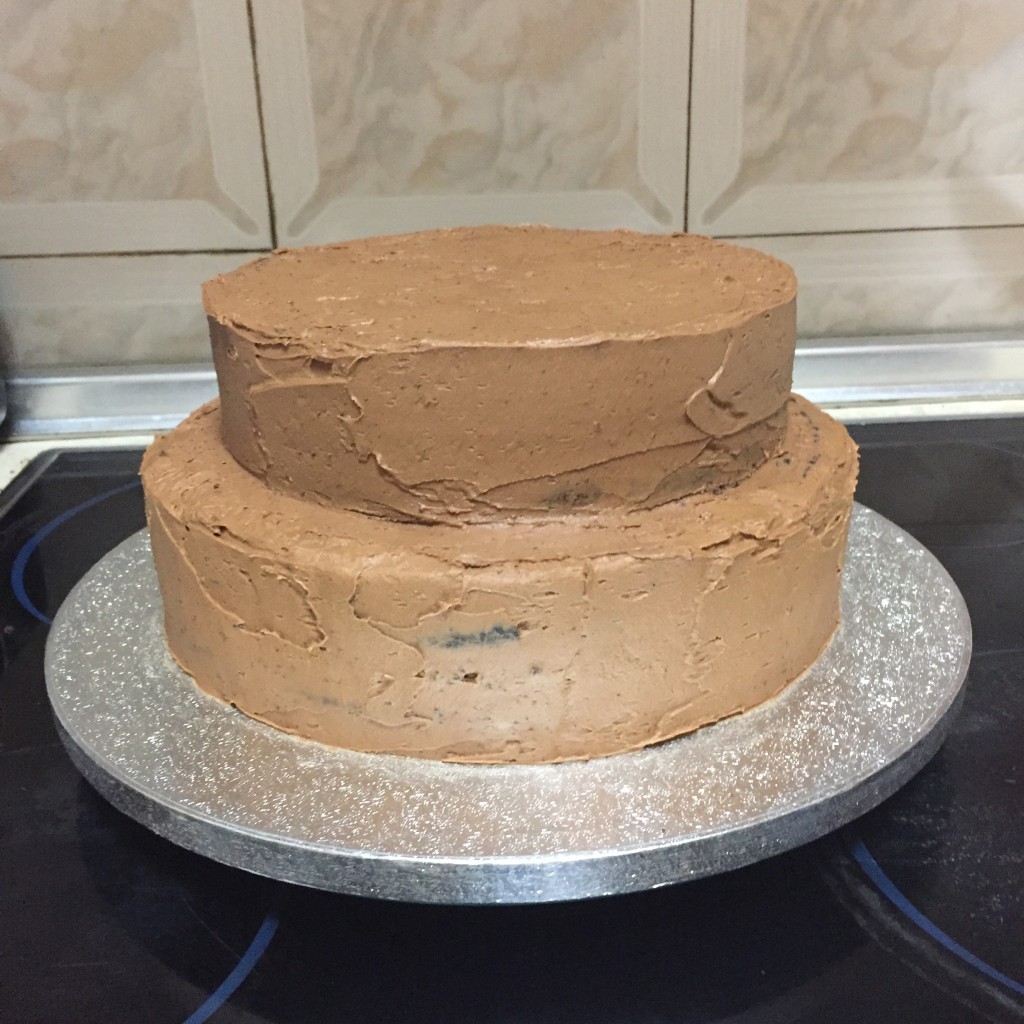
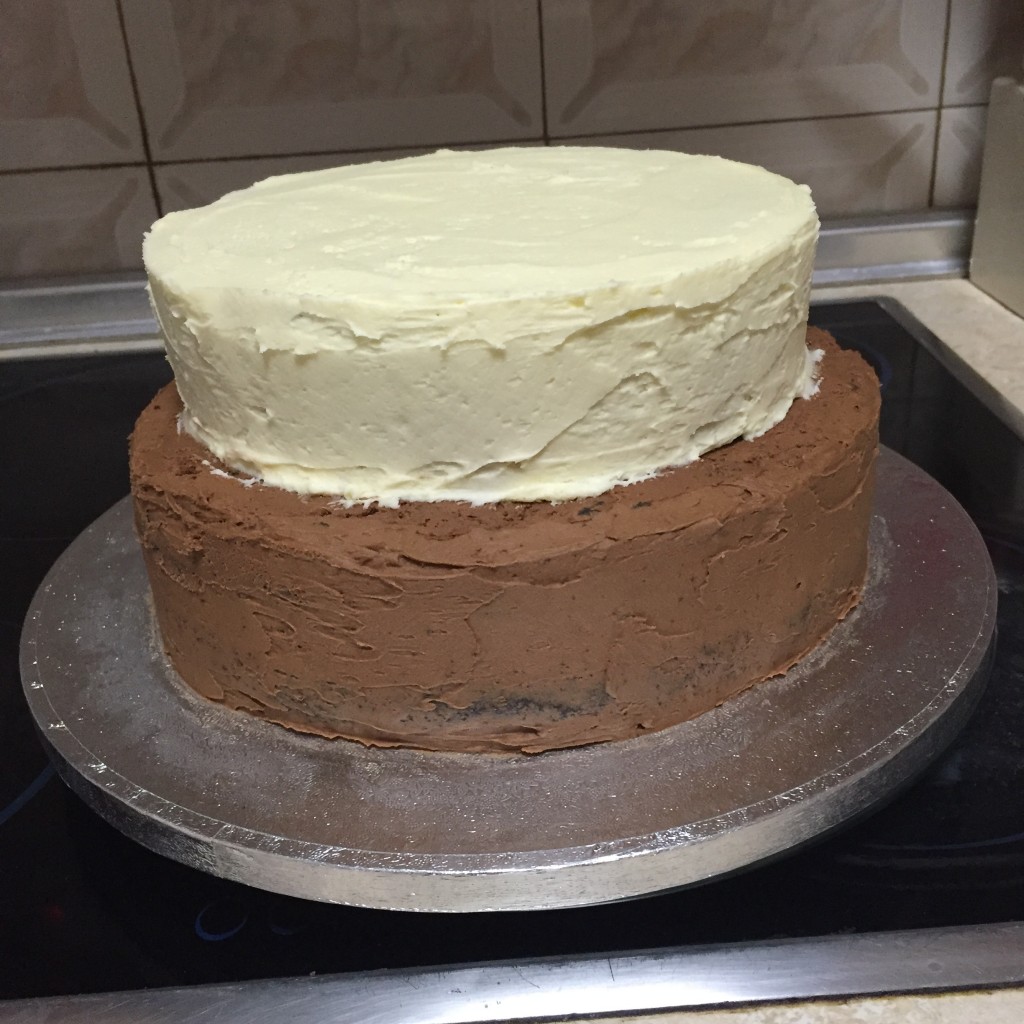
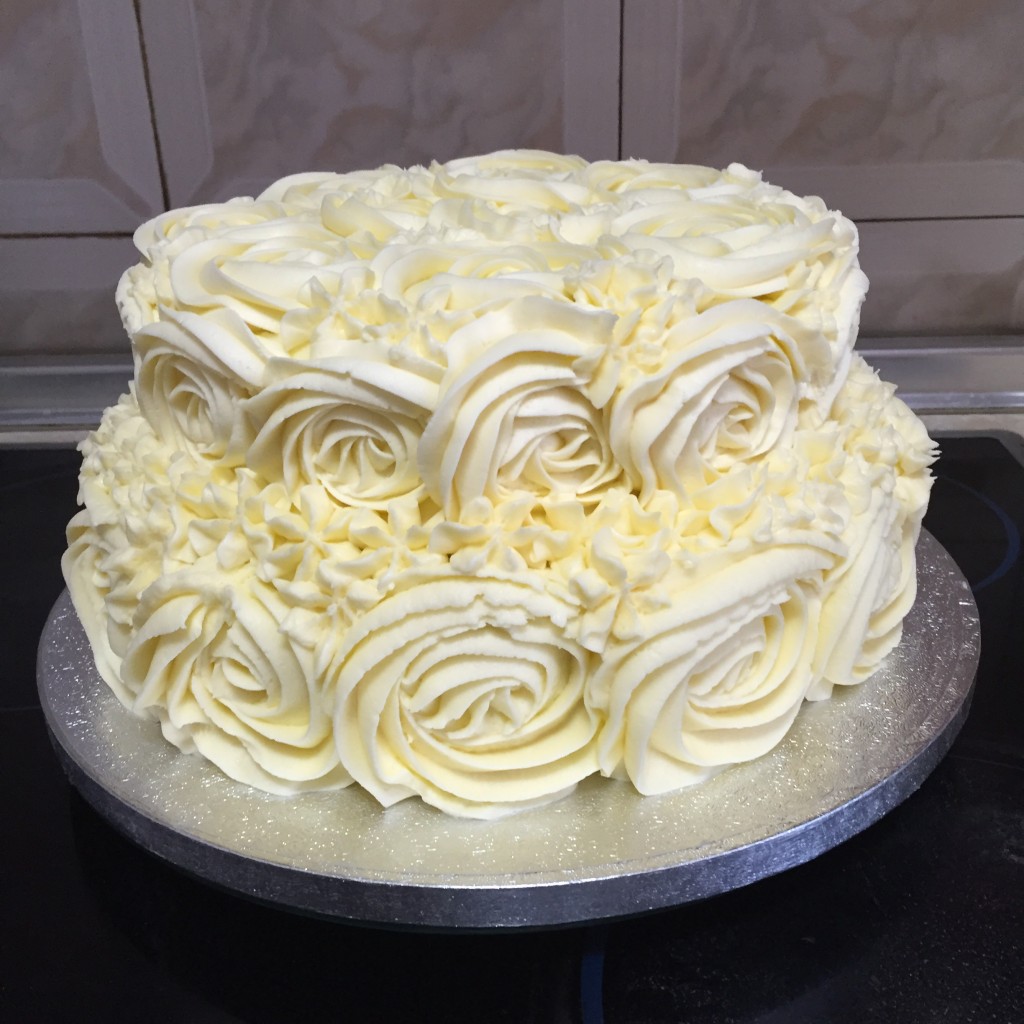
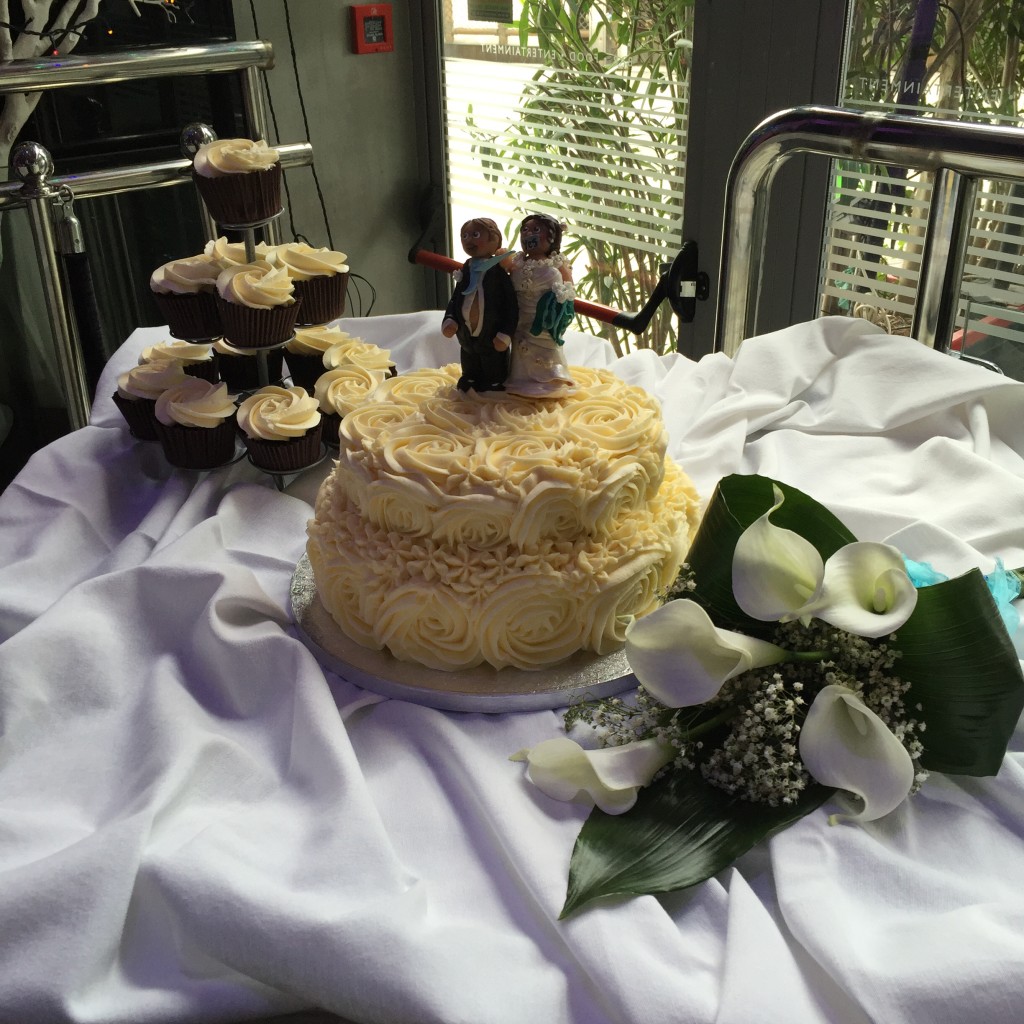
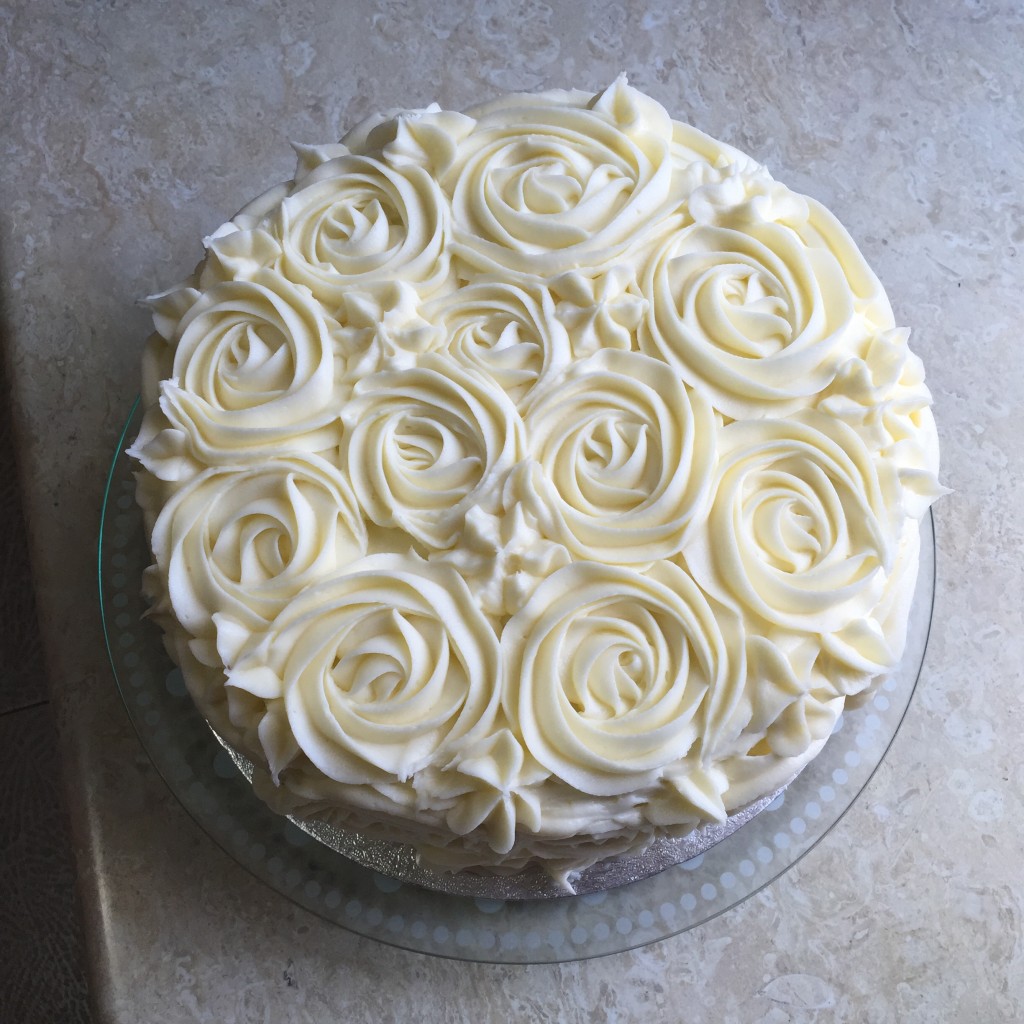
So imagine my excitement when I was tasked to do a cake for a small, intimate wedding. I was over the moon. It was a bit of a short notice, at least as far as weddings go, but the cake wasn’t overly complicated either so I agreed to do it amidst all the work which was happening in our new flat. Bad idea, you’d think – but I didn’t think so at the time. I miraculously pulled it off – however, I will think twice next time I am in such a situation. I present you a very chocolatey 2-tier wedding cake decorated in white buttercream rosettes, accompanied by matching cupcakes because cupcakes, you know.

IMG_6534

Is a chocolate sponge with chocolate frosting too much chocolate? No such thing.

IMG_6538

White buttercream coming along nicely

IMG_6541

The finished product

I personally always think it’s such an honour when you get to be part of an important event in someones life – be it a wedding, finding out the gender of their baby etc. There’s no room for error but it’s also very gratifying when it all works out in the end and it makes someone’s day that little bit better! Here’s to a happy life together to the lovely couple! Now hand me that champagne flute, please?

IMG_6547

The mother of the bride had made the topper to represent the couple’s personalities – they were adorable!

Sharing is caringShare on FacebookTweet about this on TwitterPin on PinterestShare on Google+Share on Tumblr

The travelling baker

Sharing is caringShare on FacebookTweet about this on TwitterPin on PinterestShare on Google+Share on Tumblr

Time for some catching up – this post is well overdue but since in baking chronology is not really that important, I follow the rule of better late than never. So since I moved away from my home country just under 8 years ago, it’s not always easy to spend the holidays with family. Bulgaria, turns out, is not the easiest or cheapest destination to reach from Gibraltar. So the last couple of years we have tried to meet about halfway. We spent NYE together in Vienna last year and this year we decided to all head to Germany for Christmas. Markets, mulled wine, cold – the whole package. And cake because, you know, I simply cannot travel without sampling the local cuisine.

But this is not the story I wanted to share. What I wanted to share is how I managed to make a birthday cake for my dear sister while travelling. So I had been planning to make her a cake as we were renting an AirBNB in the city my dad is currently living in. But! Because there is always a but. It was a holiday flat so yes, you guessed it. No oven. The horror!!!! We quickly made a plan to use my dad’s landlady’s oven. However, around this time it started daunting on me she may not have all the tools I need. Also, how was I going to fool my sister in order to disappear for a few hours?

But I am also super good at solving problems. I quickly delegated to G to save the day. I pretended to be super tired after dinner on our second last night and had previously asked G to take my sister out for a drink on their own. We expected this to be the biggest challenge as she’s not a massive drinker neither does she like going out so much. But miraculously she agreed with no questions asked. I managed to get to my dad’s place, bake a cake and do the icing and be tucked in bed back at the AirBNB before the sister and the boyfriend came back from drinking the wine reserves of Speyer dry.

I was pretty sure she doesn’t suspect anything yet but had yet another hurdle to overcome. The cake was not iced or decorated yet – So my plan was to wake up early in the morning, go over, finish the cake and come back before the sister wakes up. But guess what – she had woken up earlier that day. G kept it cool: ‘I don’t know where she is’. Good that I do tend to go for runs in the morning that my sister thought I’d gone for a run. So we walked in with the cake and she was still very surprised! Admittedly, not my best bake (untested German ingredients, new oven, different tools) and not the best looking cake ever but made from the heart. So here is Vanina’s surprise red velvet birthday cake:
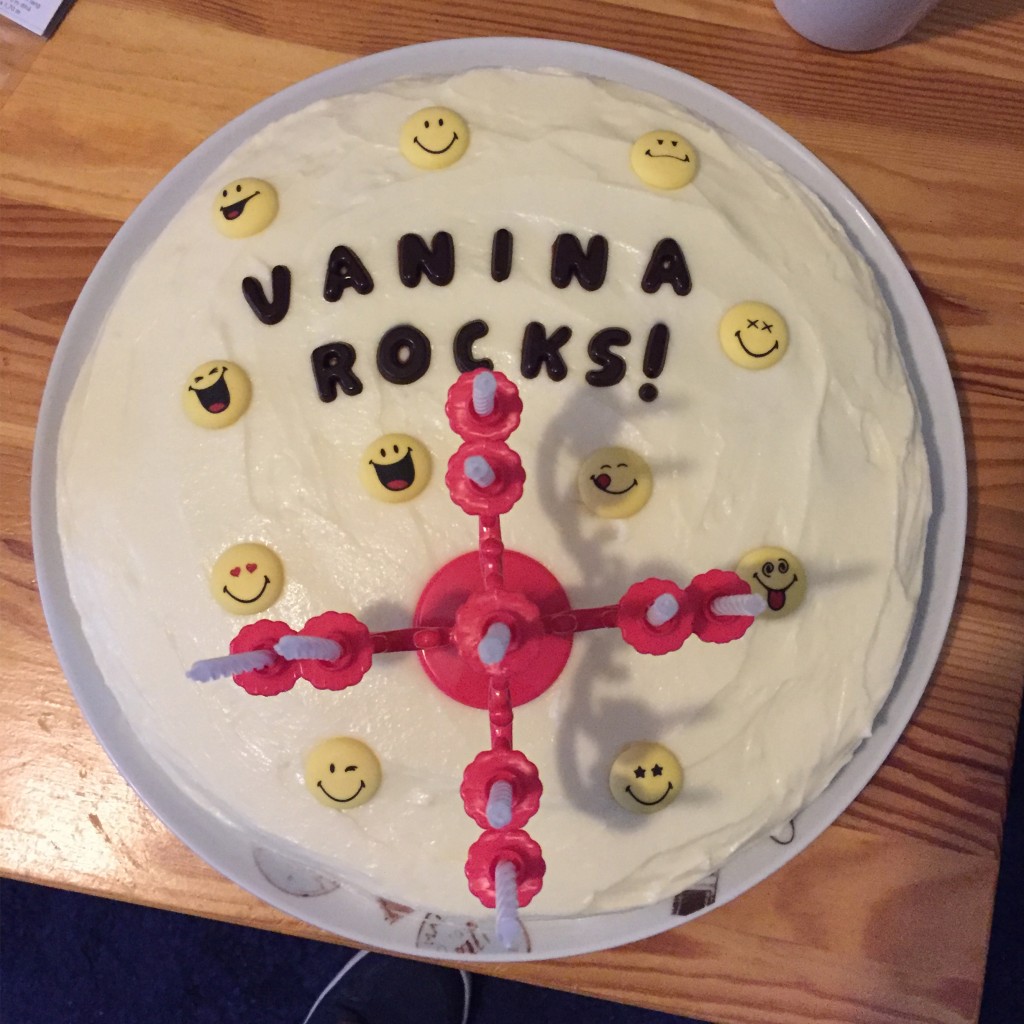
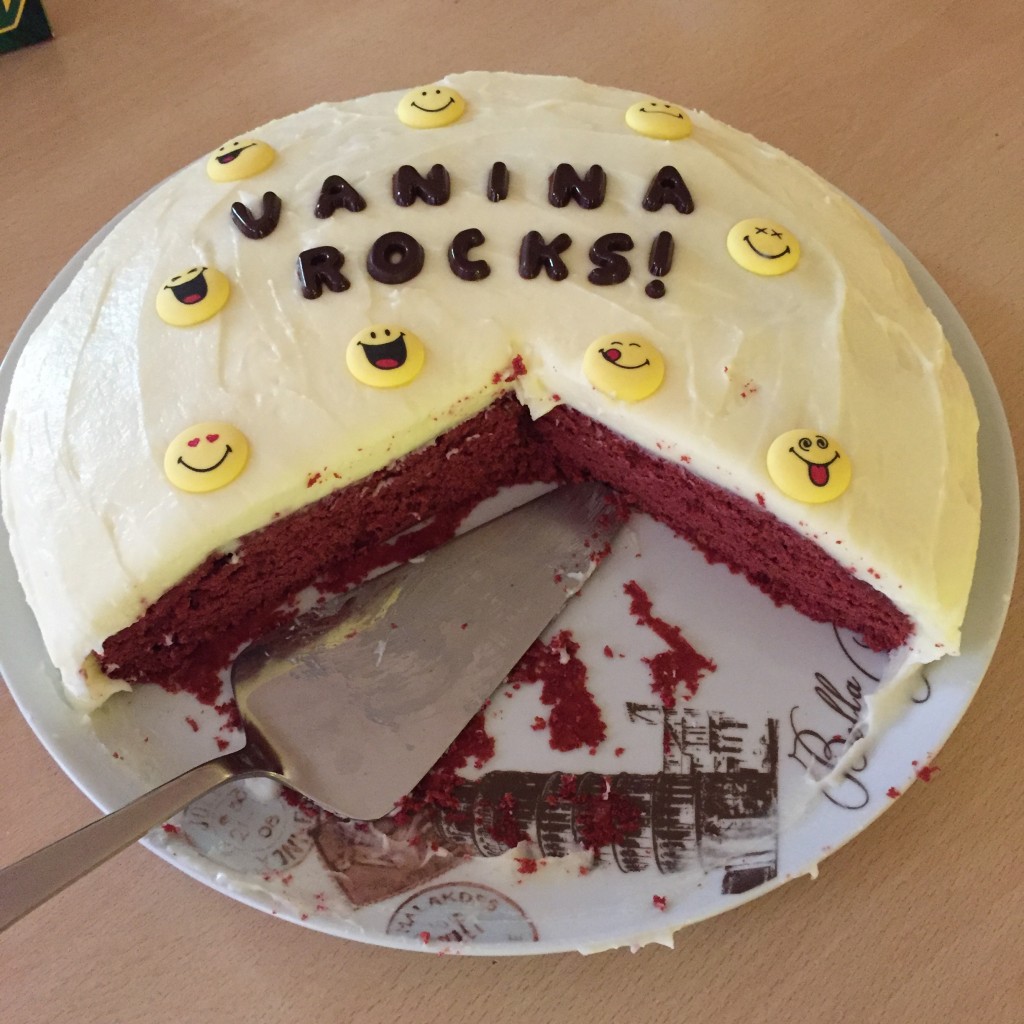
Untitled-1IMG_6220

Sharing is caringShare on FacebookTweet about this on TwitterPin on PinterestShare on Google+Share on Tumblr

Star Wars Frenzy

Sharing is caringShare on FacebookTweet about this on TwitterPin on PinterestShare on Google+Share on Tumblr

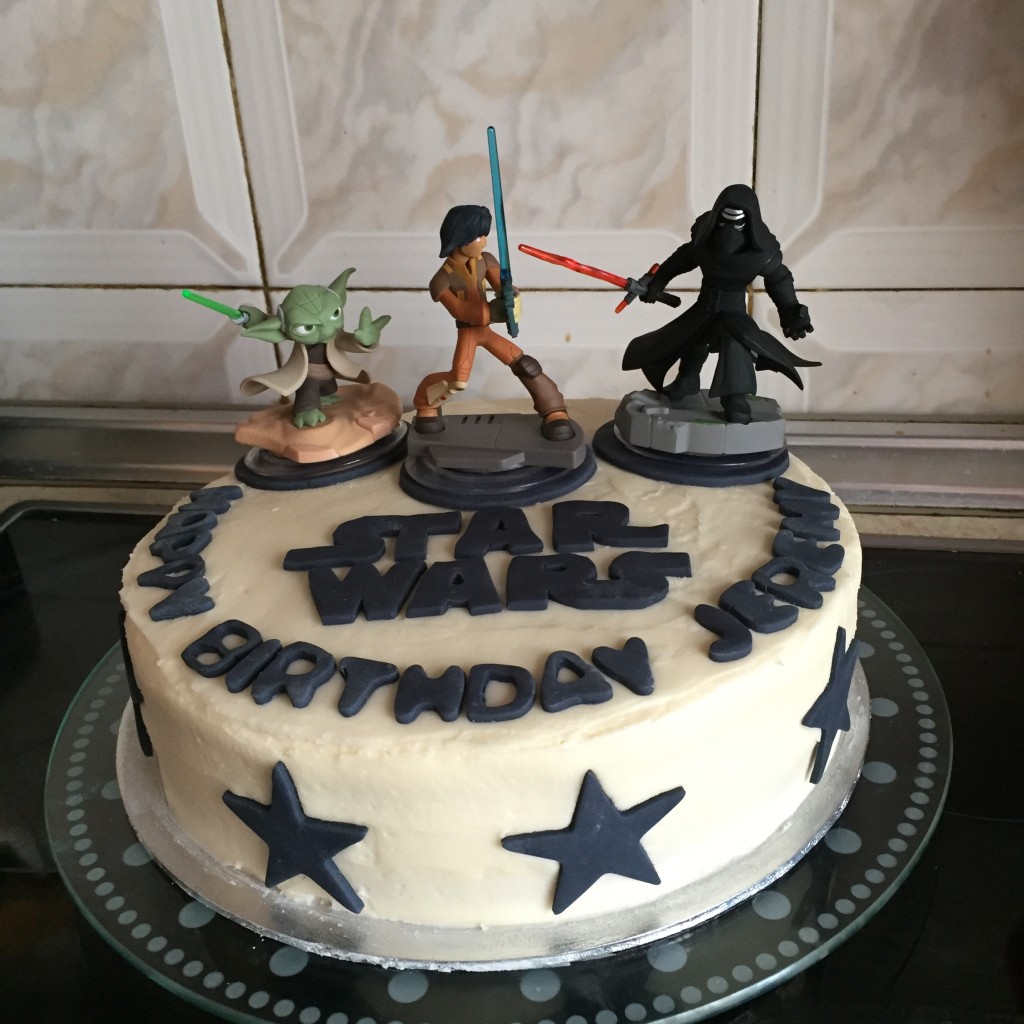
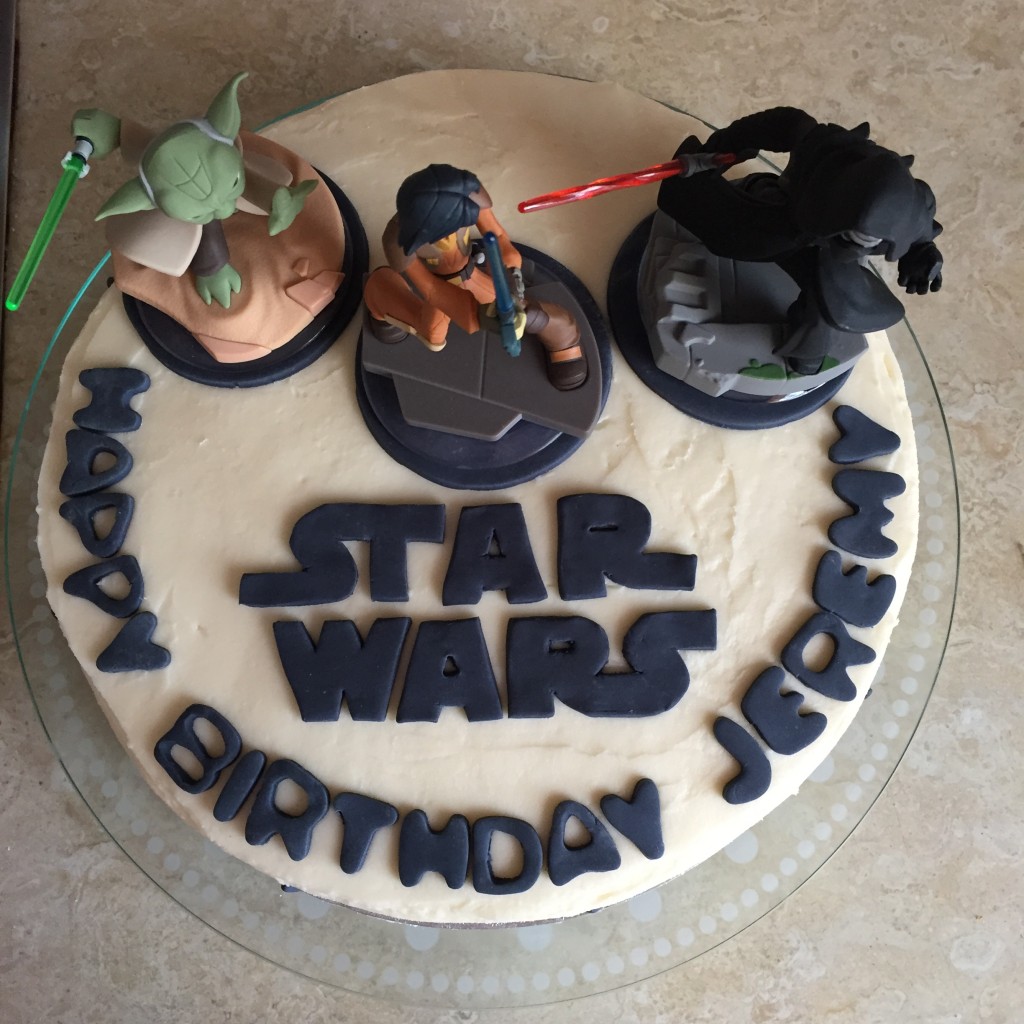
The last few months have been all about Star Wars. Did you see the movie? What did you think of it? Did you buy everything Star Wars themed? I may be guilty of buying a Star Wars toothbrush for G – they were on offer, is my excuse. But no, I didn’t watch the movie, same as I haven’t really seen any of the other ones before. It did not, however, come as a surprise when I was tasked to make a Star Wars cake for a friend’s son’s birthday. Lucky for me, modern day game consoles made my job really simple by providing the perfectly sized figurines of the movie characters. All that was really left for me was to make a few stars (it’s all about them, isn’t it? Ok, maybe it isn’t but it seemed to match), cut out the logo from fondant (which in itself was no easy task but I used a paper stencil I had printed out and cut out) and personalize the cake for birthday boy. I know this is cheating but it does save a lot of time.

I used a vanilla sponge base but sprinkled chocolate chips on top before baking and finished it off with some tasty cream cheese frosting. Upon request, the cake was gluten free – I am becoming quite the master of gluten free baking, even if I say so myself! I hope Jeremy had a lovely 8th birthday.

side top

Sharing is caringShare on FacebookTweet about this on TwitterPin on PinterestShare on Google+Share on Tumblr

Pink or blue, that is the question

Sharing is caringShare on FacebookTweet about this on TwitterPin on PinterestShare on Google+Share on Tumblr

When the lovely Polly from Polly Mixtures / Mum on the Rock told me she is expecting baby number 2, I was very excited and happy for her. When a few weeks later she asked me if I would make a gender reveal cake for her, I was very happy and excited for myself! I had seen it on Cake boss but as it is more of an American tradition, I really did not expect to ever have to make one myself! So, of course, I jumped at the opportunity. Here’s how we made it happen:

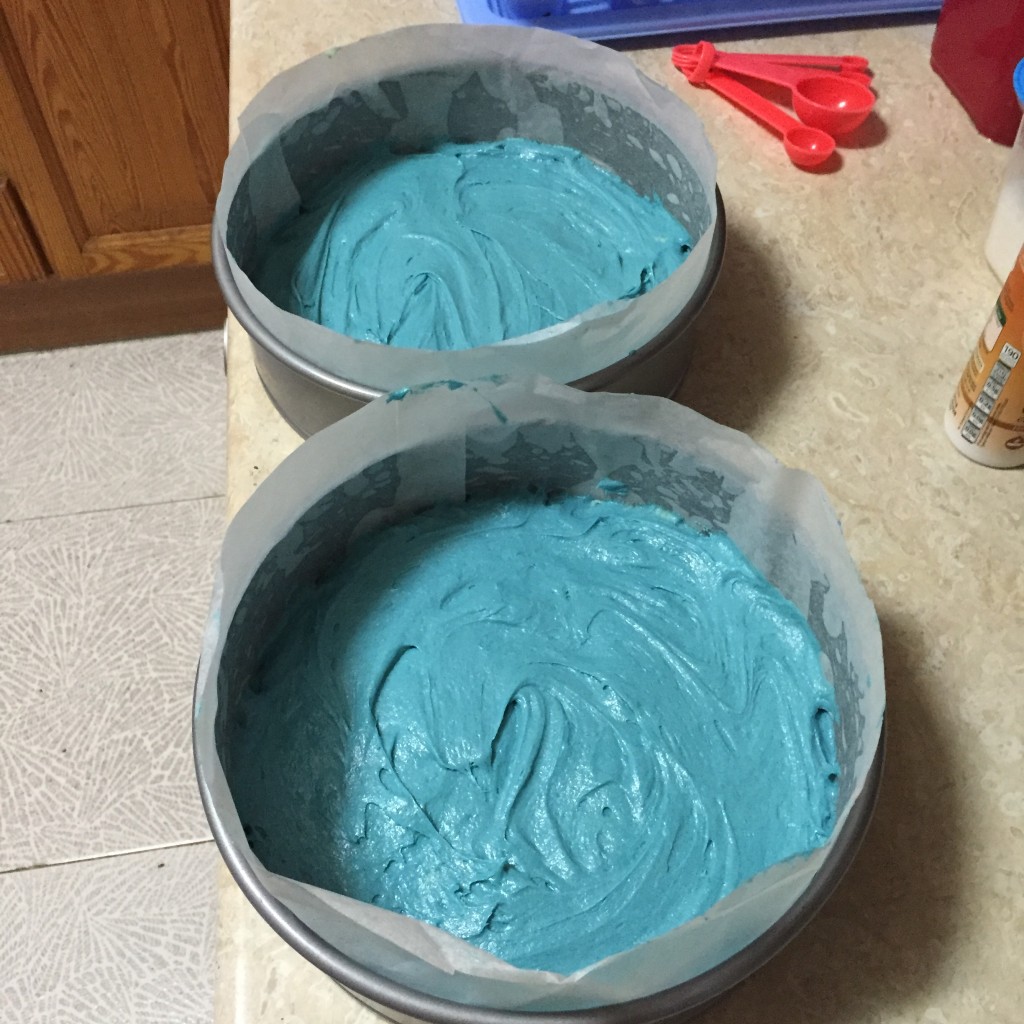
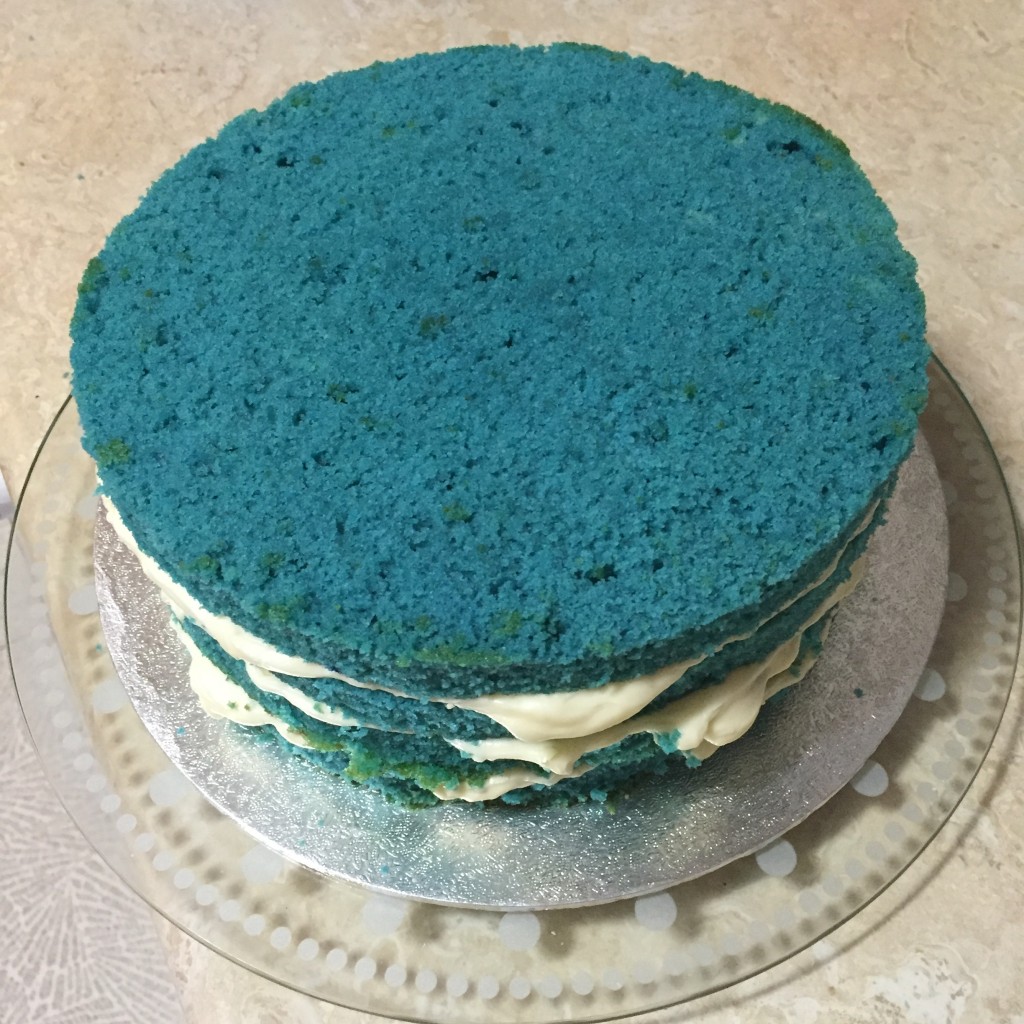
Polly gave me a folded note from the doctor after her appointment (kudos for not looking!) and I made her a cake which was plain white on the outside. But she knew she’d know the gender of the baby when they cut it open – my task was to make the sponge either pink or blue! It was so hard not to go: ‘It’s a boy, Polly, a boy!’ when delivering the cake but I am glad I didn’t so the expecting parents could share this moment with friends and family 🙂

And here a few photos from before and after:

before 1 before 2 afer 1

Would you find out the gender of your baby with a cake? I personally think it’s very sweet (in more than one way). Only problem is I won’t be able to make my own cake, and isn’t this a shame?

Sharing is caringShare on FacebookTweet about this on TwitterPin on PinterestShare on Google+Share on Tumblr

Minion pinata cake or else

Sharing is caringShare on FacebookTweet about this on TwitterPin on PinterestShare on Google+Share on Tumblr

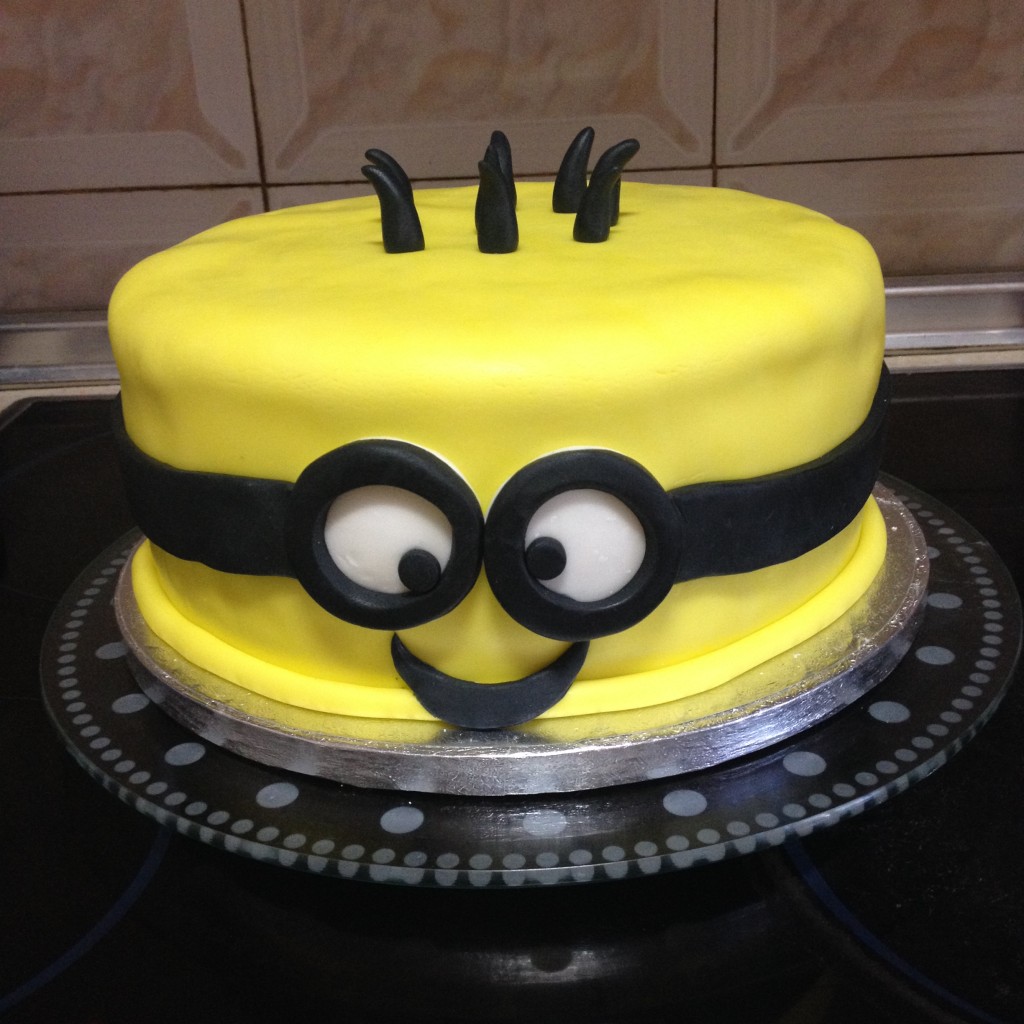
A friend of mine wanted a cake with a wow factor for her son’s 7th birthday who is currently very much into the Minions. She gave me cart blanche provided the cake has chocolate in it so my imagination went wild. Rainbow cake was out of the question since it’s quite hard to colour chocolate sponge but I reckoned a combination of the Minion yellow and chocolate will go down well. But this wasn’t wow enough – so I decided to make an otherwise unsuspecting Minion pinata cake!

ready cake

Looks like any other cake…

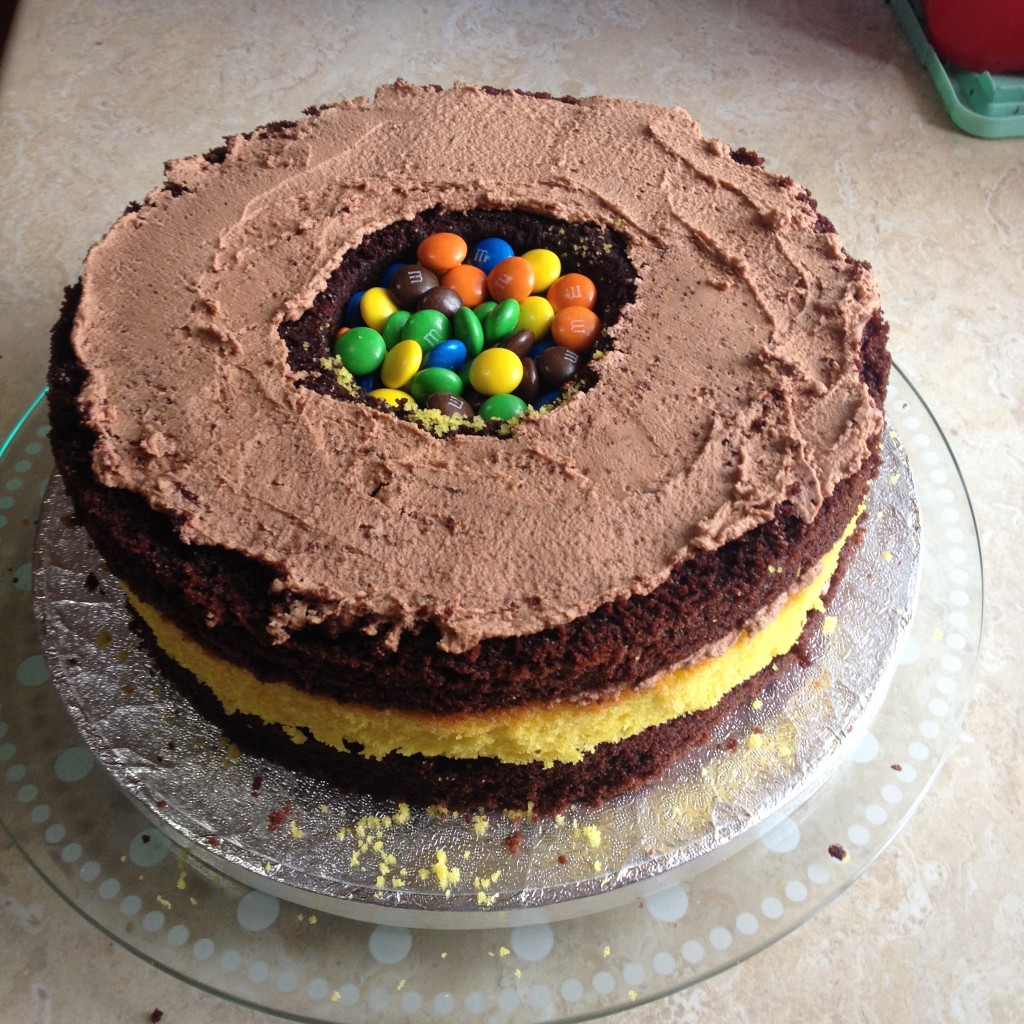
Here’s how to: You’d need 4 layers to achieve the pinata effect. I baked 2 yellow layers and 2 chocolate ones so the cake can be stripey. You then cut a round hole in the middle 2 layers. When assembling the cake, make sure you only put frosting around the edges of the first layer. Then put one cut layer on top, more frosting and the second layer with a hole. Then fill the hole with small candy of your choice – I like M&Ms as they’re colourful but you can use Maltesers, Skittles etc. Then put the top layer on top and ice the cake as usual. When you cut into it, the candy will spill out making it a pinata! And pinatas make any party amazing, don’t they?

before frosting

…until you cut it open!

Sharing is caringShare on FacebookTweet about this on TwitterPin on PinterestShare on Google+Share on Tumblr

Little Mermaid but not the Disney one, please

Sharing is caringShare on FacebookTweet about this on TwitterPin on PinterestShare on Google+Share on Tumblr

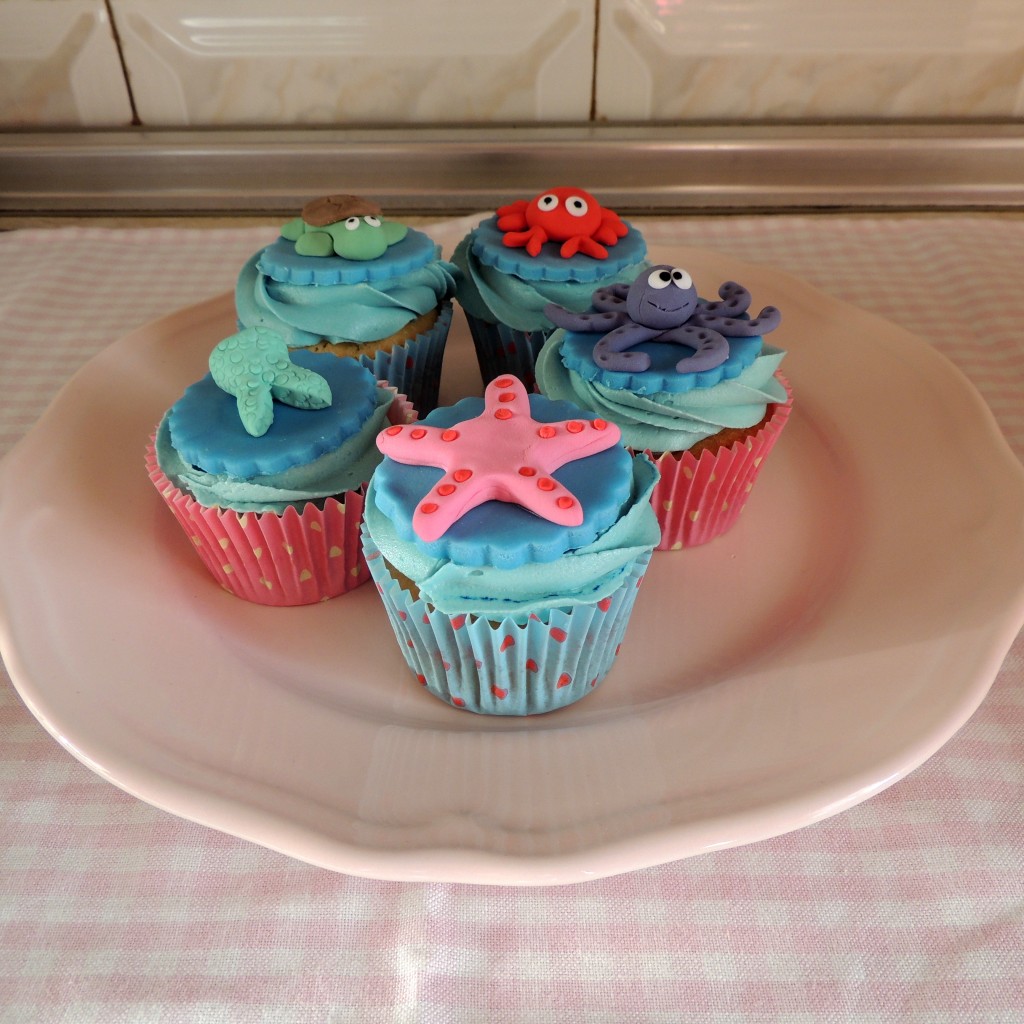
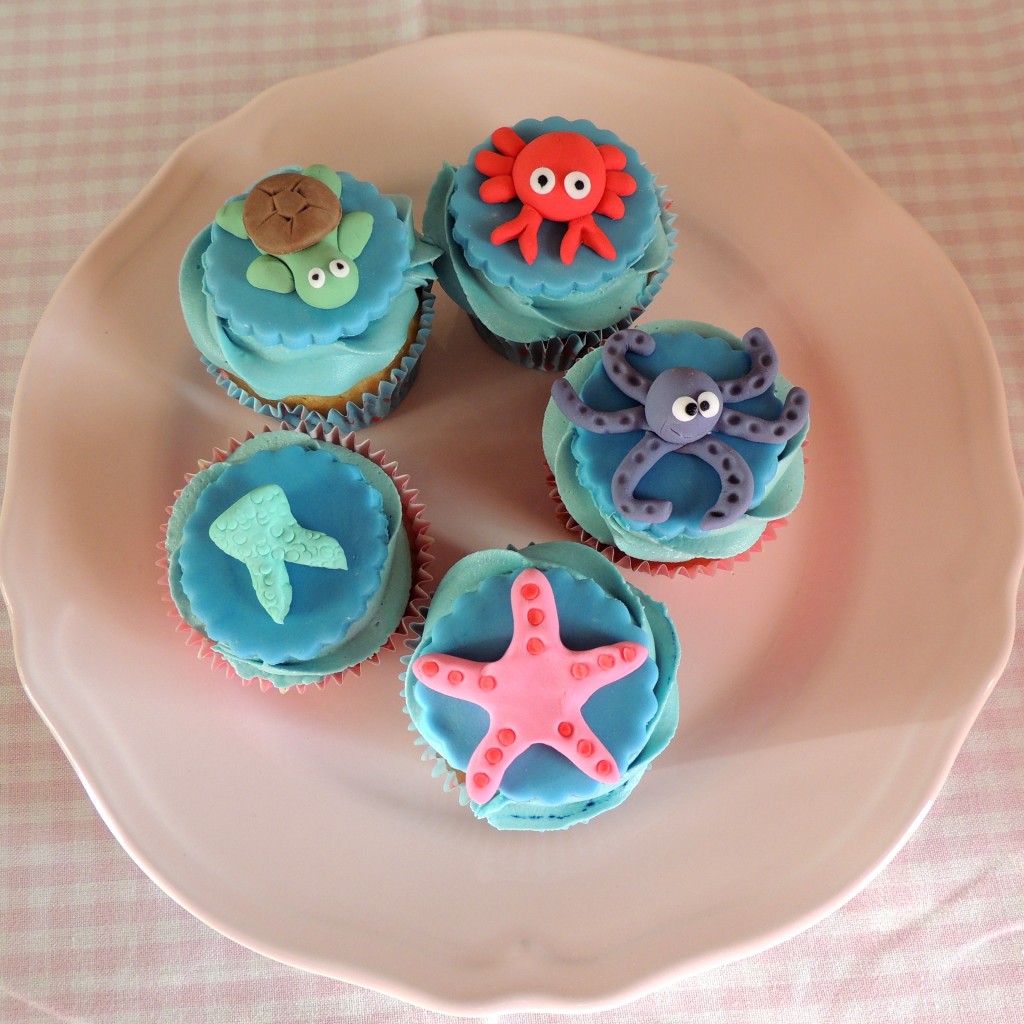
This request for a bachelorette cake was changed approximately 5 million times. From cake to cupcakes back to cake back to cupcakes. From gentle pastel coloured flowers and a golden ‘Hen Party’ sign to ‘Little Mermaid but not the Disney one, please’. I was secretly glad we settled for cupcakes as they are, after all, my speciality and I very much enjoy doing even the fiddliest decorations. As it was a summer party, we went with a piña colada flavour – it was extremely difficult to resist eating all the pineapple cupcakes and the coconut buttercream frosting while decorating them. They were so much fun to make, and don’t they look pretty?

Little Mermaid Cupcakes 1 Little Mermaid Cupcakes 2

Sharing is caringShare on FacebookTweet about this on TwitterPin on PinterestShare on Google+Share on Tumblr

A horse stable cake

Sharing is caringShare on FacebookTweet about this on TwitterPin on PinterestShare on Google+Share on Tumblr

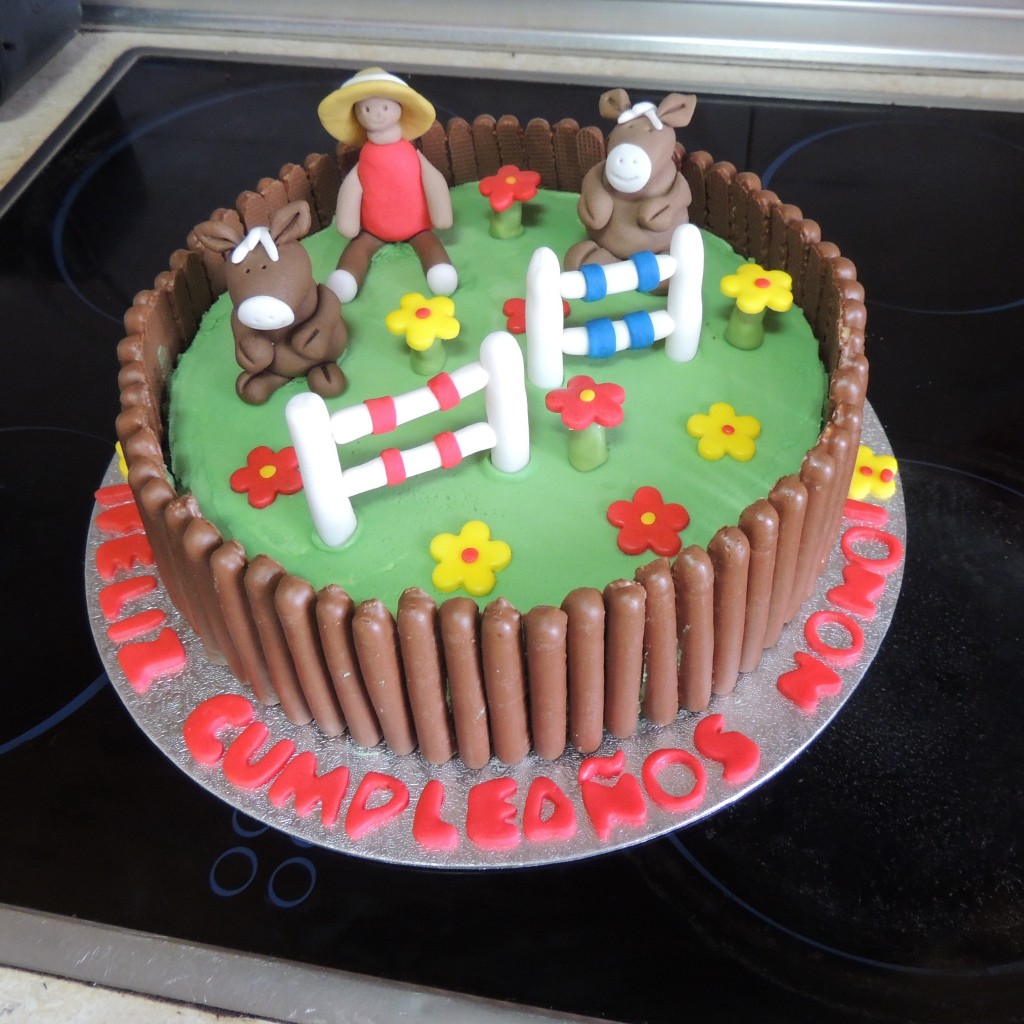
YouTube is full of video tutorials for more or less anything you ever need to learn doing. Regardless if you’re looking for a hair style, how to change a car tire or how to pack a suitcase – it’s got it all. One thing it does lack though is decent tutorials on making horses out of florist paste or fondant. So when I was asked to make a horse riding themed cake, I had all these magnificent ideas how to make a horse jumping over a hurdle. However, after hours of trying and tons of florist paste wasted (and a million videos watched), I had no other choice but to settle for cartoonish looking horses, made a few jumps and the birthday boy out of fondant and decorated the cake as a horse stable. I was still happy with the result but if you are a good cake decorator, you know how to make horses and have free time, please make a video tutorial. I will be eternally grateful.

Horse_riding_cake

The end result

Sharing is caringShare on FacebookTweet about this on TwitterPin on PinterestShare on Google+Share on Tumblr