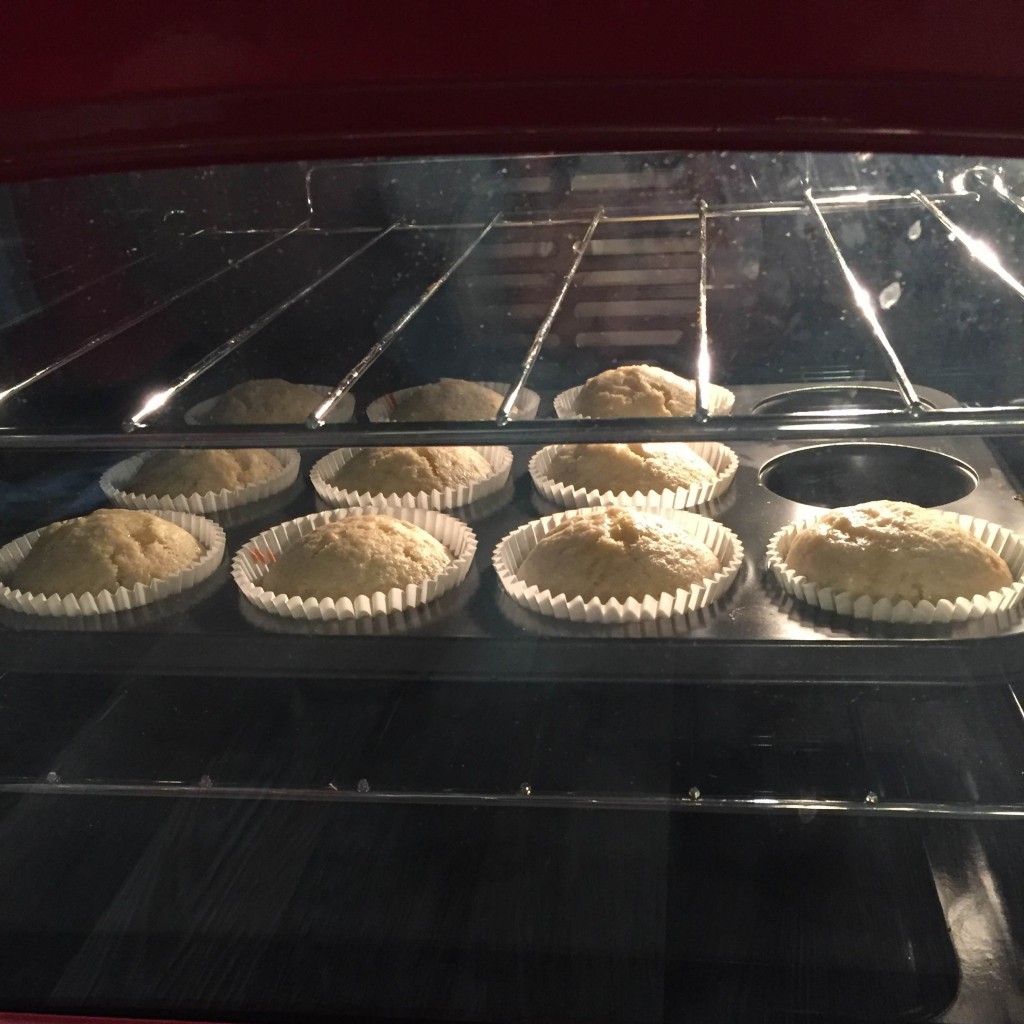
Now, I am known for baking until late, late at night. Baking and frosting cupcakes at 2am? No problem. Decorating cookies with royal icing at 3am? Bring it on. But if I am not one thing, that is an early bird. So why did I end up waking at 6am to make a tarte tatin? Still a mystery to me too. Although it may have to do with the fact that I cannot miss a baking challenge and when my co-workers said I should make this dessert, I didn’t realize it’s best served warm. That is one mistake I will not be making hastily again: before promising another fiddly bake, I will check if it can be baked the day/night before.
So I set on to finding the best recipe. The New York Times promised theirs is fool proof but it used ready puff pastry (and I like to make my own pastry). BBC Good Food didn’t make any empty promises but it did sound like more work than the NY times one. So as one does, I combined the 2 recipes to produce the famous apple tart and here we go:
Tarte tatin
(makes one 10-11 inch tart – please note it takes a while to prepare if you do it ‘by the book’ and let the apples dry overnight in the fridge)
Ingredients for the filling:
6 large apples (I used Braeburn but apparently you can use Granny Smith mixed with Cox or Honeycrisp) – just make sure they’re firm so they don’t fall apart while cooking
80g salted butter
100-130g light brown sugar (to taste)
Ingredients for the pastry:
250 g plain flour*
50 g soft light brown sugar
A pinch of salt
125 g unsalted cold butter
1 large free-range egg
*You can make the tart gluten free if you replace the regular flour with a GF one and add ½ teaspoon xanthan gum)
Method:
I like to prepare my pastry in advance. So let’s start with that. Sieve the flour (and xanthan gum if going GF) into a large bowl (the shallower, the better), then stir in the sugar and salt. Cut the butter into cubes, then use your hands or a pastry blender to rub it into the flour mixture until it resembles fine breadcrumbs. Beat the egg in a separate bowl, then add it to the mixture. Use your hands to bring it together into a rough dough, but don’t knead it too much. If for some reason the dough is too crumbly, you can add some milk on order to bring it all together but mine came out fine with just the egg, in fact it was still a little sticky which is totally fine since you will be using a little flour later when rolling it out to prevent it from sticking to your worktop and rolling pin. Form the dough into a flat round, roughly 2.5cm thick, wrap in cling film and let sit fridge for about 30 minutes to an hour before rolling it out.
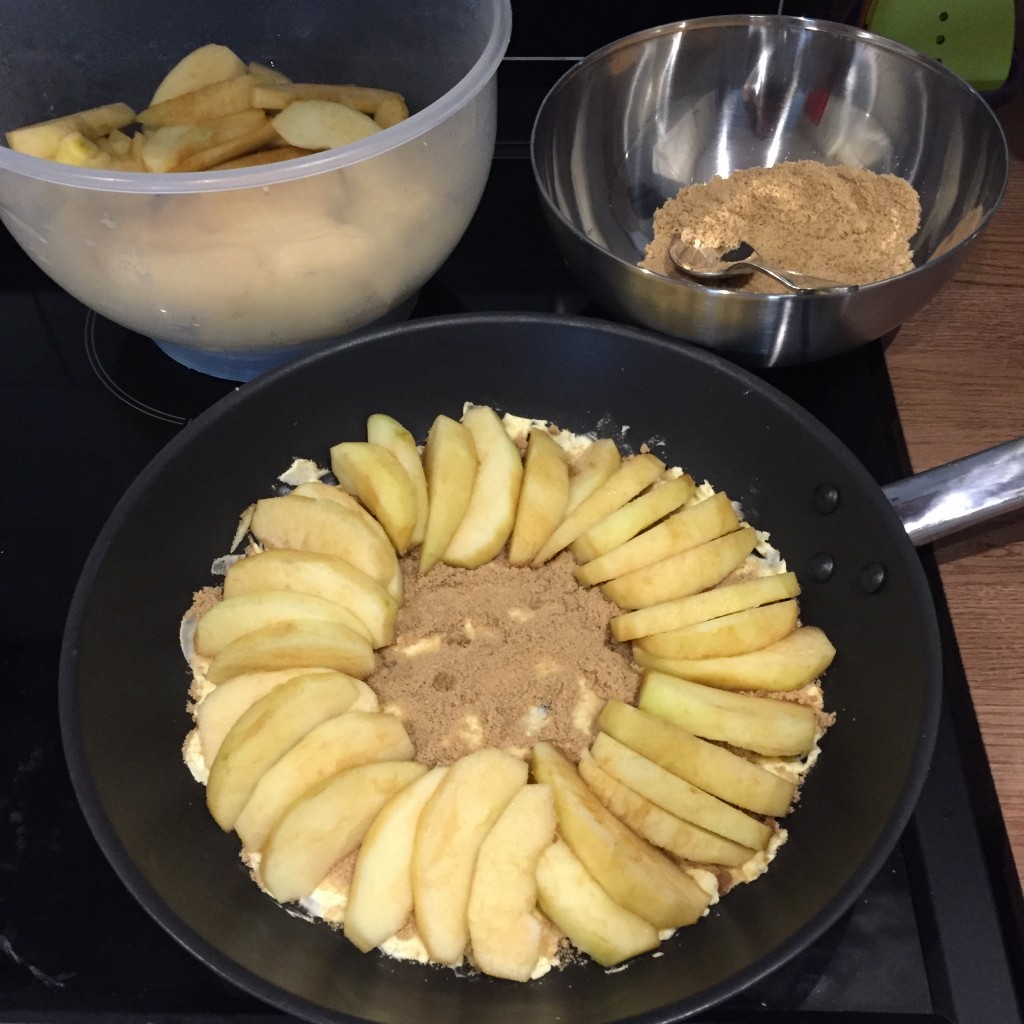
Slice the apples and place in the fridge for a few hours (ideally overnight so they can dry up a little bit). You can add some lemon juice to prevent them from browning but they will go brown when cooking anyways so you can skip the lemon juice.

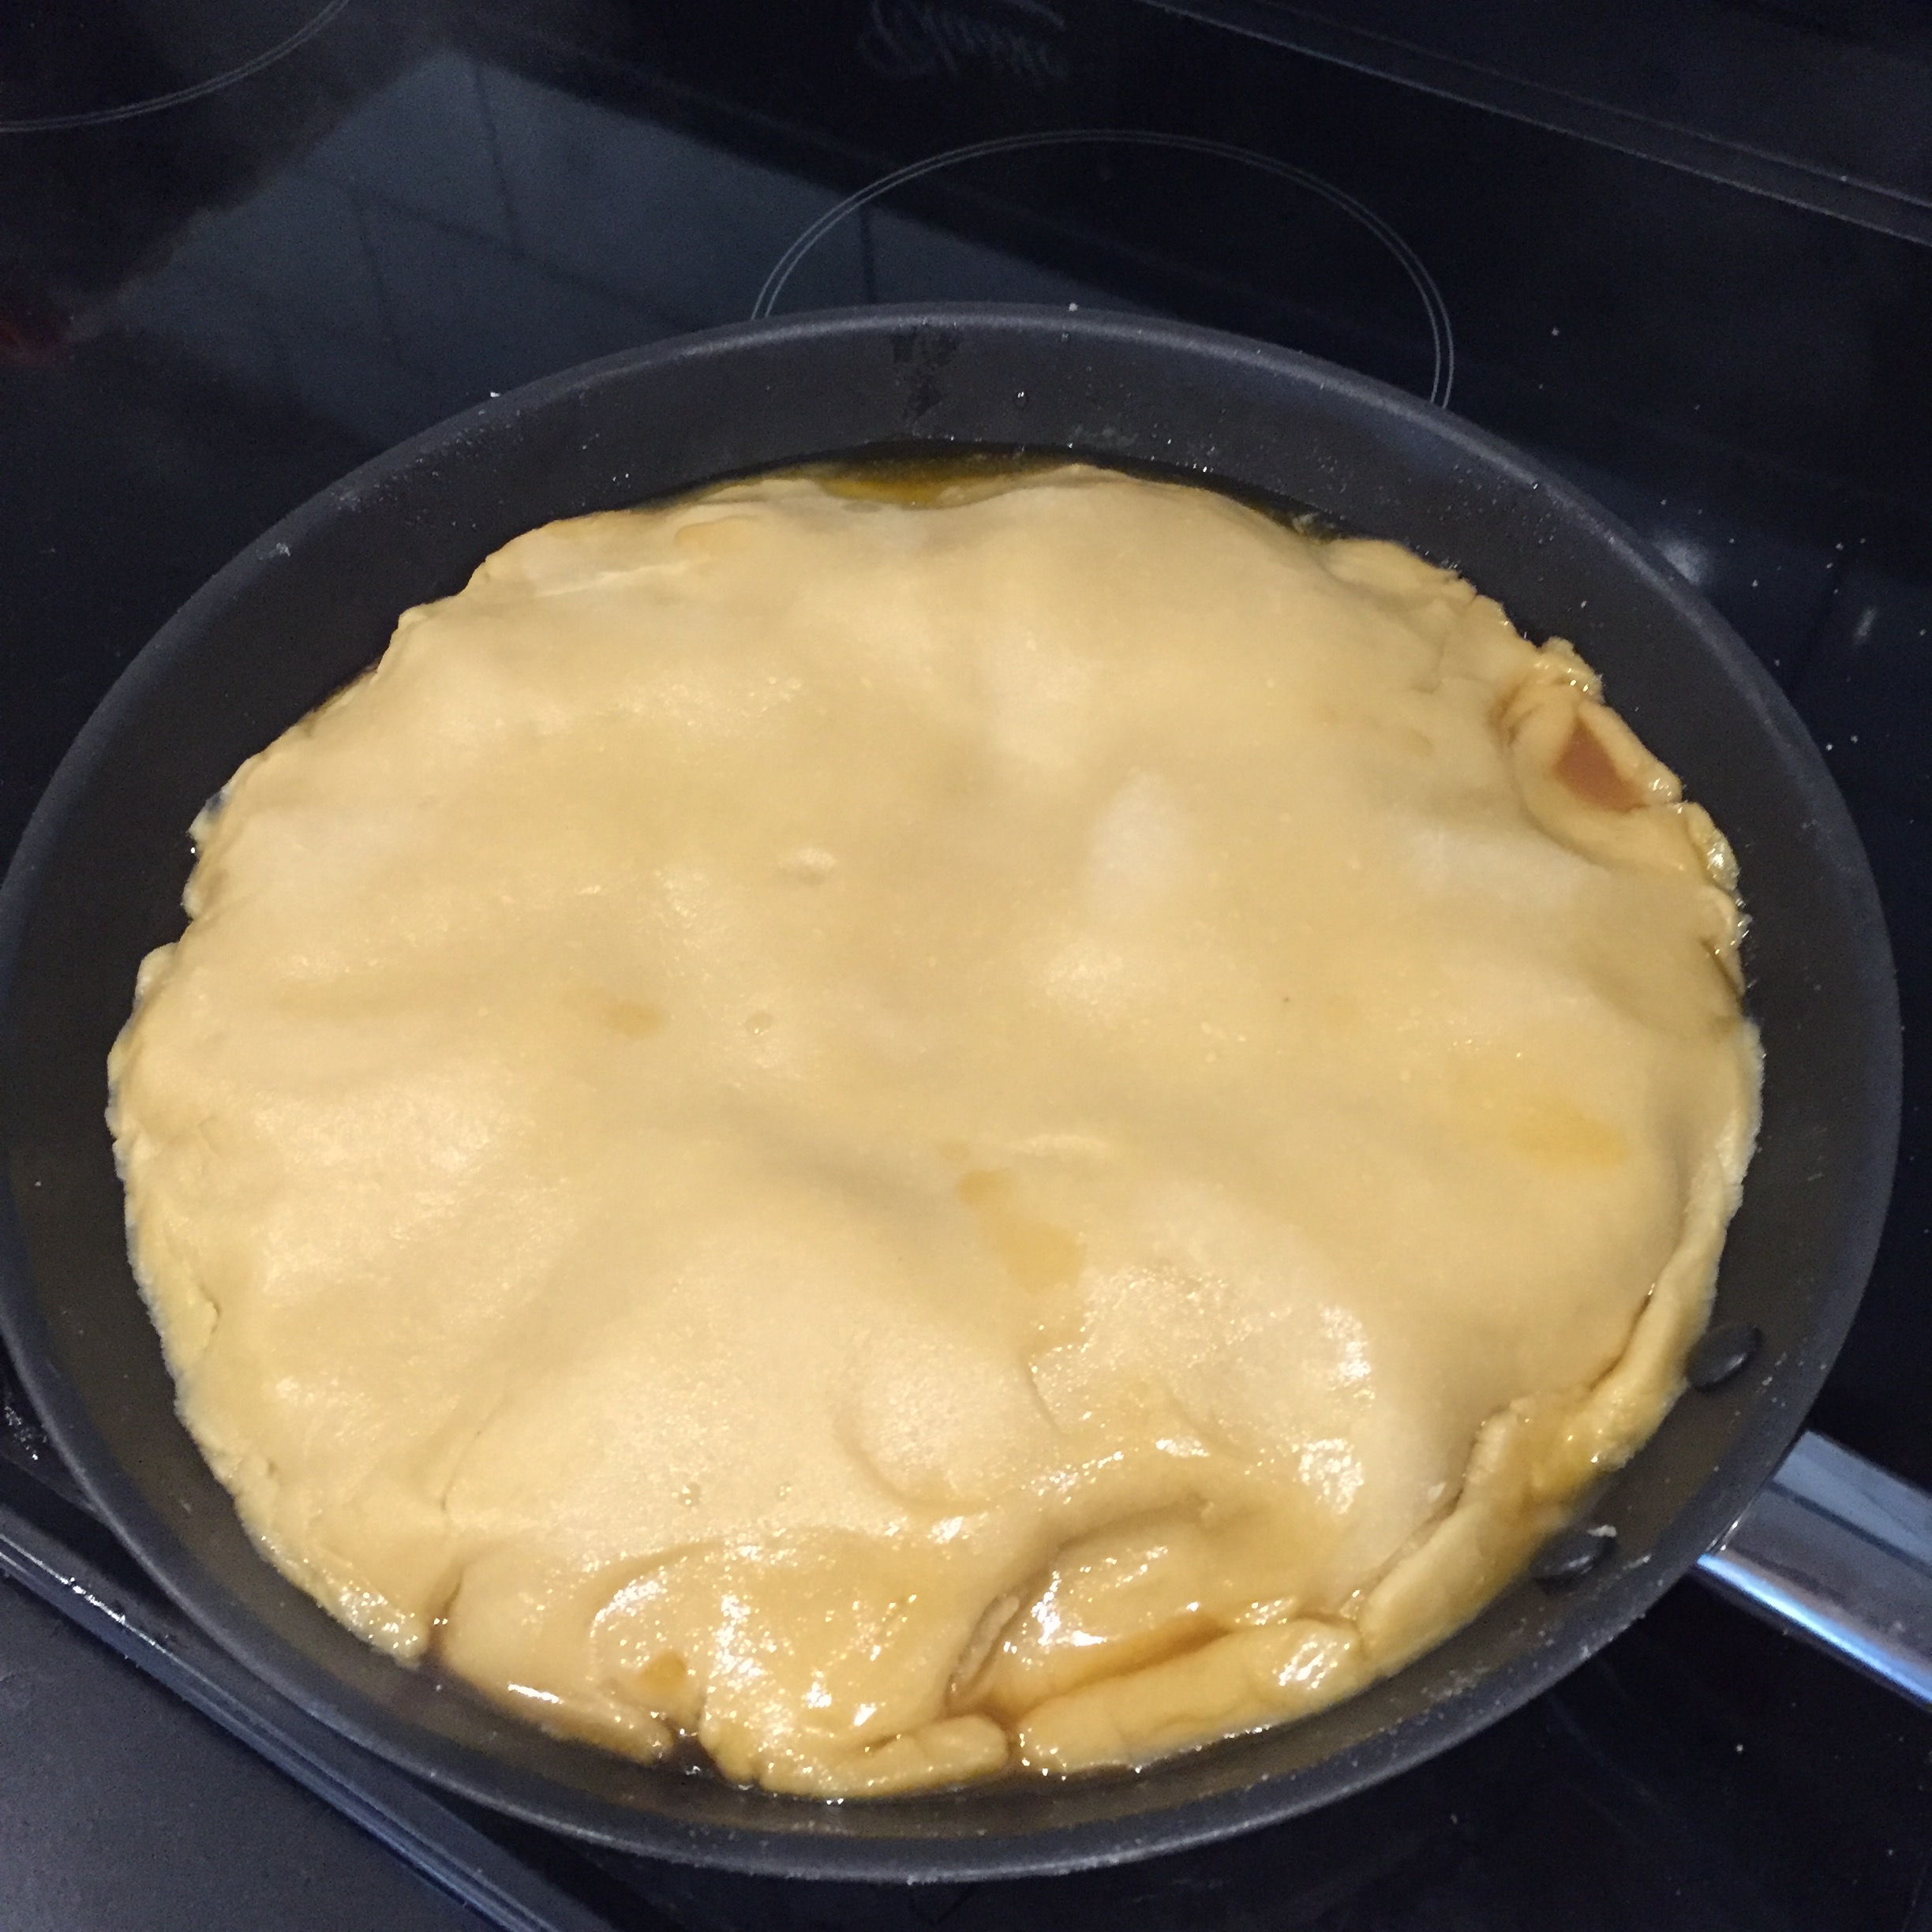
The next steps are ideally done right before you want to serve the tart. Cover an oven proof frying pan (I have an IKEA one which has a metal handle) with the butter (it needs to be a thick layer) and sprinkle most of the sugar over it and arrange the apples nicely on top, making sure the whole surface is covered. Add the rest of the sugar on top. Roll the pastry to the size of the pan and cover the apples. Place the pan on a medium to high heat on the hob. Cook for a few minutes until the juices around the edges of the pastry begin to bubble, and spoon some out of going over the pastry. Cook for another 10-15 minutes until the juice starts going darker and starts to caramelize. Then place the pan in a preheated fan oven at 170 degrees Celsius (or 180-190 if using a regular, non-fan oven). Bake for another 45-50 minutes.
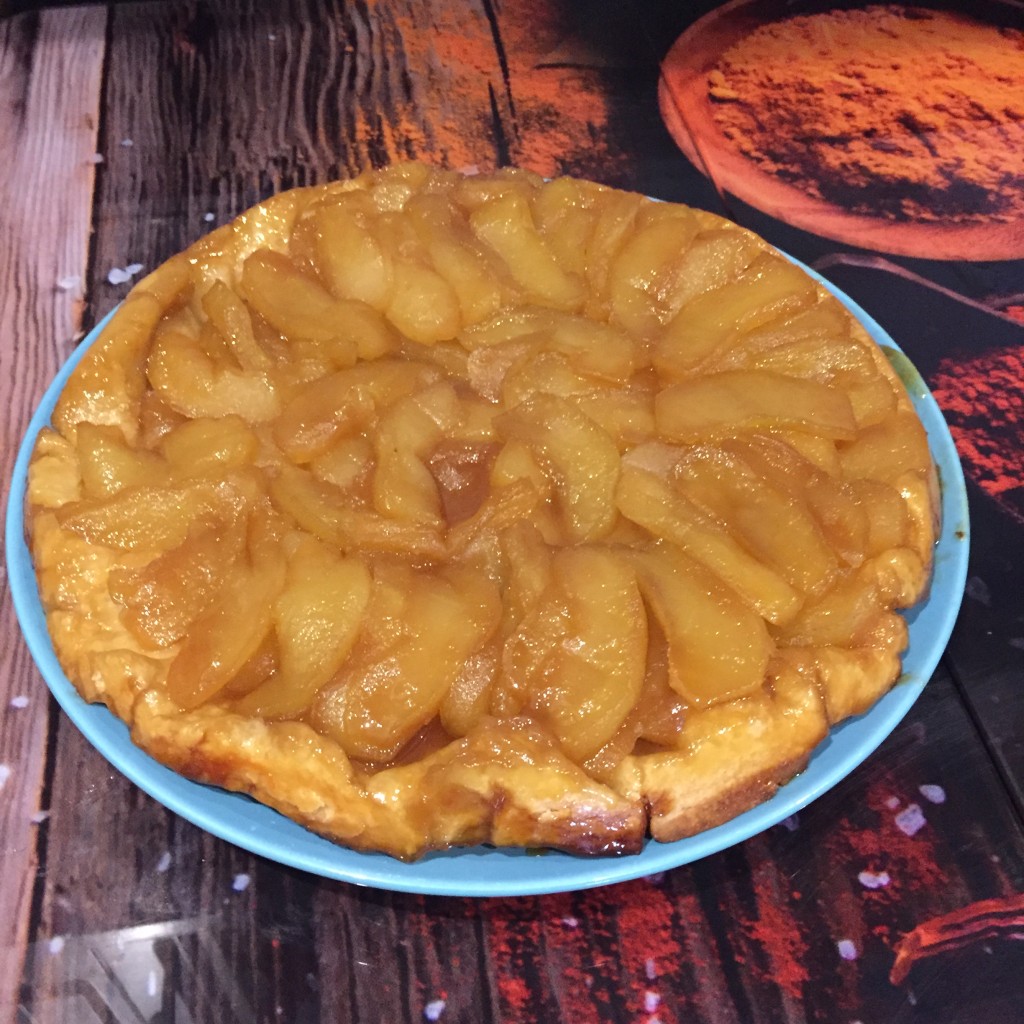
Let cool for a few minutes (around 5) once you take it out of the oven, then place a serving dish on top and carefully tip the tart over. Serve while still warm – add a scoop of vanilla ice cream or whipped cream if you like!


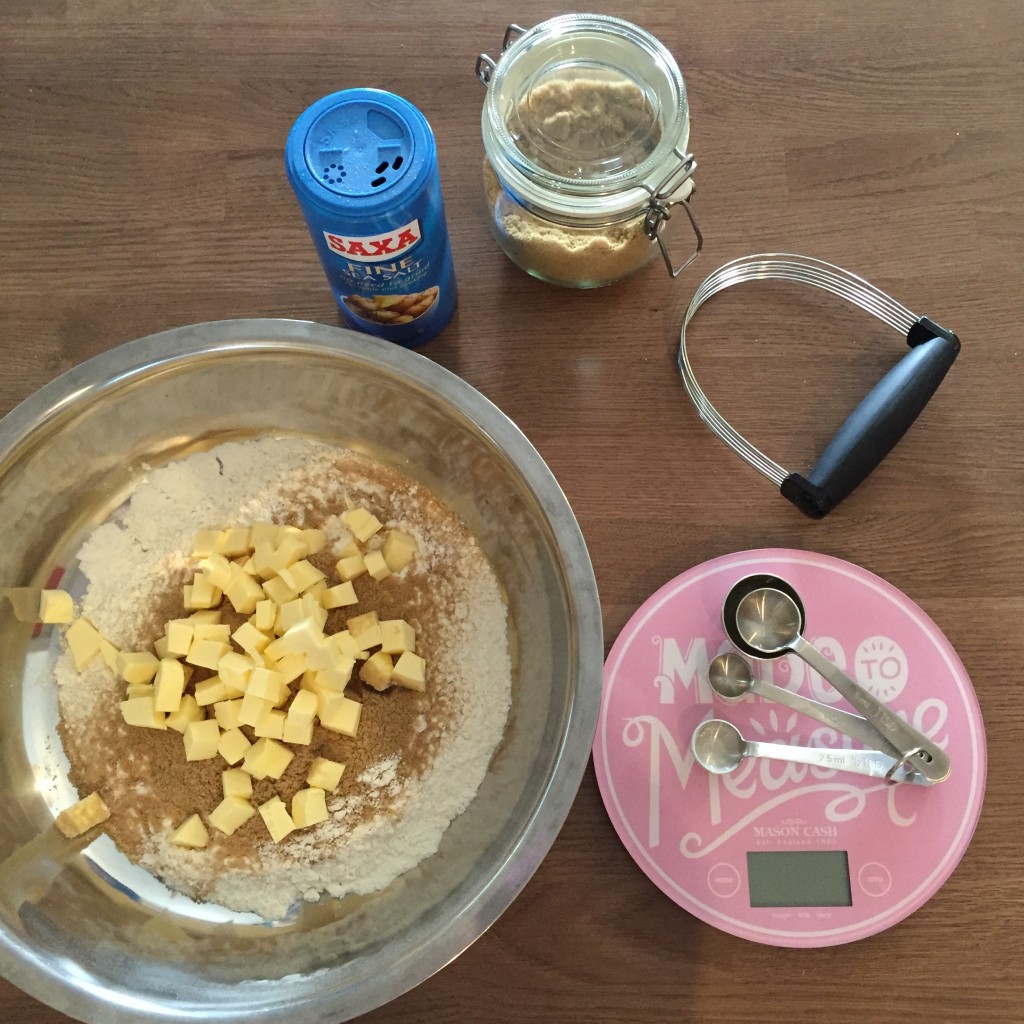
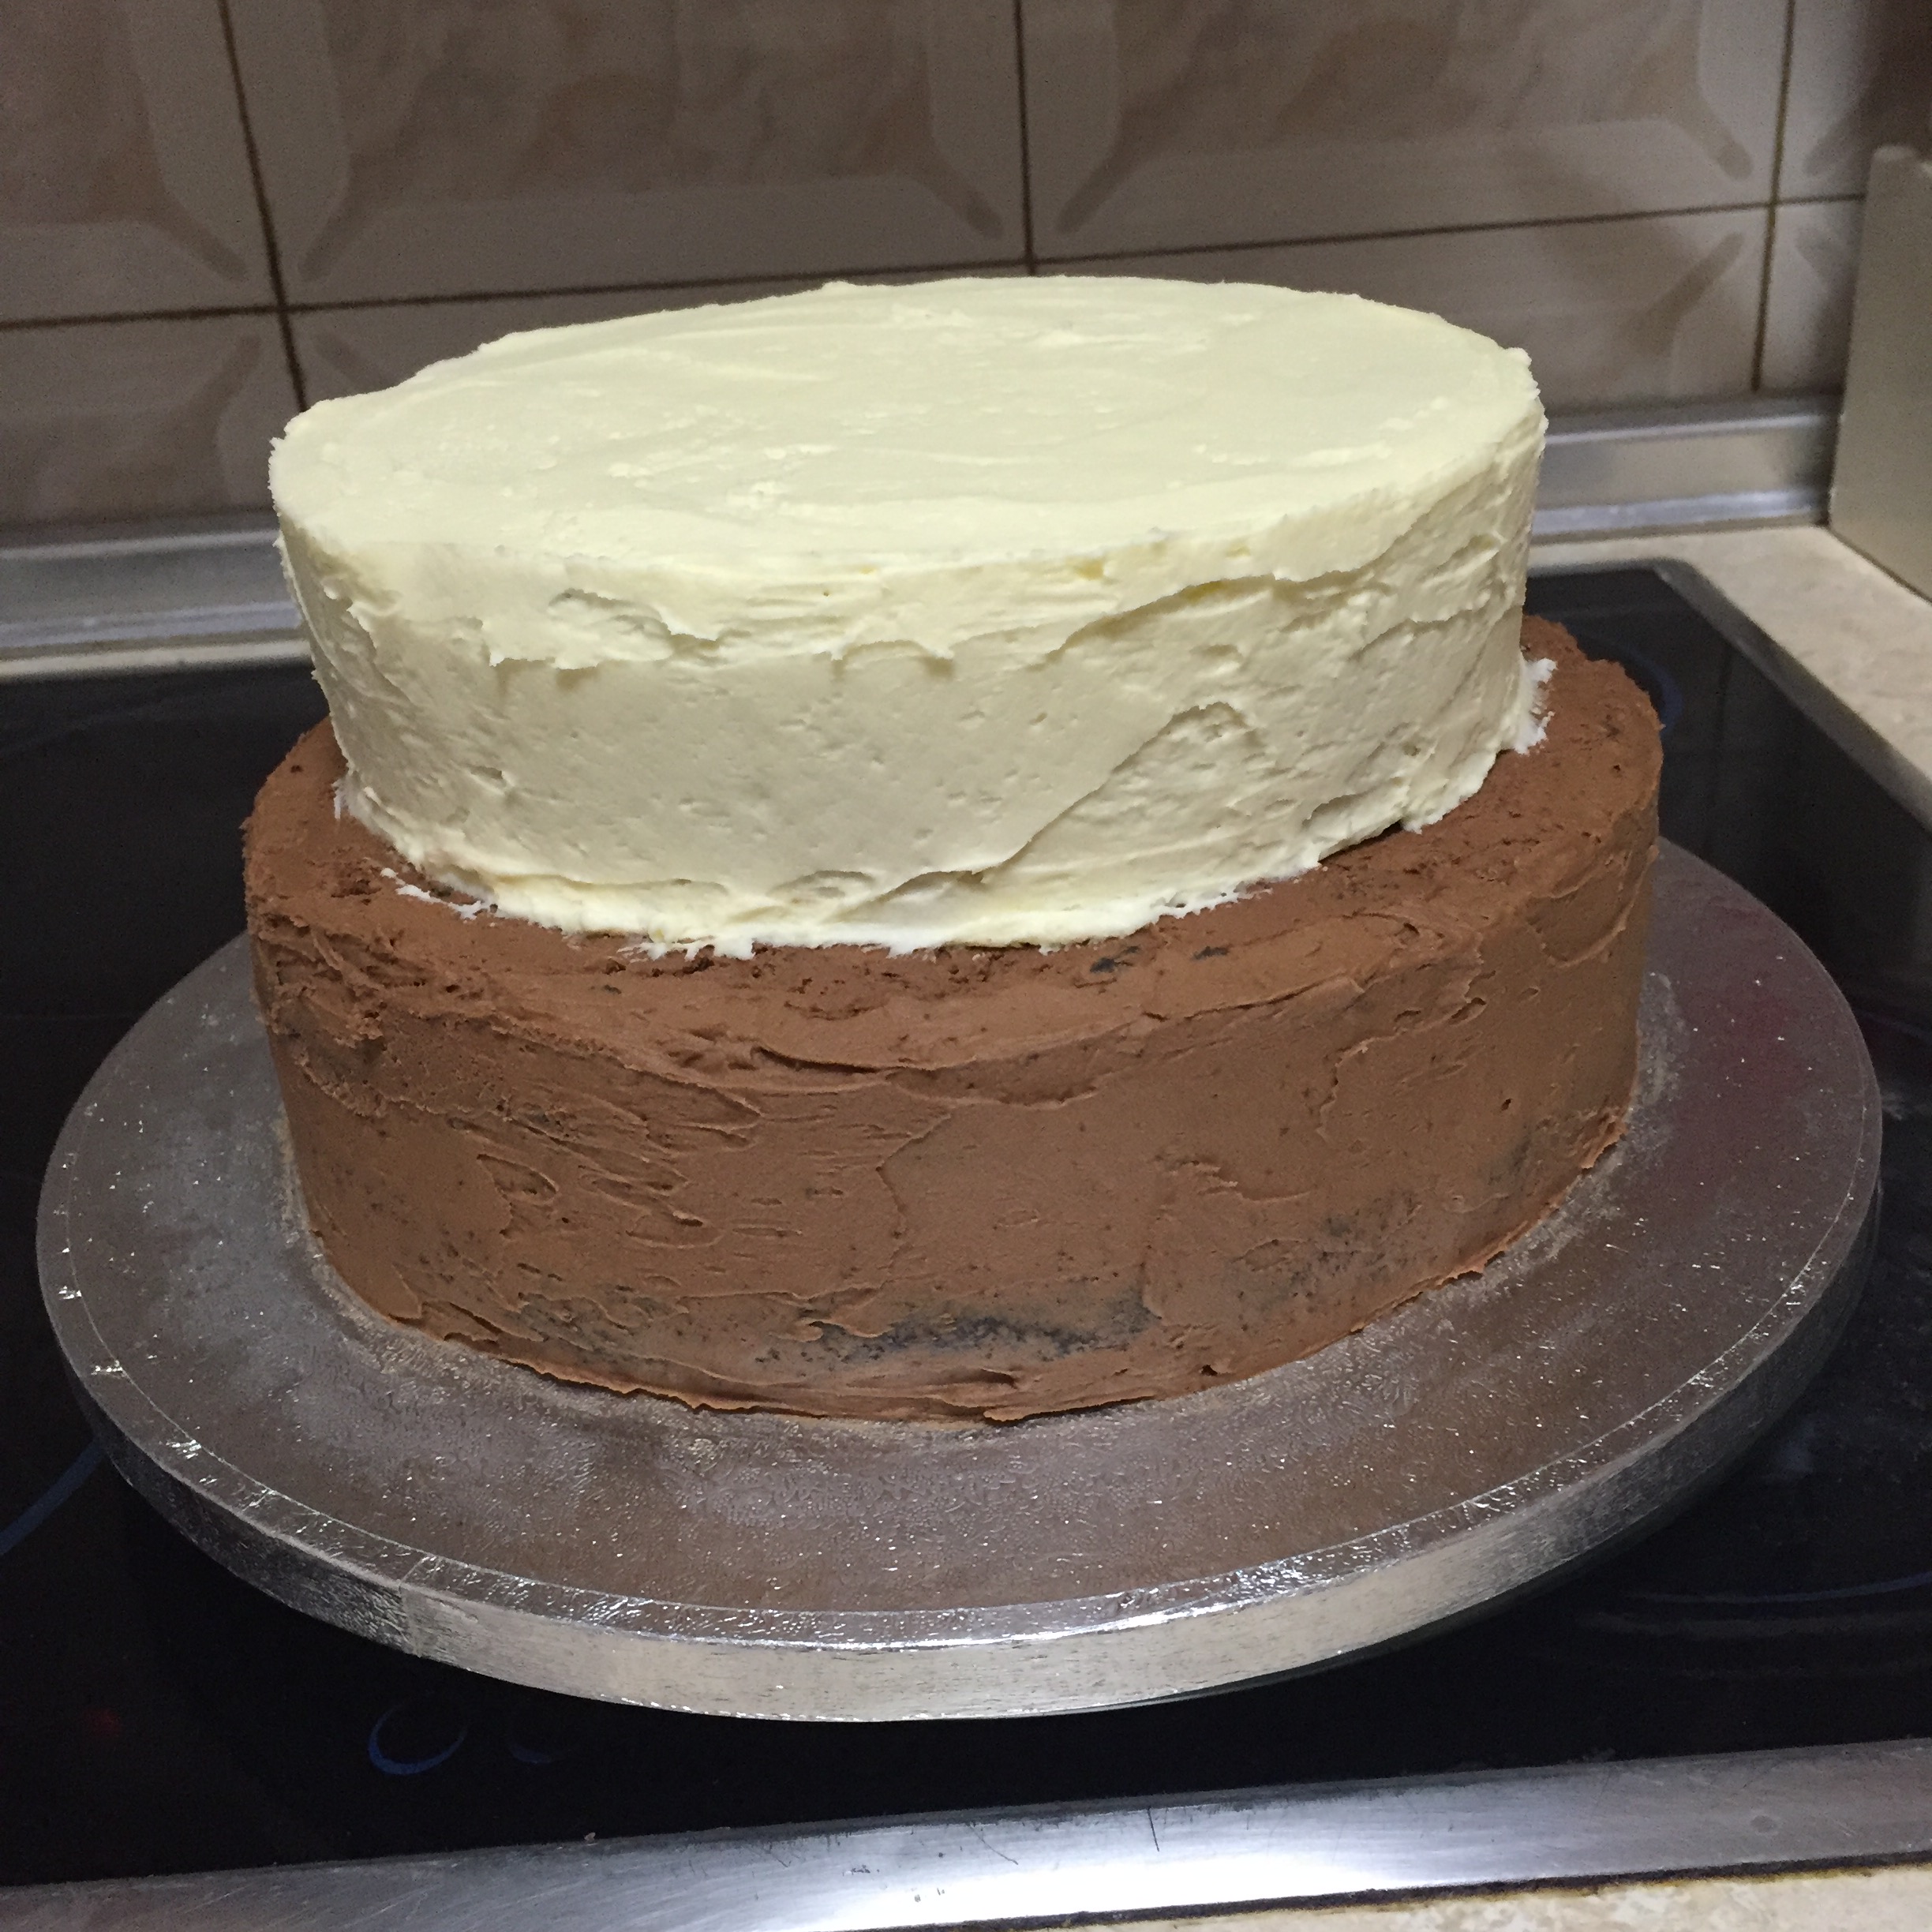
 Here’s what you’ll need:
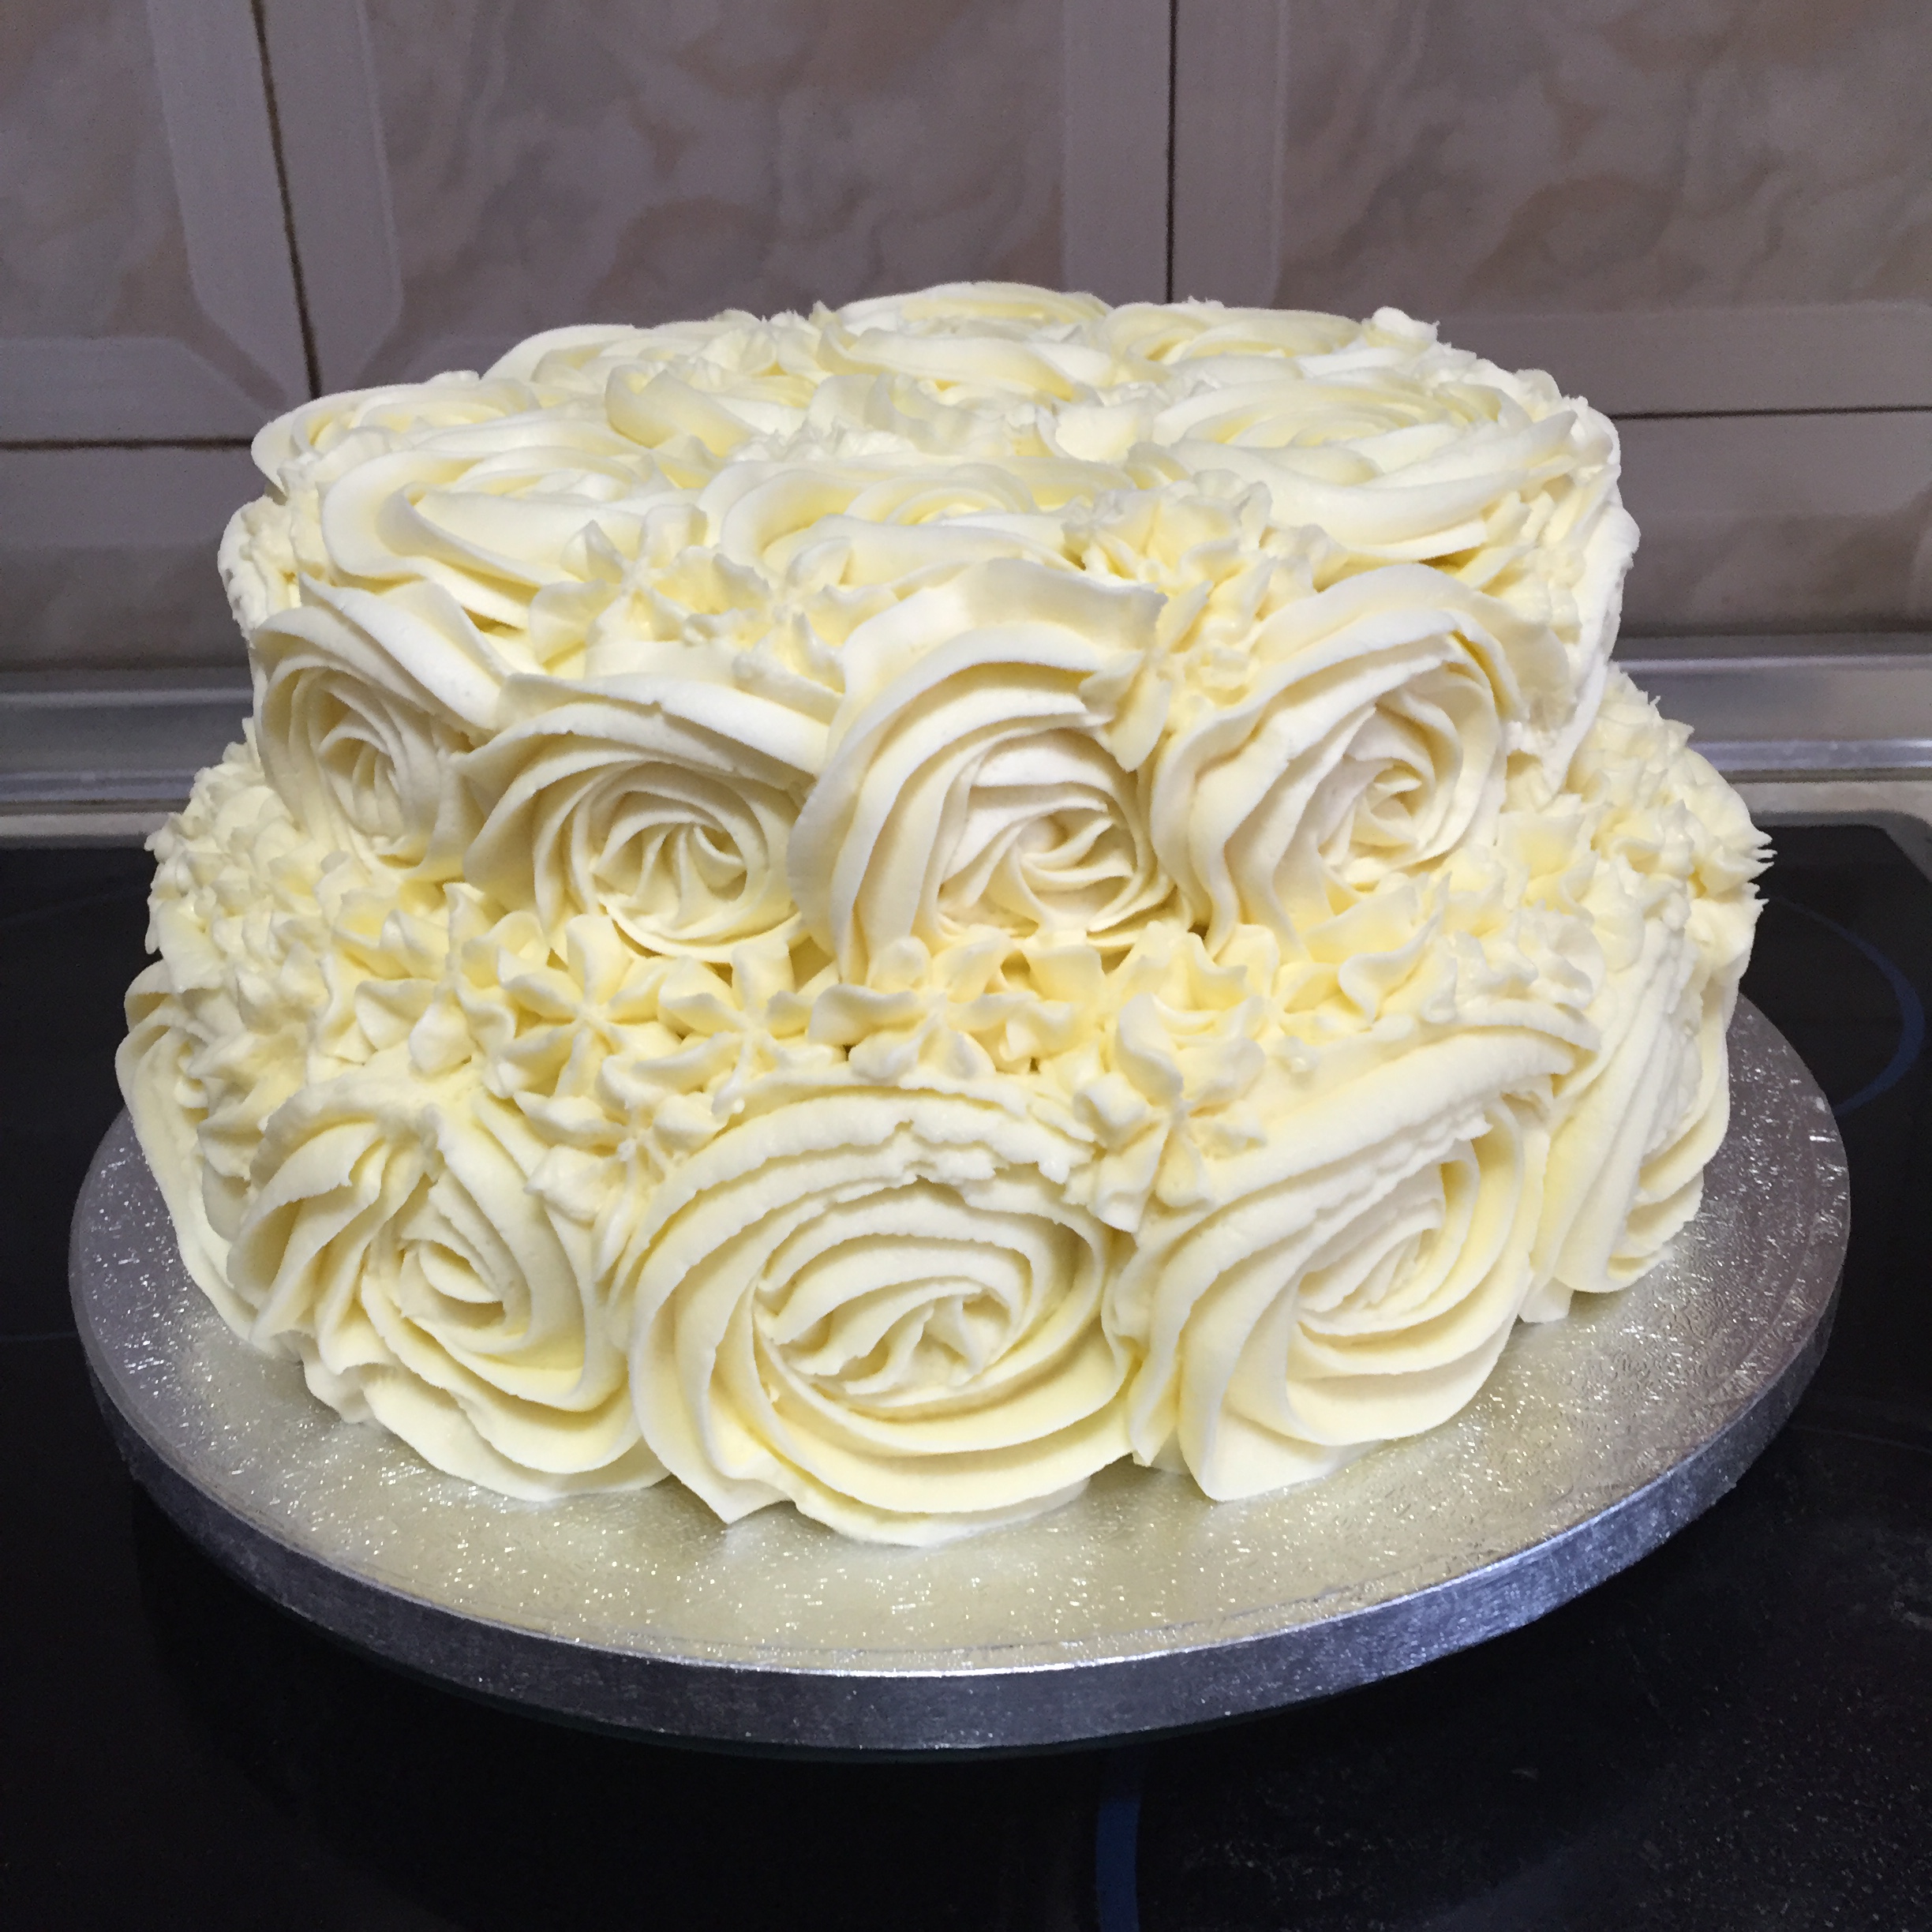
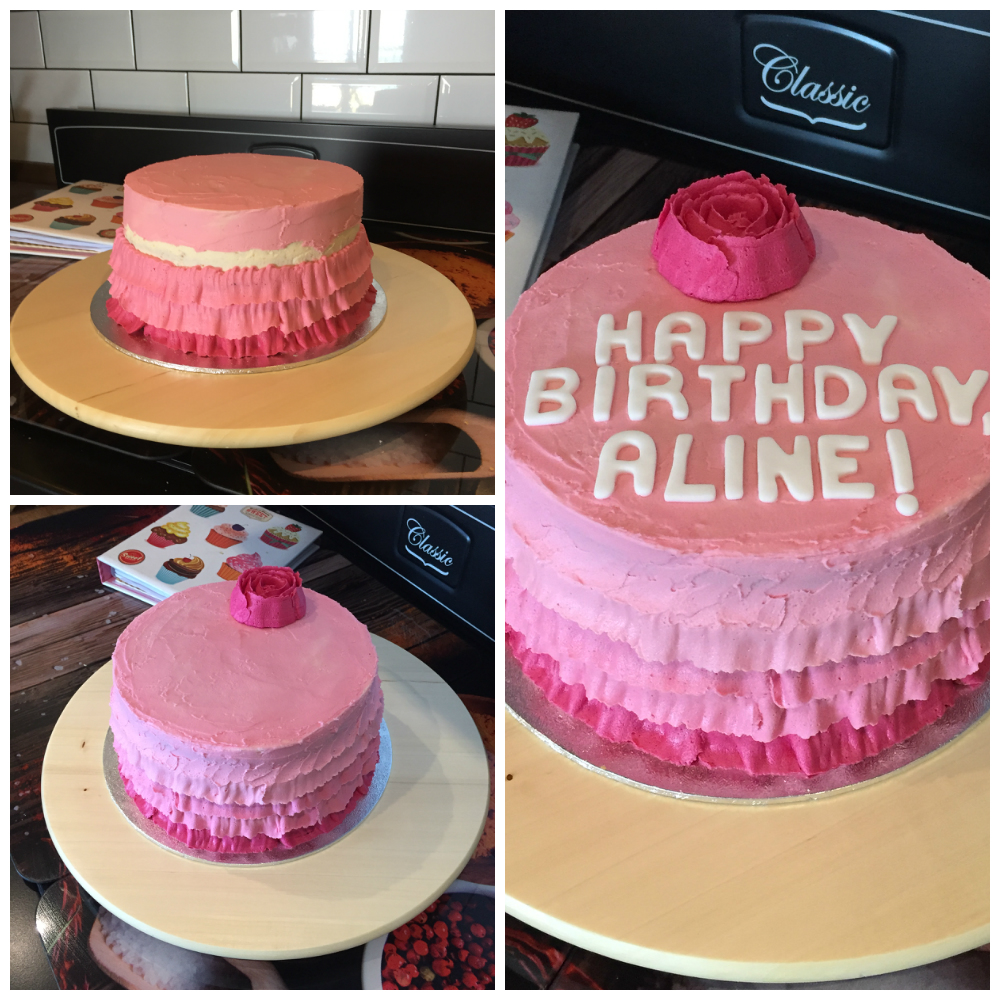 When you’re done with this and it’s time for the party, sit back and enjoy the faces of the crowd as they cut into the cake and the jelly beans spill out!
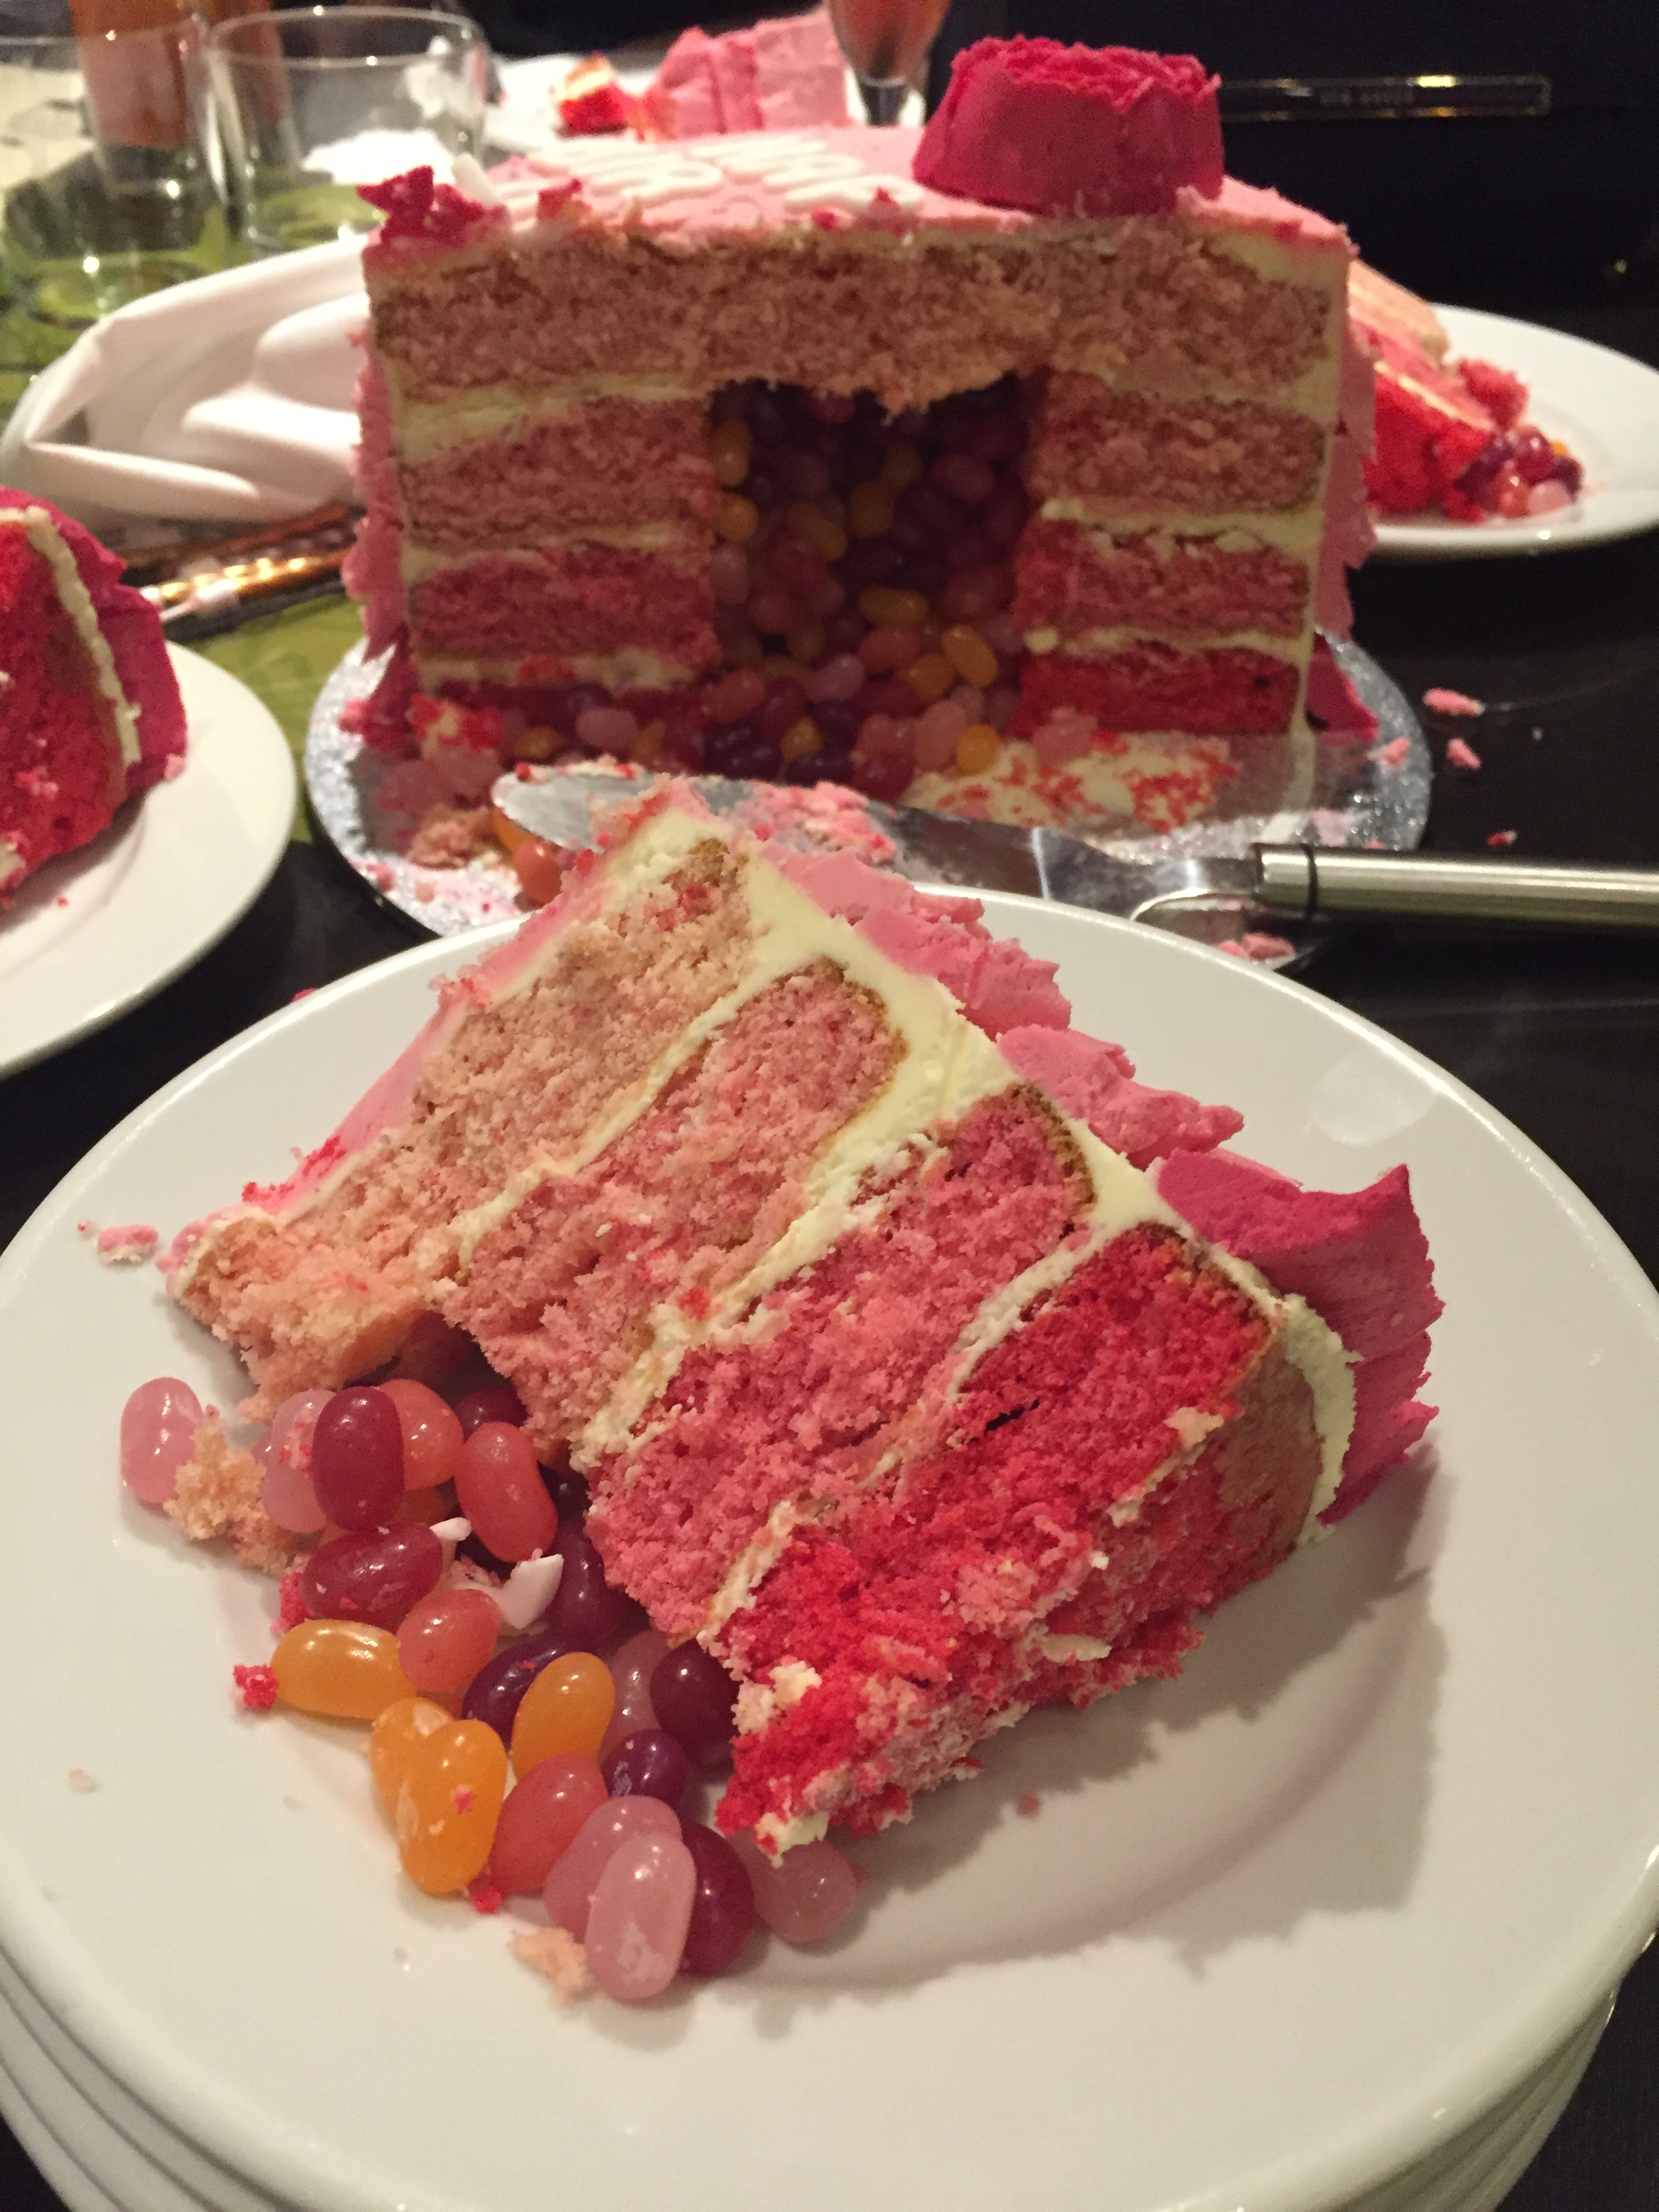

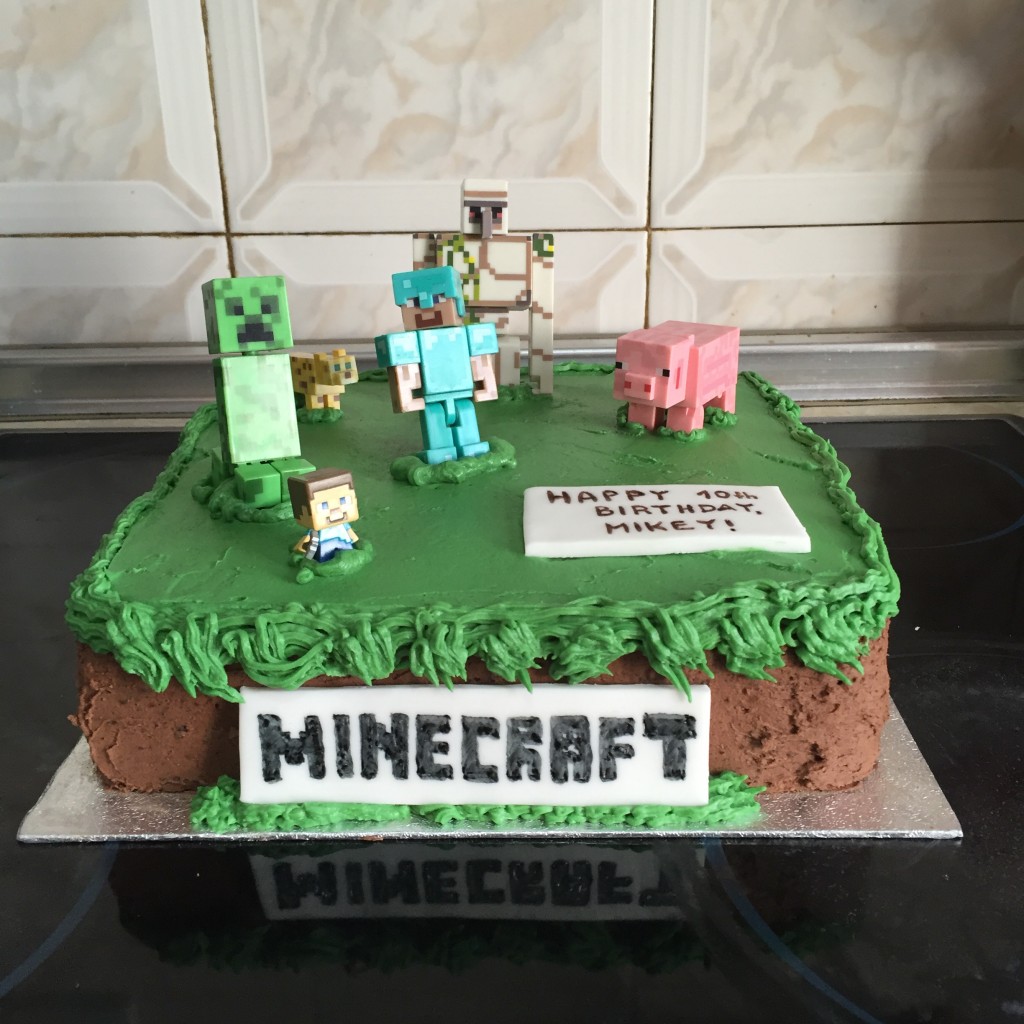

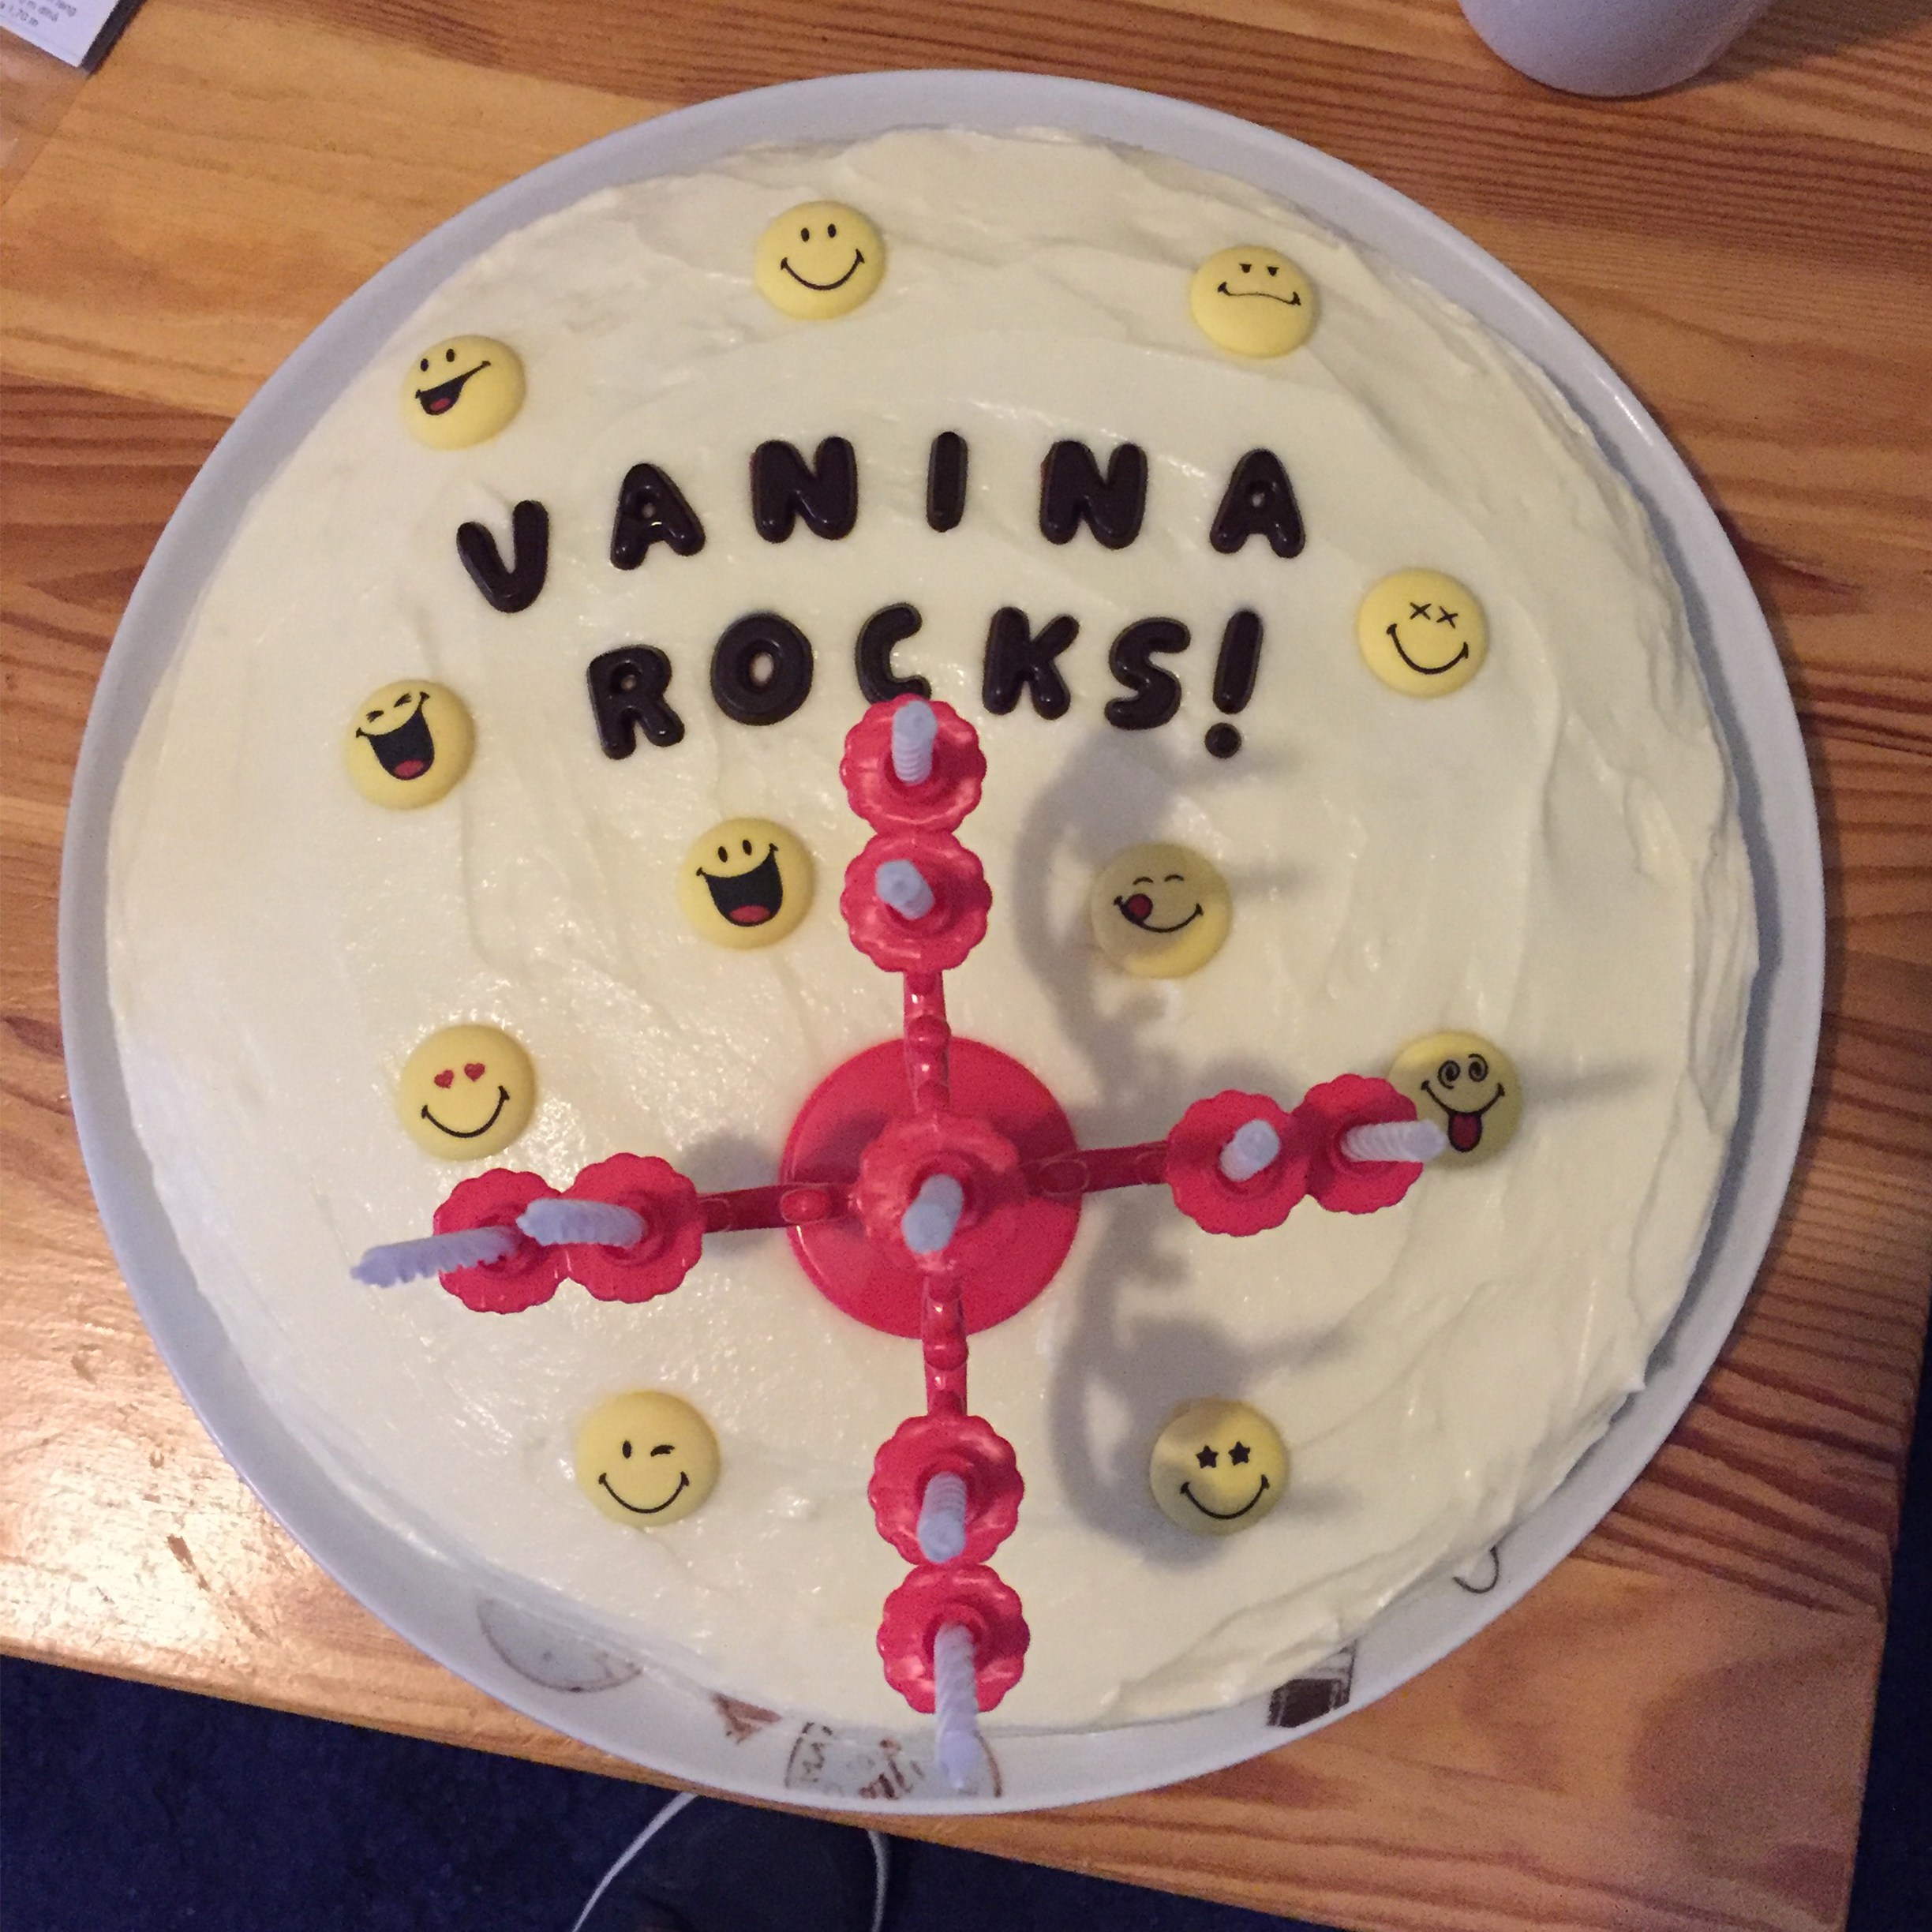
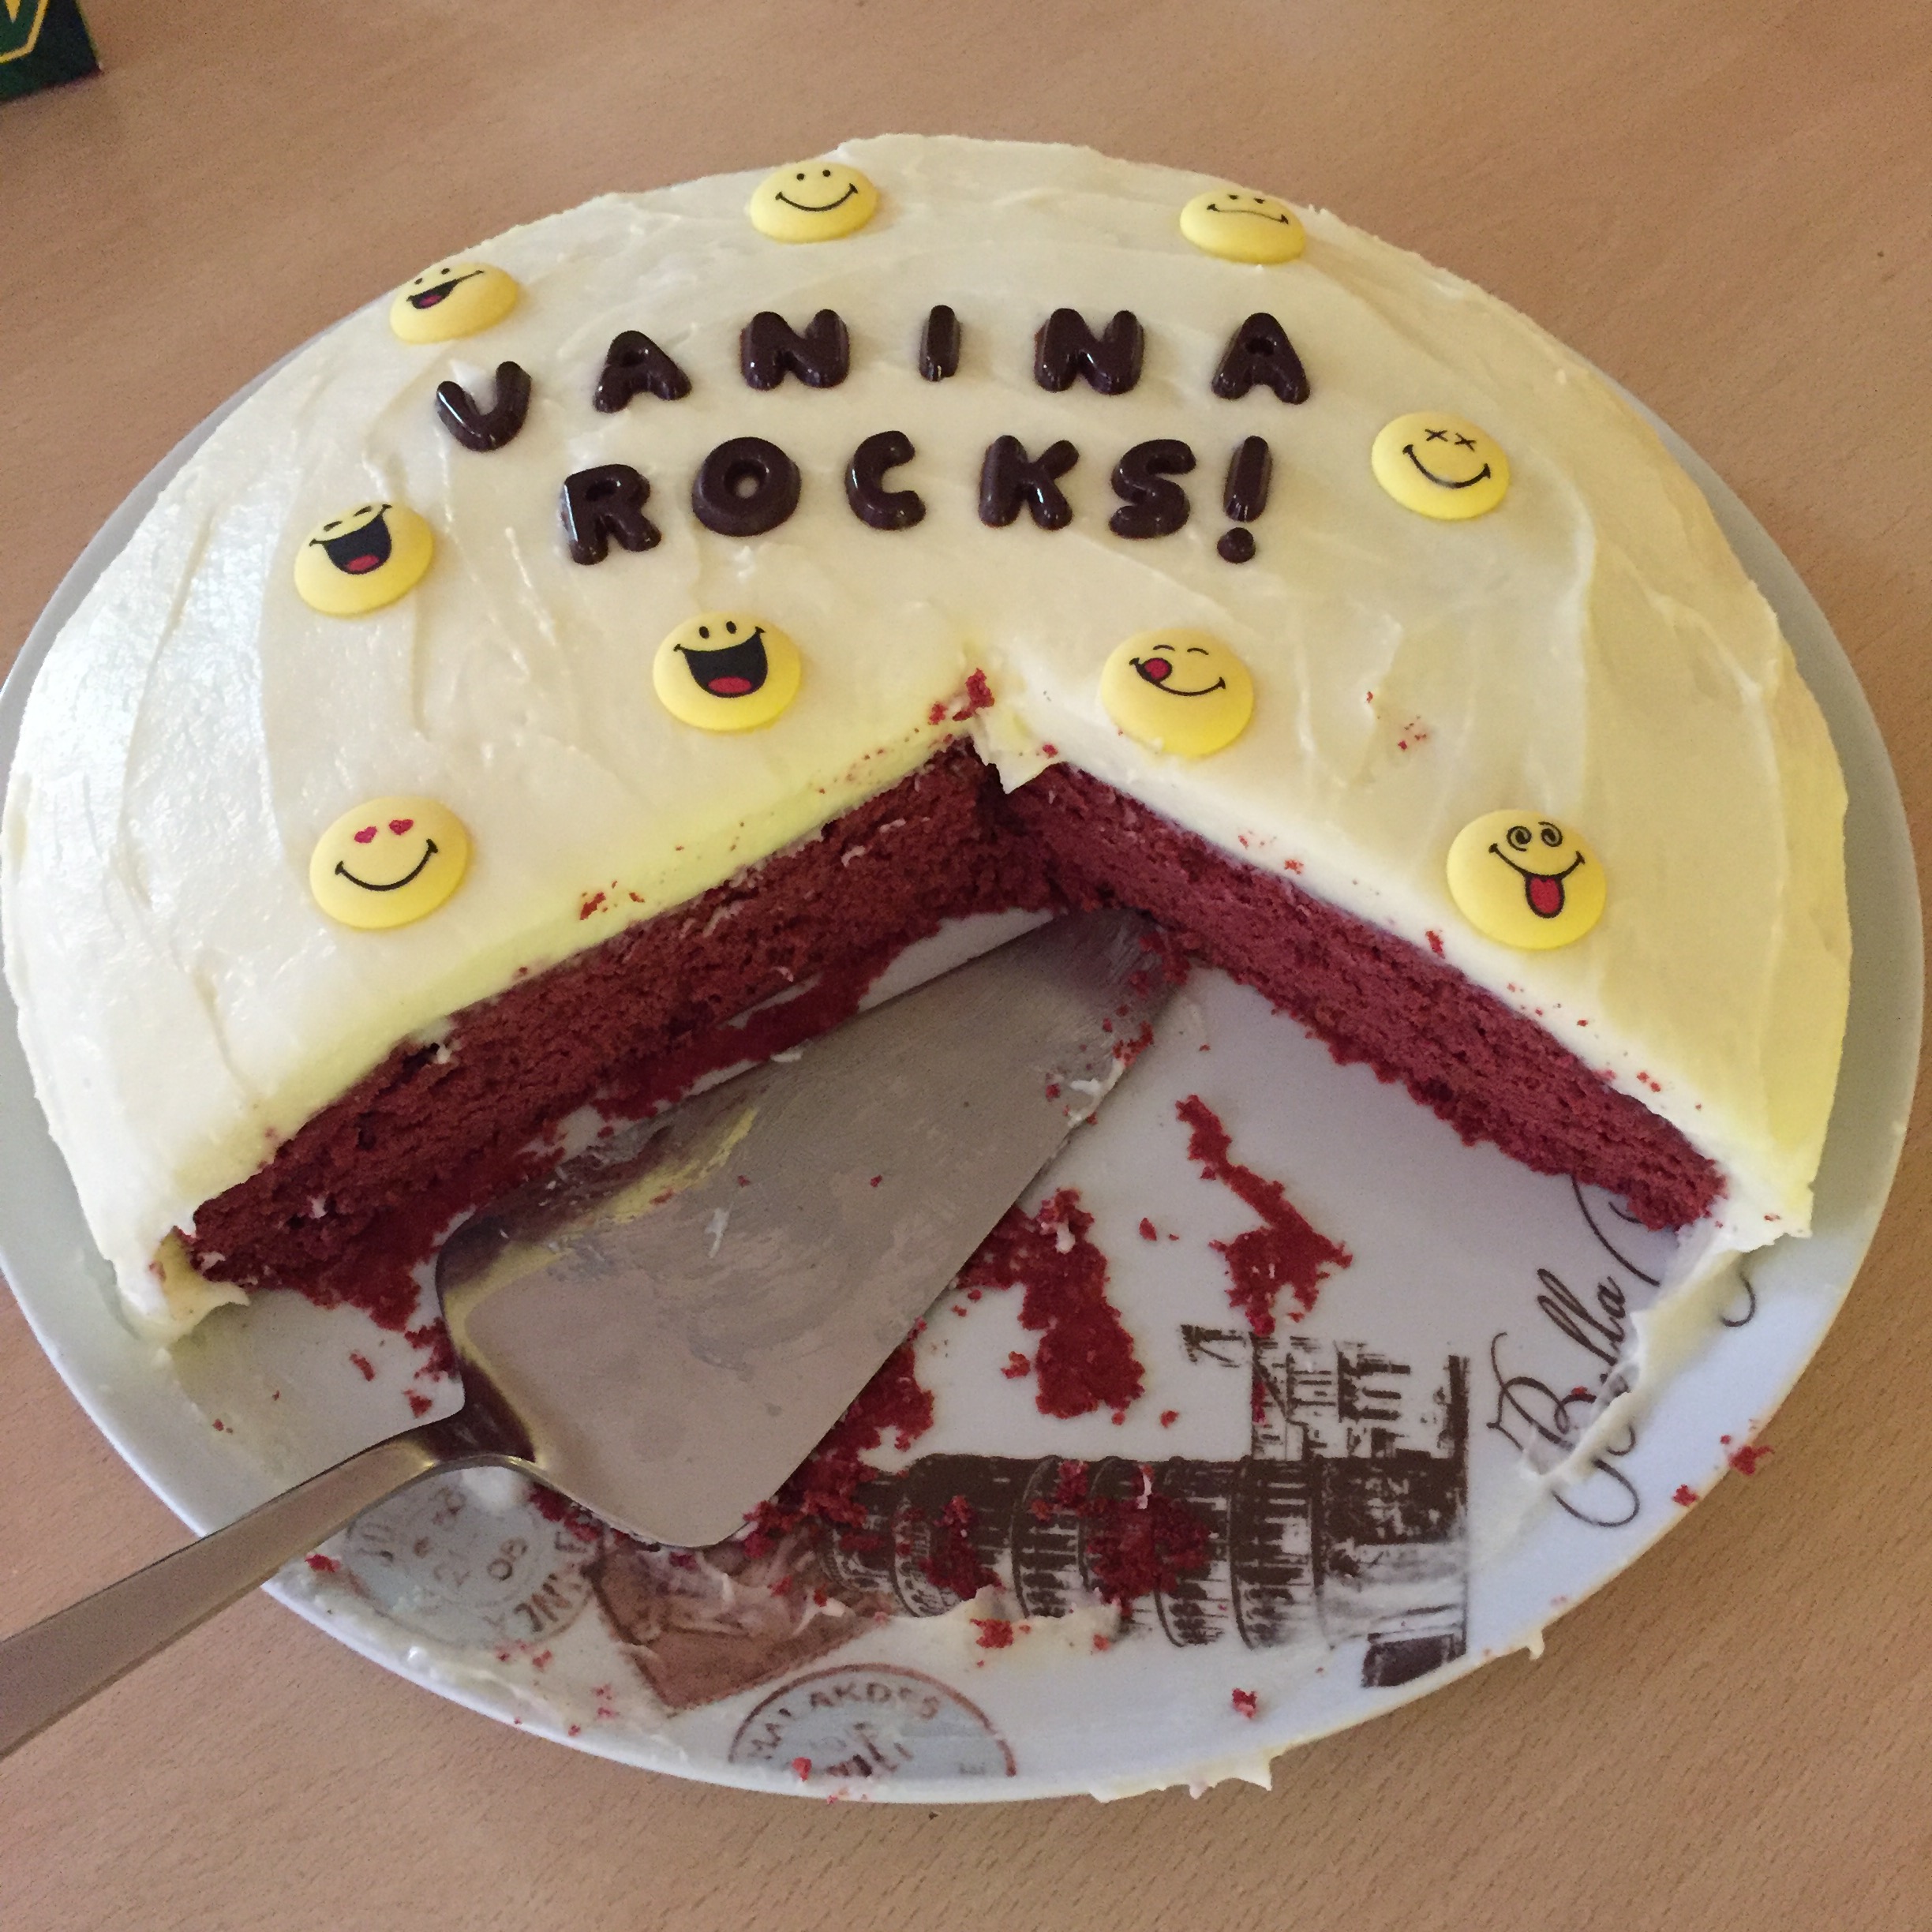
 *When we went to Germany for Christmas, I brought back almost half a suitcase of cake decorating stuff – sprinkles, cookie cutters etc, but my best buy by far was a set of edible felt tip pens (8 different colors too). How did I live without them before? I definitely recommend them to everyone – they’re great for writing on fondant or dry royal icing.
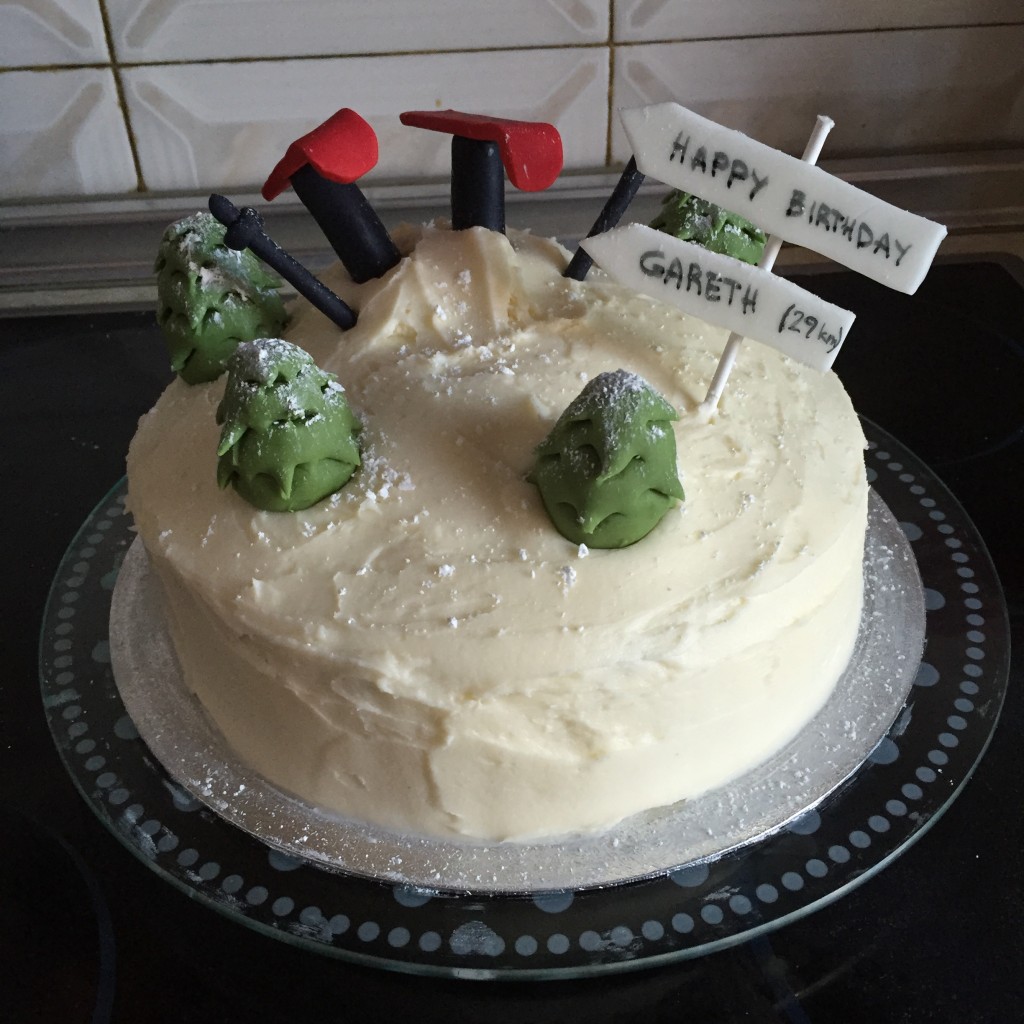
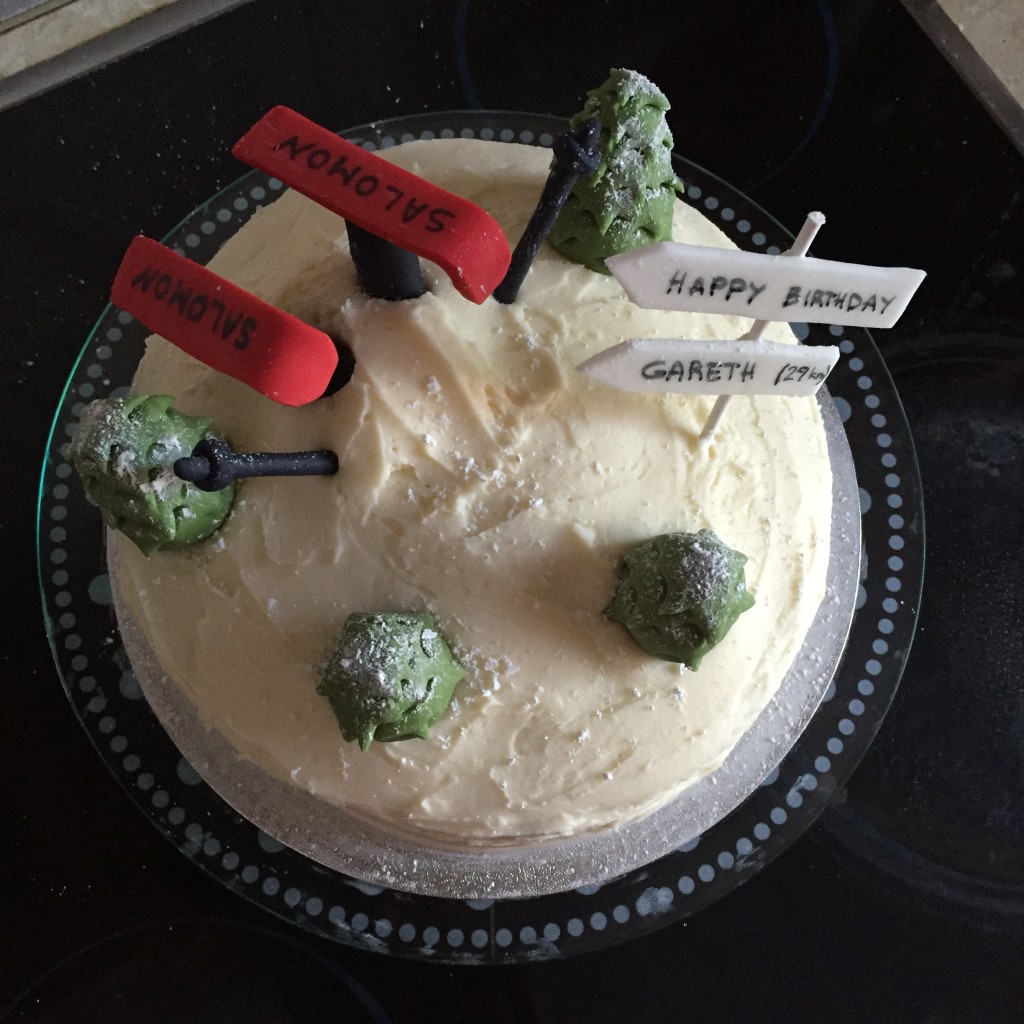
 Needless to say, I was happy to hear that the cake was liked so much but I was also a little disappointed. The actual creator of the cake has to this date never received such a letter. At least it’s good to know that the things I create provoke such deep feelings, isn’t it? Have a look at the cake yourself: