Cookie making

Sharing is caringShare on FacebookTweet about this on TwitterPin on PinterestShare on Google+Share on Tumblr

I admire cooking and baking blogs which have beautiful photographs but often struggle with photographing my own creations or the process of making them. The kitchen is normally a mess so finding a good spot is a struggle, the natural light at my current home is pretty awful, I often bake late at night, the camera isn’t charged. And often not even the fanciest filter on Instagram (long live iPhone photography) cannot help. So it is a rare treat when someone is willing to take photos of me or my baking. These photos are well overdue – my wonderfully talented sister took them of me a year ago and I’ve been dying to share them but one thing led to another… Anyways, I am a strong believer in ‘Better late than never’ so here we go. Thank you, Vanina, I  love those shots almost as much as I love you!

Cookies & hands Tools Baked Cookies Decorated cookies

Sharing is caringShare on FacebookTweet about this on TwitterPin on PinterestShare on Google+Share on Tumblr

Gift idea: Cookie jar

Sharing is caringShare on FacebookTweet about this on TwitterPin on PinterestShare on Google+Share on Tumblr

No matter whether it is for a birthday, Christmas, Mother’s day etc. – you cannot go wrong with giving someone a cookie jar. And no, I don’t mean an empty one – to achieve maximum points, you’d need to actually bake the cookies to fill the jar. Home baked love is the best, I’m telling you. And the best part is you can customize the actual jar and the label so it makes a totally personal and awesome gift, especially if you are on a budget.

I had some ribbon which is covered in cupcakes (Coincidence? I think not 😉 ) and made the label using Canva which worked like a charm, and their free designs are really neat. Best part is that it saves your old designs once you register an account so you can reuse them. I filled the jar with these beauties but you can, of course, fill it with cookies of your choice. A spicy gingerbread will go nicely for Christmas. Would you give cookies as a present?

IMG_5226 IMG_5227

Sharing is caringShare on FacebookTweet about this on TwitterPin on PinterestShare on Google+Share on Tumblr

Decadent brownie cookies with posh sea salt [+RECIPE]

Sharing is caringShare on FacebookTweet about this on TwitterPin on PinterestShare on Google+Share on Tumblr

Following the 6th season of the Great British Bake Off closely has made me realise a few things. I am not posh, nor do I endeavour to be. I don’t use anything as fancy as rosemary in sweet bakes, or elderflower cordial. Hell, I can’t even pronounce cordial properly. But what I do, I usually do well, even if it’s more classic and has simpler ingredients. So I myself was really surprised by my recent splurge of 125g of Maldon Sea Salt flakes at the outrageous price of £2*. The recipe did call for it, though. And since I have now baked the same thing twice in 2 weeks for no particular reason (highly unusual for me) using these salt flakes, I am confident to say it was worth it. I hope this doesn’t make me a posh baker. Or does it? Eeeek.

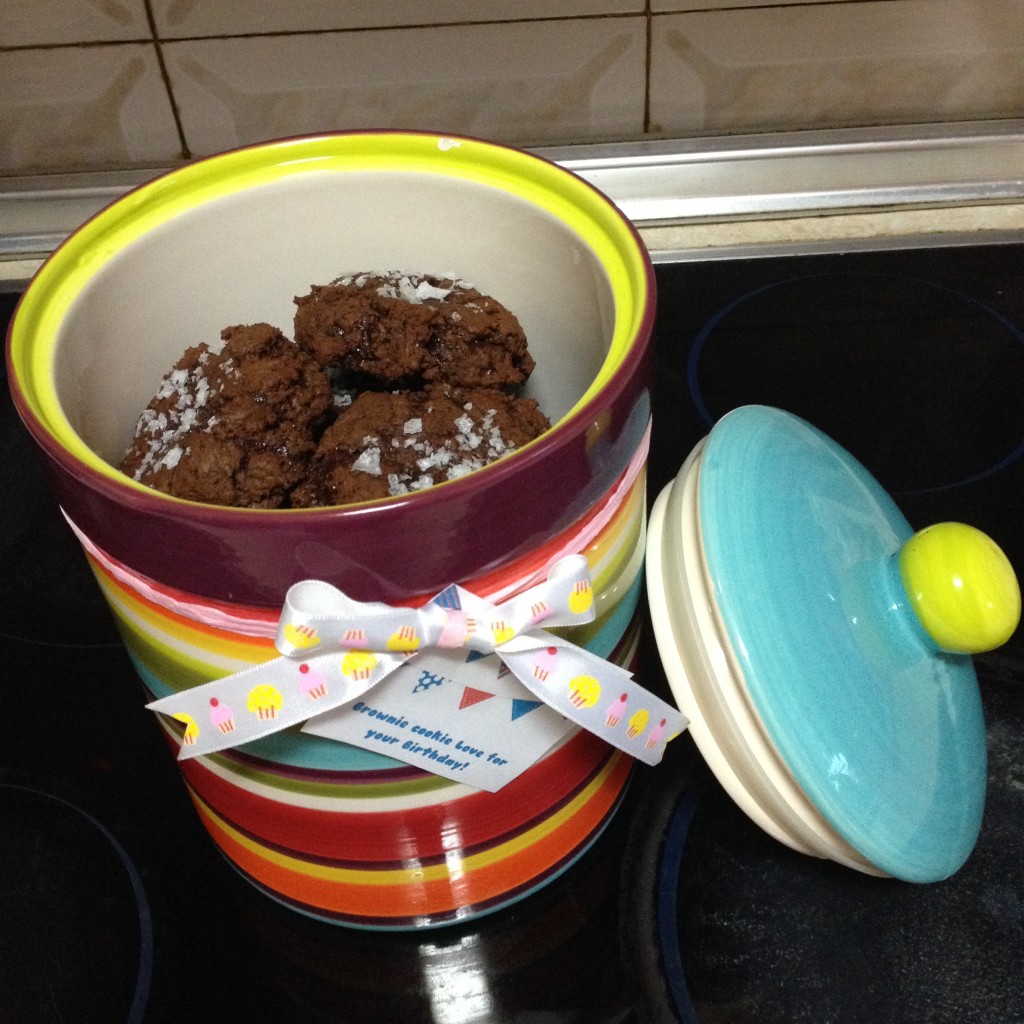
In any case, I now feel obliged to share with you why you also need this salt in your life. Because it is used for sprinkling over the most decadent chocolate brownie cookies (and also good quality steak, but you know… it’s all about baking here). Trust me, you have subconsciously dreamt of these your entire life. So go ahead and indulge. You will want to thank me after (and please do so in the comments, if you like).

You can find the video tutorial here but I have written out the recipe for easier planning and shopping.

Jemma’s Salted Chocolate Brownie Cookies
(makes approx. 24, depending on your scoop size)

Ingredients:
395g dark chocolate bars or chips (at least 70% cocoa)
50g unsalted butter, chopped
120g rye flour (I couldn’t find it so I just used plain flour)
1tsp baking powder
1/4 tsp salt
4 large free range eggs
270g light soft brown sugar
Maldon sea salt for sprinkling

Method:
Using a Pyrex or metal bowl over a pot of water (also known as bain marie), melt chocolate and butter over low heat. Set aside to cool down a little. Crack eggs in the bowl of a standing mixer (or a large bowl if using a hand held one), add sugar and beat for 5-6 minutes with the whisk attachment until it is all very fluffy and has almost trippled in size. Add the chocolate and whisk on on low speed until it is all incorporated. Then add the sifted dry ingredients and mix very slowly (as if you’re folding it in).

Leave the mixture in the fridge for about an hour so the mix can set a little and can be scooped. Don’t even think of baking in straight away as it is sticky and liquidy like a brownie batter.

Once it is firm, scoop these on a baking tray lined with parchment and leave plenty of space inbetween. Flatten them out a little and sprinkle with the sea salt. Bake in a preheated oven at 180 degrees Celsius for 8 to 10 minutes, the center should be still a little soft to give them the chewy texture they deserve once they’ve cooled down. Let cool and try not to devour them all in 5 minutes. Or do.

brownie cookie raw

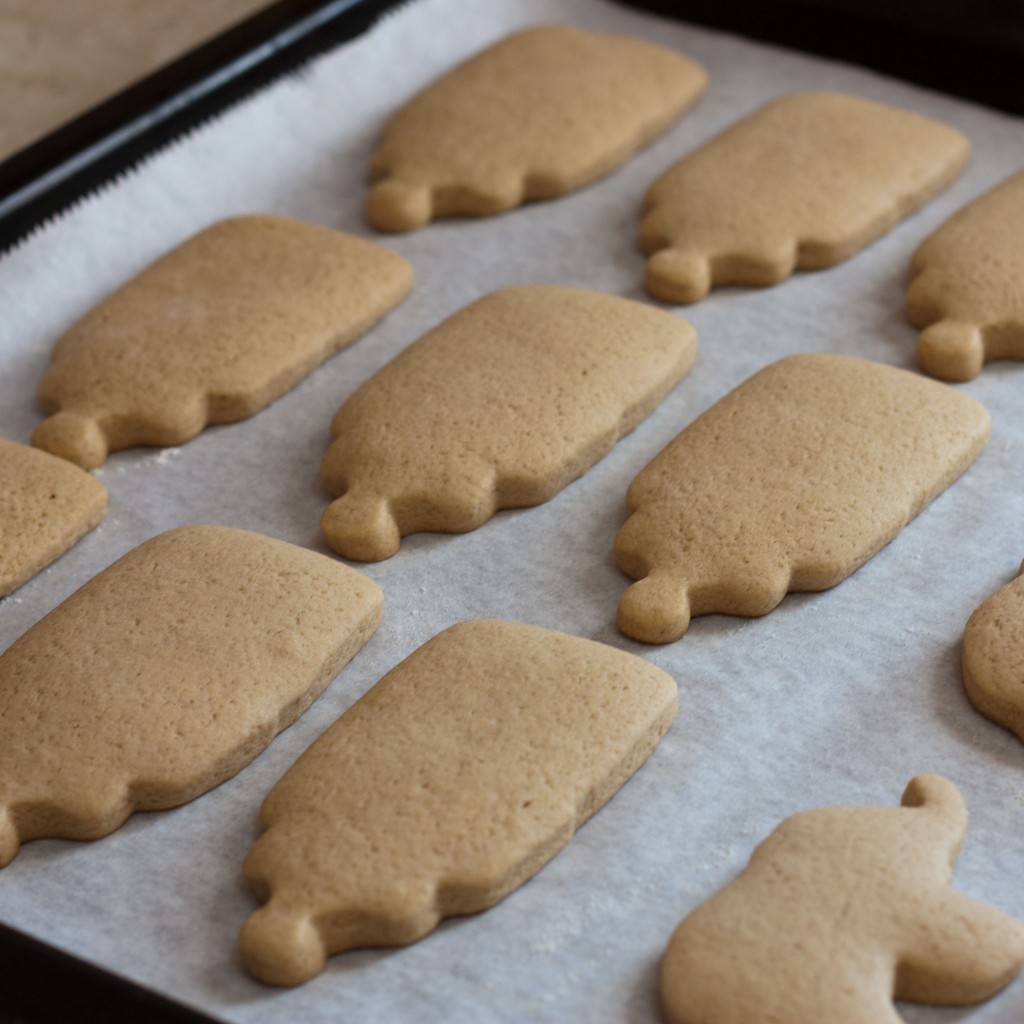
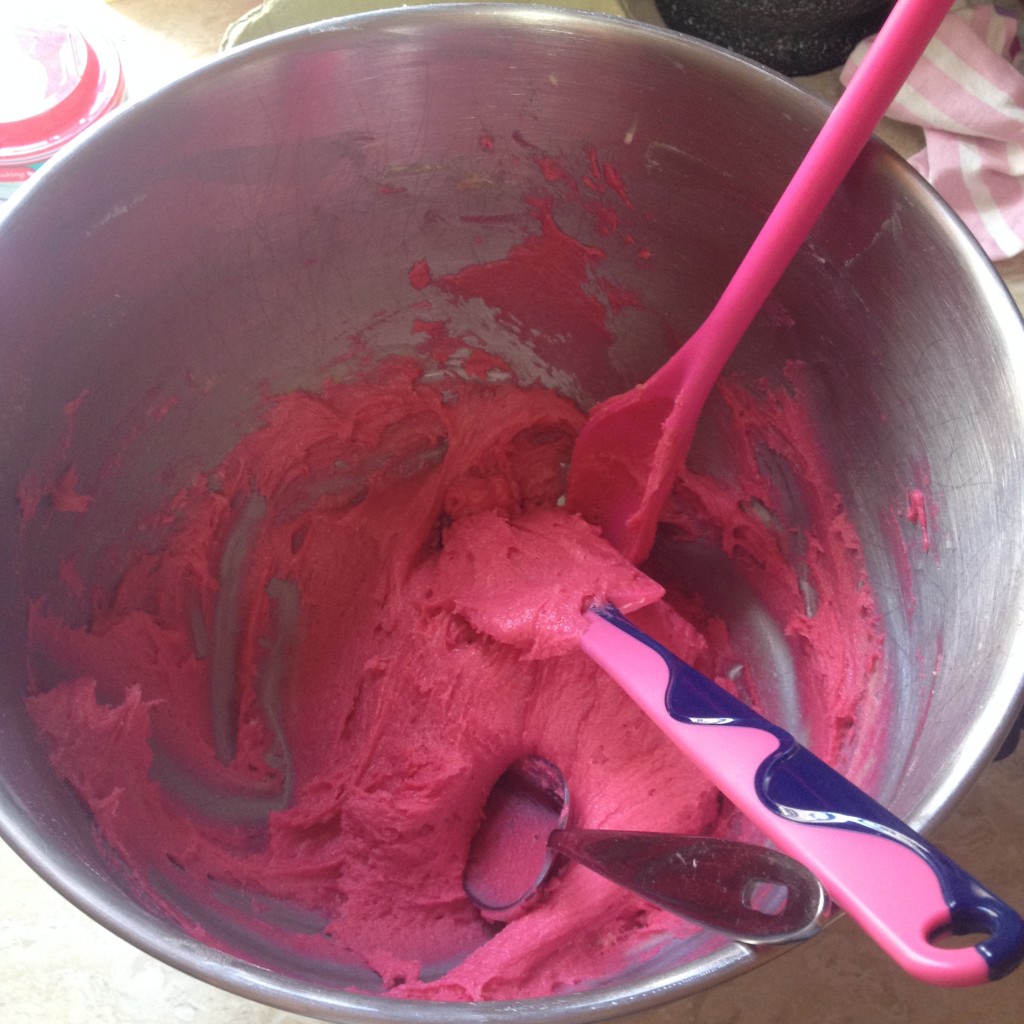
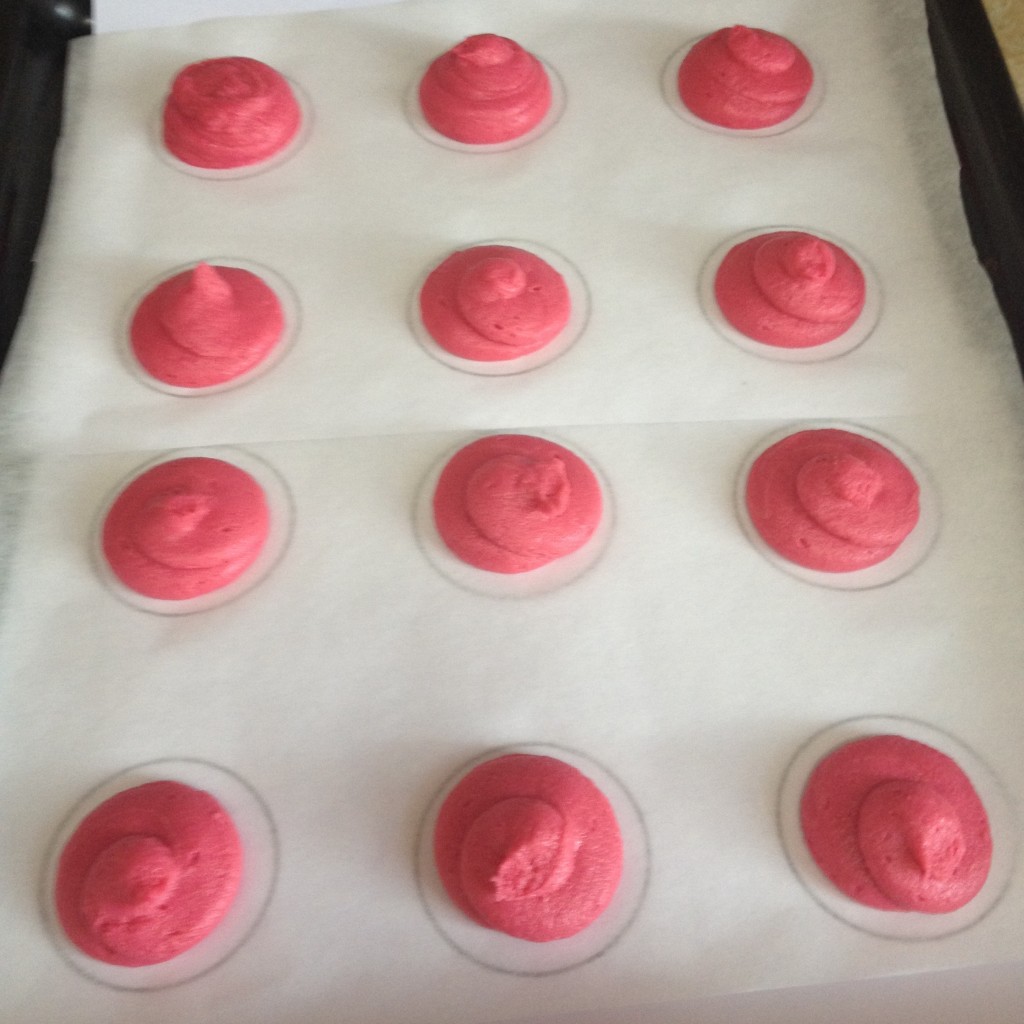
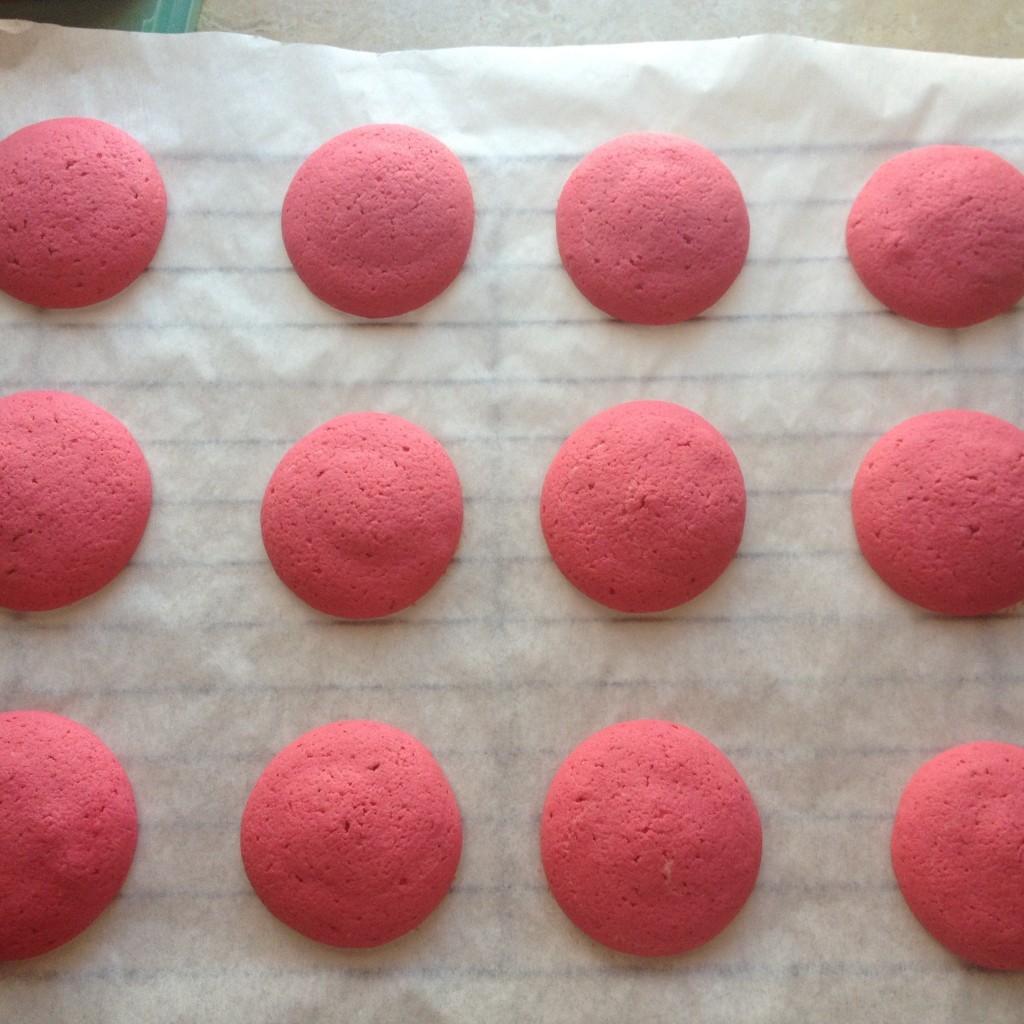
Before: Do not panic. Looks improve with baking time!

brownie_cookie_baked

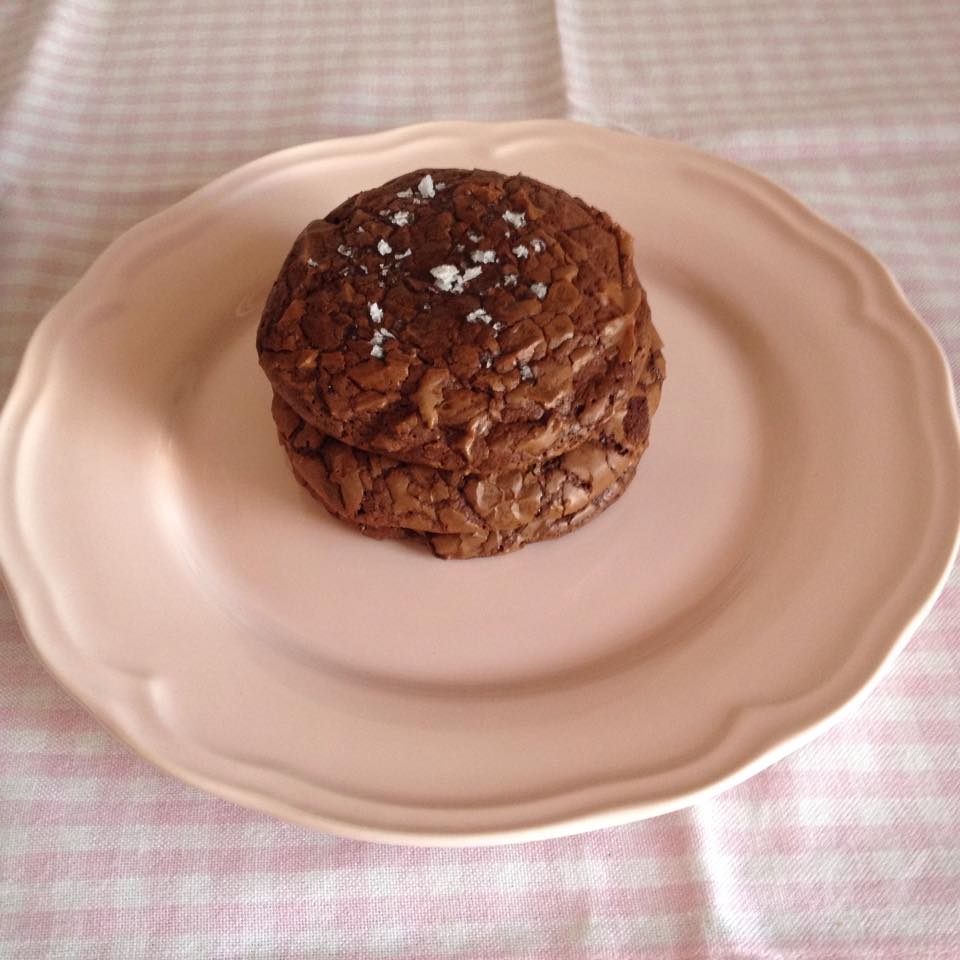
It is difficult not to eat 3 or 5 at a time. Or, you know, all of them.

Sharing is caringShare on FacebookTweet about this on TwitterPin on PinterestShare on Google+Share on Tumblr

Aloha, you luau cookies and cupcakes!

Sharing is caringShare on FacebookTweet about this on TwitterPin on PinterestShare on Google+Share on Tumblr

For someone living at the sea side (and spoiled for choice between the Mediterranean Sea and the Atlantic Ocean), beach themed parties are kind of… well, normal. But you add a Hawaiian twist to them and BAM! Success, right?

So maybe I didn’t get to attend a Hawaiian party myself but I did participate in its organising one by making adorable luau cookies and cupcakes on order. I chose lemon flavour for the cookies, and Pina Colada (read pineapple and coconut) cupcakes. They turned out fingerlicking good but also really pretty.

I used the Biscuiteer’s vanilla biscuits recipe but added 2 lemon zests. I now swear by it! Best one for icing cookies (other recipes I’ve tried soak up too much water from the icing and become soft). They didn’t go soft or break without me having to add too much flour or baking them longer. I mixed and matched for the cupcakes – this base with the pineapple filling, and this buttercream. However, Jemma has recently posted her recipe for Pina Colada cupcakes, and it involves Malibu rum, so you might want to use her recipe too. You might be tired after baking so I strongly recommend to sit with a cocktail in hand and enjoy.

cookies_luau cupcakes_luau

Sharing is caringShare on FacebookTweet about this on TwitterPin on PinterestShare on Google+Share on Tumblr

4th of July dessert galore

Sharing is caringShare on FacebookTweet about this on TwitterPin on PinterestShare on Google+Share on Tumblr

For a second year in a row, a few local businesses organised a 4th of July party in Gibraltar. And for a second year in a row, Cupcakes & Unicorns had a small dessert stall. Picture plenty of oreos, marshmallows, brownies, NYC style cheesecake. Luckily, this year I was able to spend less time on decorations (since I managed to recycle some from last year, plus the awesome Whitney and Alan just came back from a US trip and brought some fantastic goodies, including my little top hat) and more time on baking. This is what it looked like:

I loved my tiny top hat!

I loved my tiny top hat!

We had following desserts for sale:
– Sugar cookies with a royal icing flad drawn on each
– Lush fudgy chocolate brownie (which also came in a) gluten-free and b) egg- and dairy-free version)
– Vanilla and oreo cake pops
– Red and blue whoopie pies
– NYC style oreo cheesecake (oreo base, as well as crushed oreos in the actual cheesecake)
– Boozy cupcakes (Guinness chocolate cake with Kahlua mascarpone frosting)
– Funky marshmallow skewers

Here are a few more pictures from the stall:

Unfortunately, it turned out the Miss Gibraltar 2015 beauty pageant appealed more to the local audience so not a lot of people came to the event. It was still good fun though, and the local Nazareth House received a donation of brownies, cookies and whoopie pies to give out to the less fortunate amongst ones. Also, mine and G’s colleagues and friends did not mind devouring any left overs.

Here’s to you, America. Hope you all there across the pond had a lovely 4th of July weekend.

Sharing is caringShare on FacebookTweet about this on TwitterPin on PinterestShare on Google+Share on Tumblr

Whoopie pies – whoop whoop!

Sharing is caringShare on FacebookTweet about this on TwitterPin on PinterestShare on Google+Share on Tumblr

Is it a cake? Is it a cookie? Is is a pie? It is all of the above! It’s also pretty close to pure awesomeness.

This weekend I had a play date with a puppy so I simply *had to* bake. Not for the puppy, of course, but for his owners, who refer to my baked goods as (and I quote): ‘little pieces of Heaven’. Looking for something simple, yet effective, I stumbled across Jemma’s newest recipe online – Whoopie Pie Smiles. Oh boy, oh boy, oh boy! May I say, they came out perfect and took some time to make but were very easy. Have a look yourself:


Personal remarks: I doubled the recipe which produced 36 discs or 18 Whoopie Pies. I think otherwise it produces too little and it’s not worth the effort! My recommendation is to print 2 pages with 6 identical circles and place these underneath your baking parchment in the tin. Then pipe on those circles. Or try and be SuperMan and pipe exactly the same circles without a pattern.

I also used the store-bought Marshmallow Fluff – do not recommend it. I am not sure if it was the heat or the humidity or simply the texture of the fluff, but while it looked perfect for the first 10 minutes or so, some of my smiles ‘drooled’ quite a lot, which is to say the frosting leaked out and also it didn’t hold well enough for me to stack them in a tupperware.

Lessons learned: Next time, I will definitely make the frosting myself. And I am not sure if I will go for marshmallow, I think peanut butter buttercream will taste incredible in those and will also hold better. And I may lose the teeth. While they look pretty awesome, it did take me a while to stick all those tiny mallows on.

I am at the airport travelling to Vienna as I type so there may be a few days of no baking and subsequently no posts, unless I stumble across a bakery worth a report from far lands. Bis bald!

Sharing is caringShare on FacebookTweet about this on TwitterPin on PinterestShare on Google+Share on Tumblr

A COOKIE CUPCAKE EXPERIMENT

Sharing is caringShare on FacebookTweet about this on TwitterPin on PinterestShare on Google+Share on Tumblr

Recently I was killing time at a train station in London when I saw a stand with Millie’s cookies. I am not the biggest cookie fan (you have probably guessed that I am more of a cupcake girl!) but I strolled over to check out what they had on offer.

Of course, my attention was grabbed by the cookie cupcakes and I bought one for the journey to the airport. Little did I know that they won’t be cookie flavoured cupcakes but would actually be made entirely of cookie dough! It was a revelation – soft, chewy, with a rich lovely chocolate buttercream on top and in the shape of a cupcake!

And finally I have decided to attempt the cookie cupcakes this weekend for the little cake picnic I am throwing this Sunday. I am, of course, using one of Martha Stewart’s recipes. Wish me luck – I will share the results afterwards (and even pictures if they come out looking presentable).

Sharing is caringShare on FacebookTweet about this on TwitterPin on PinterestShare on Google+Share on Tumblr

WELCOME, CUPCAKE LOVERS!

Sharing is caringShare on FacebookTweet about this on TwitterPin on PinterestShare on Google+Share on Tumblr

Welcome to Cupcakes & Unicorns!

If you don’t like either of the above, please close the page now to avoid disappointment.
If you like at least one of them, you should be fine!

In my personal online space you will be able to read about my adventures as a wanna-be baker, find recipes and pictures of cakes, cupcakes and cookies I have made and hopefully have fun doing so.

Enjoy!

P.S. Meet The Giant! One of my favourite cakes so far: chocolate and almond giant cupcake, filled with whipped cream and blackberry jam, topped with chocolate fudge frosting.

giant cupcake cake

Sharing is caringShare on FacebookTweet about this on TwitterPin on PinterestShare on Google+Share on Tumblr