Time for some catching up – this post is well overdue but since in baking chronology is not really that important, I follow the rule of better late than never. So since I moved away from my home country just under 8 years ago, it’s not always easy to spend the holidays with family. Bulgaria, turns out, is not the easiest or cheapest destination to reach from Gibraltar. So the last couple of years we have tried to meet about halfway. We spent NYE together in Vienna last year and this year we decided to all head to Germany for Christmas. Markets, mulled wine, cold – the whole package. And cake because, you know, I simply cannot travel without sampling the local cuisine.
But this is not the story I wanted to share. What I wanted to share is how I managed to make a birthday cake for my dear sister while travelling. So I had been planning to make her a cake as we were renting an AirBNB in the city my dad is currently living in. But! Because there is always a but. It was a holiday flat so yes, you guessed it. No oven. The horror!!!! We quickly made a plan to use my dad’s landlady’s oven. However, around this time it started daunting on me she may not have all the tools I need. Also, how was I going to fool my sister in order to disappear for a few hours?
But I am also super good at solving problems. I quickly delegated to G to save the day. I pretended to be super tired after dinner on our second last night and had previously asked G to take my sister out for a drink on their own. We expected this to be the biggest challenge as she’s not a massive drinker neither does she like going out so much. But miraculously she agreed with no questions asked. I managed to get to my dad’s place, bake a cake and do the icing and be tucked in bed back at the AirBNB before the sister and the boyfriend came back from drinking the wine reserves of Speyer dry.
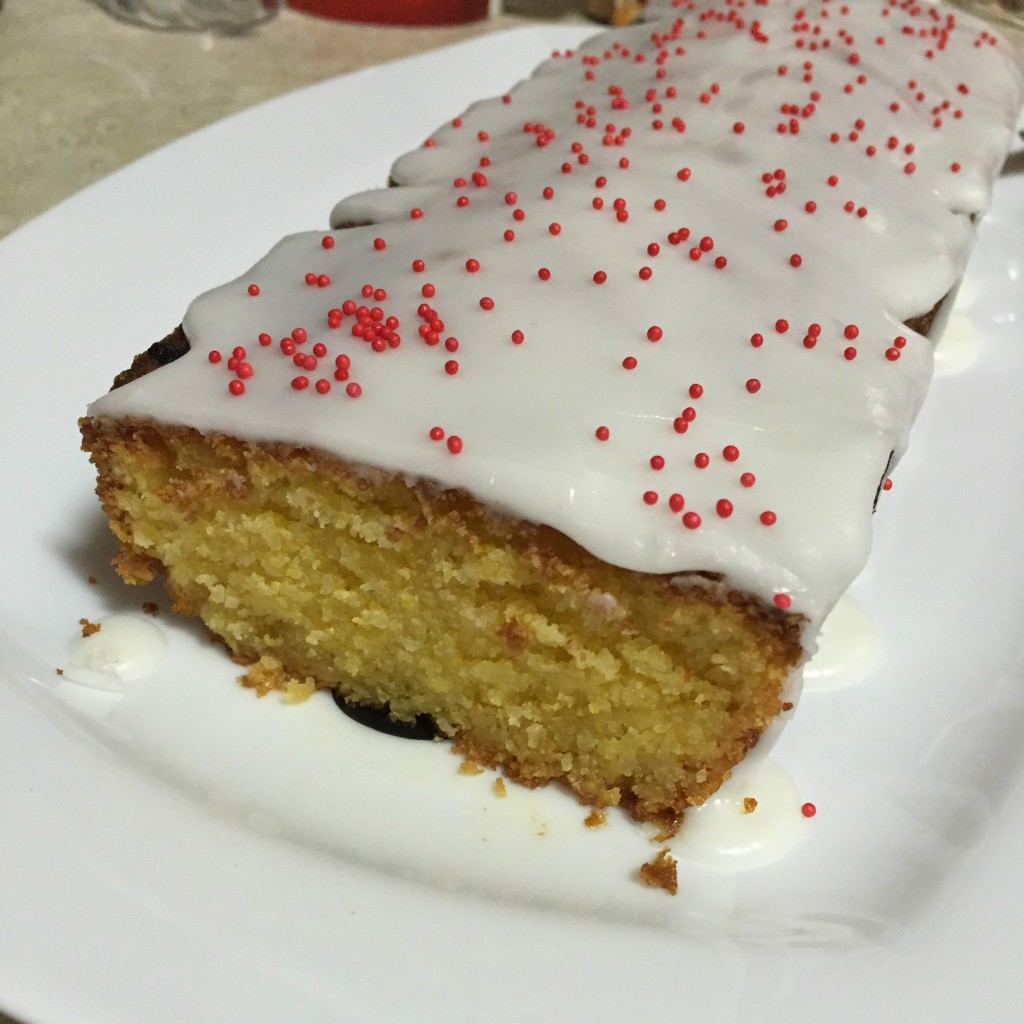
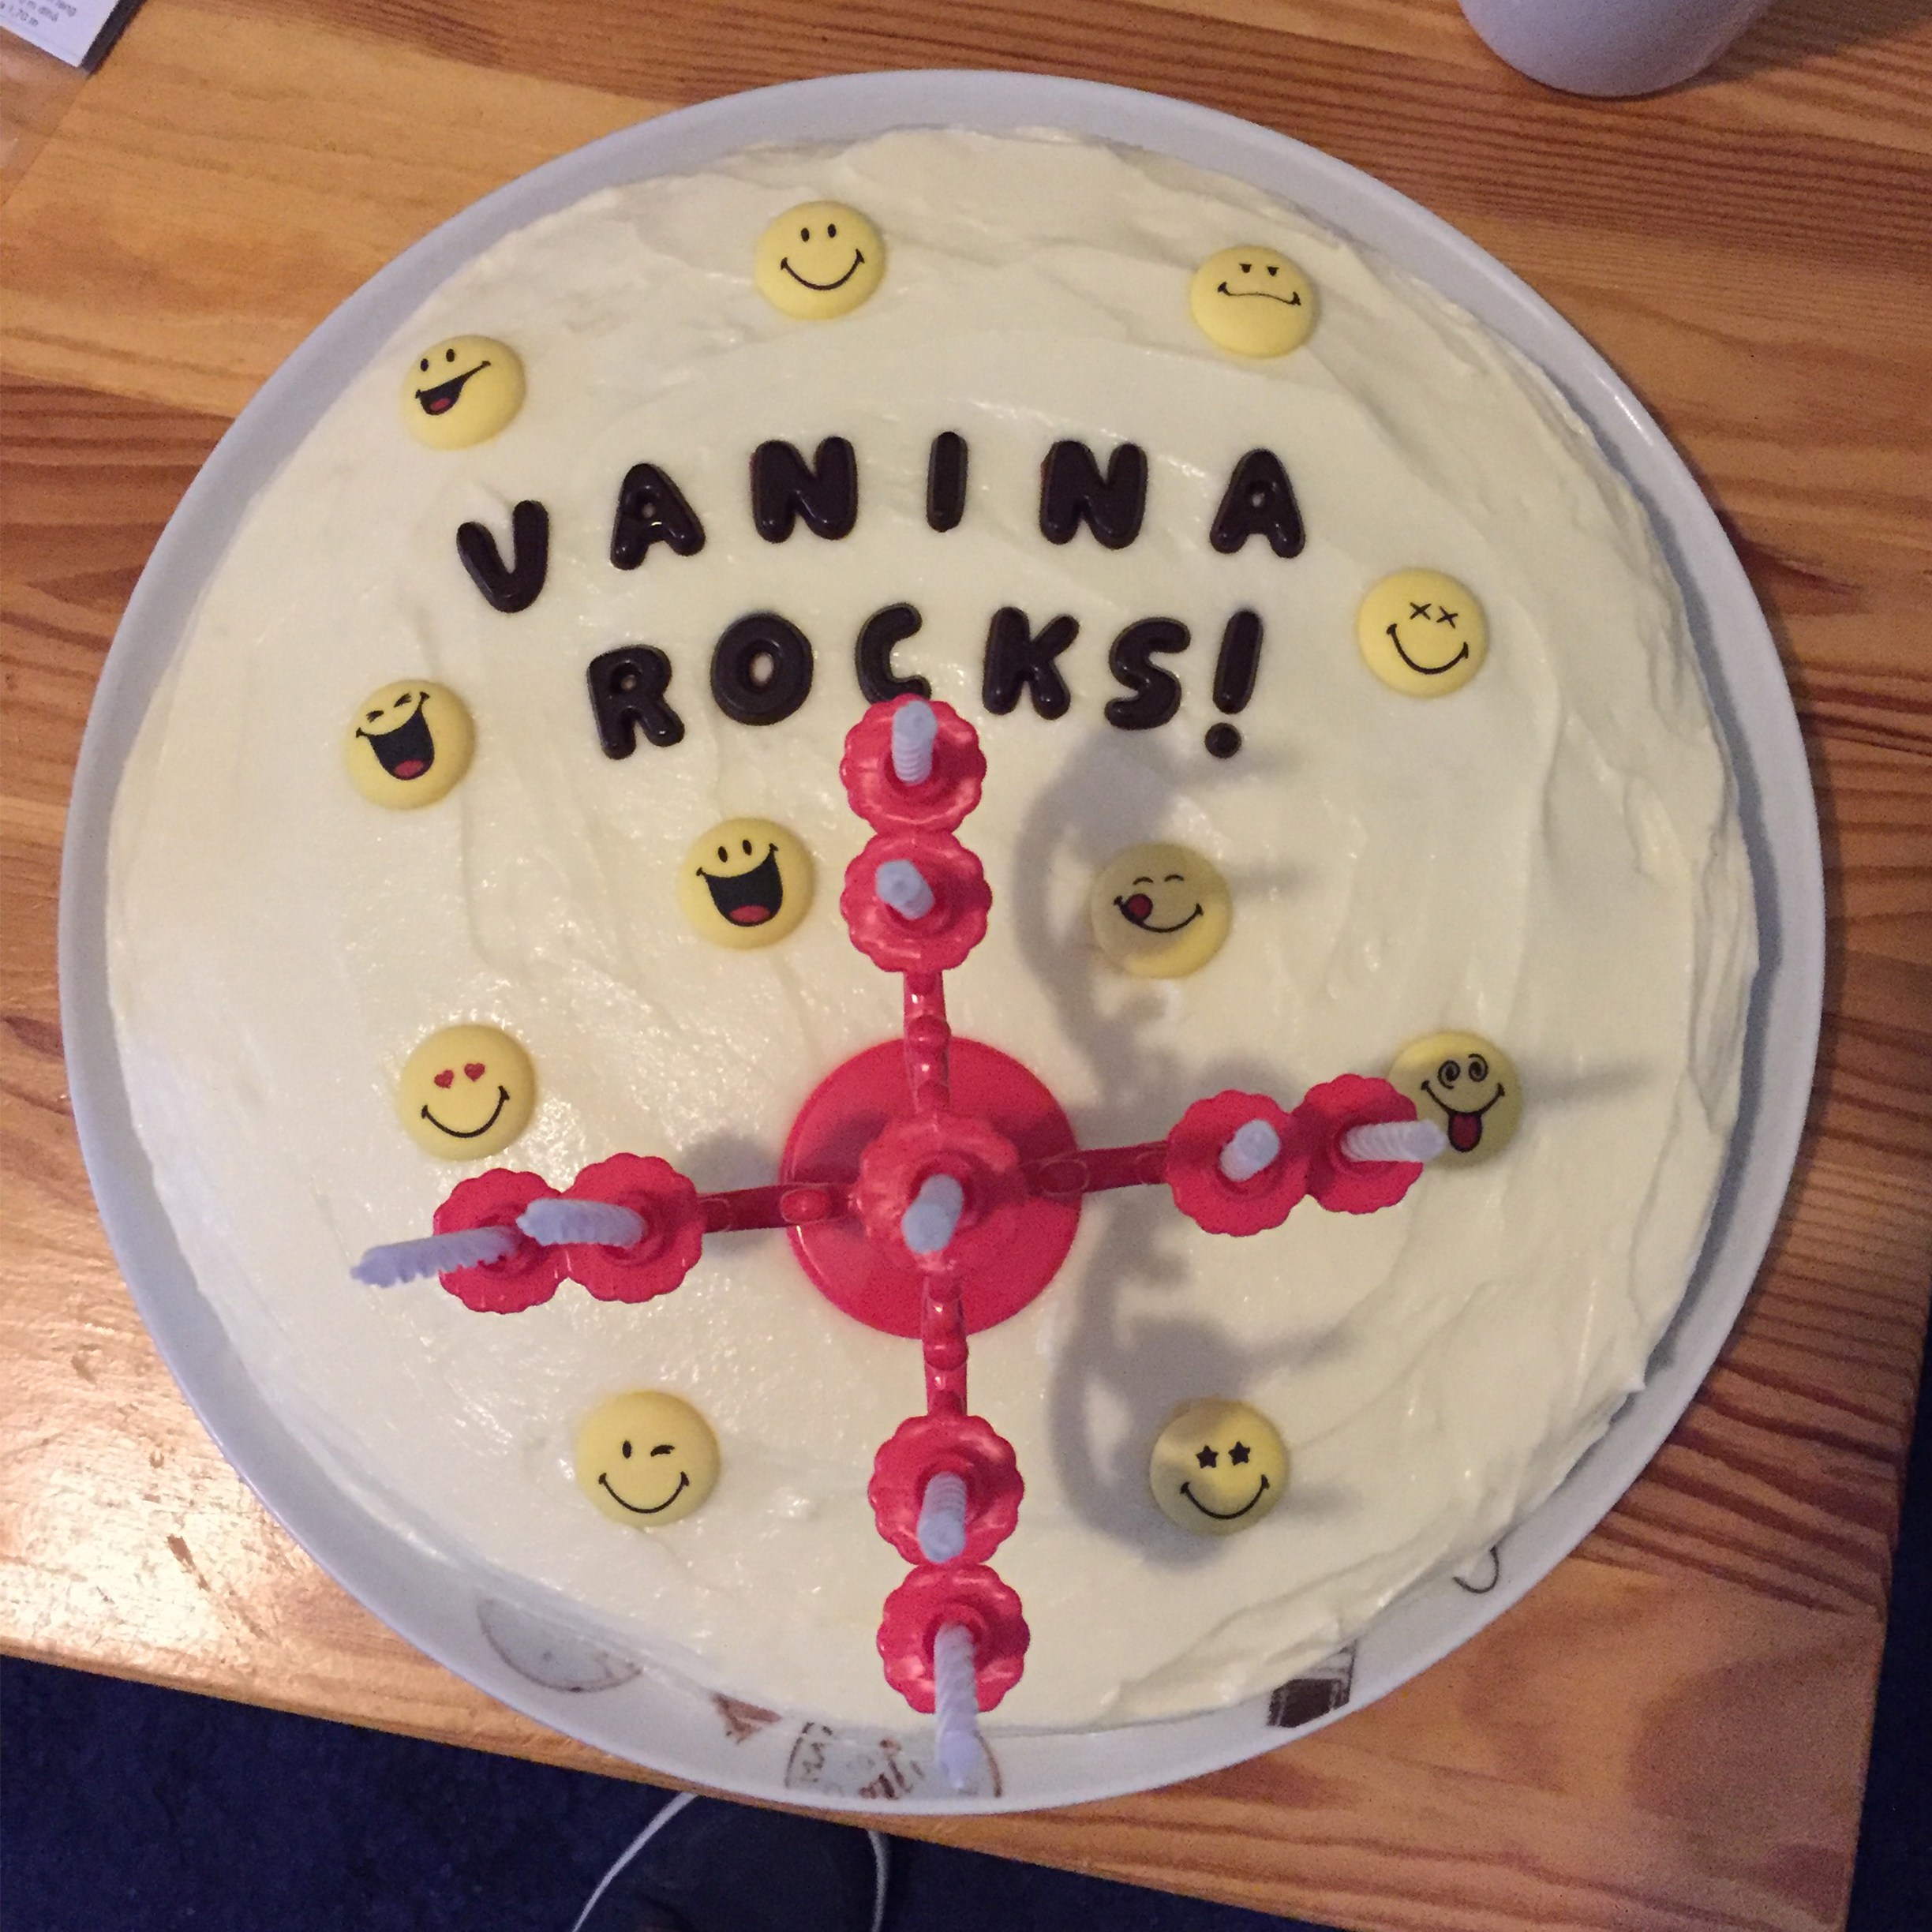
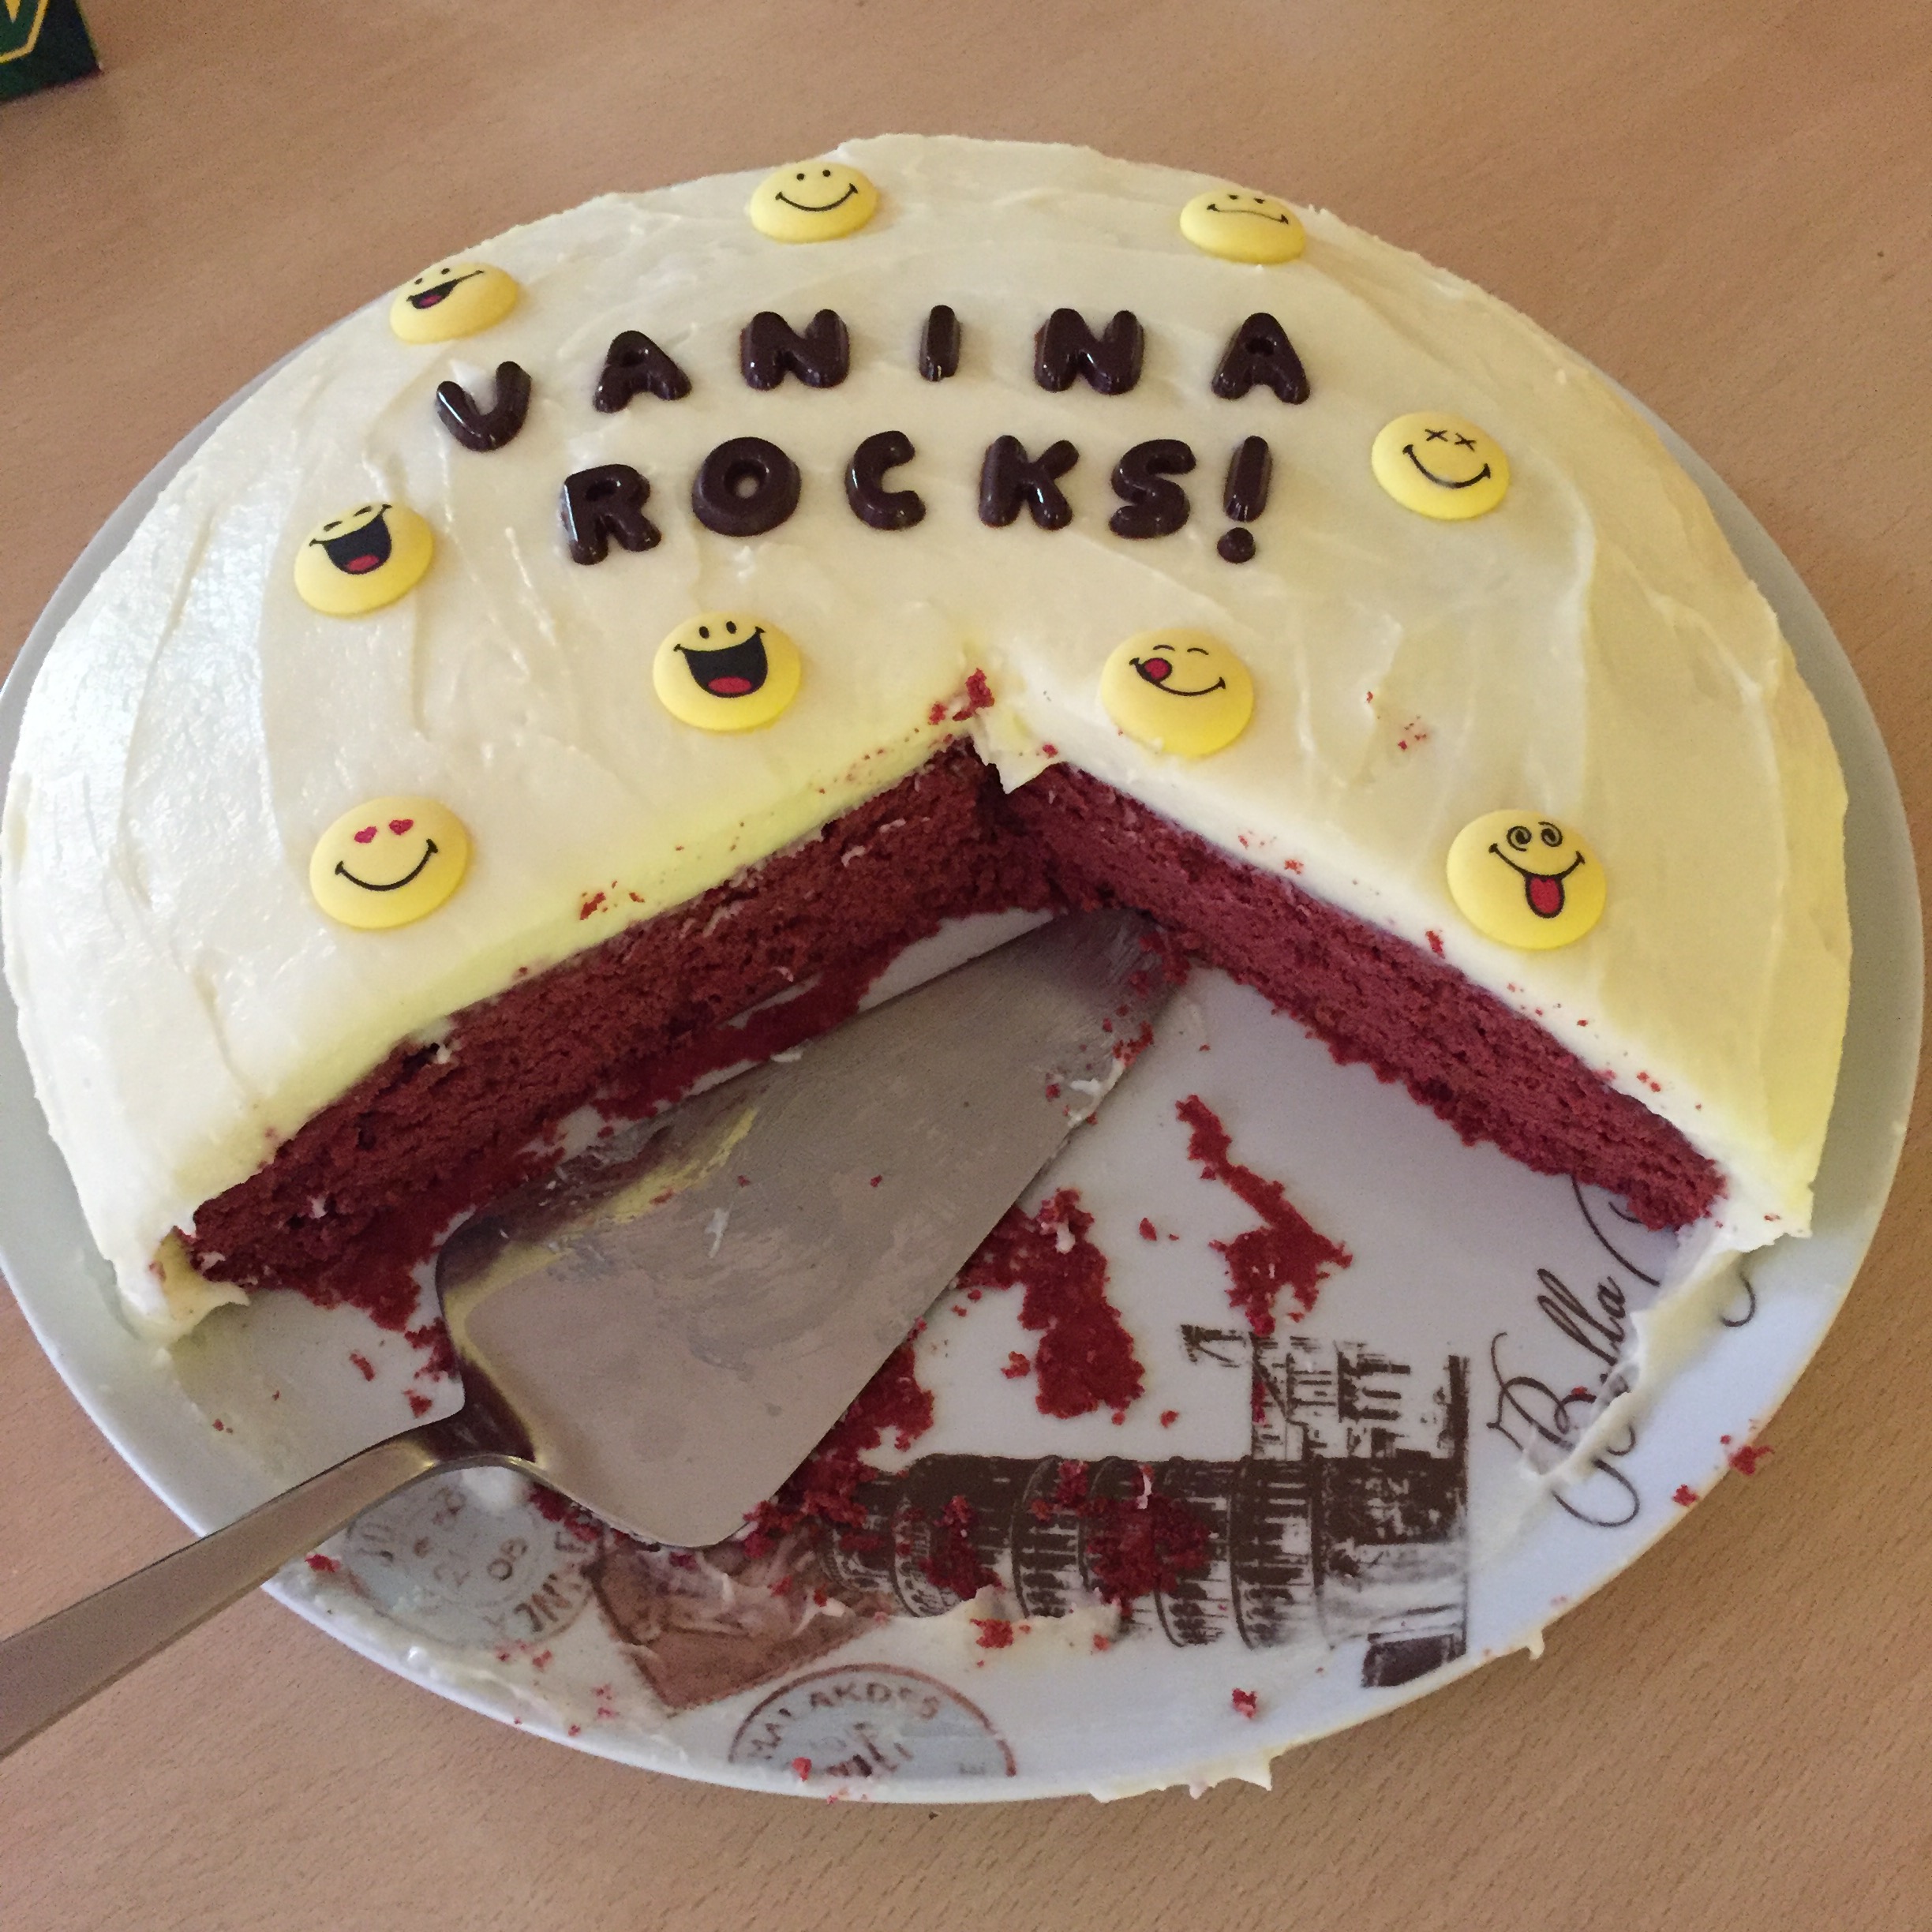
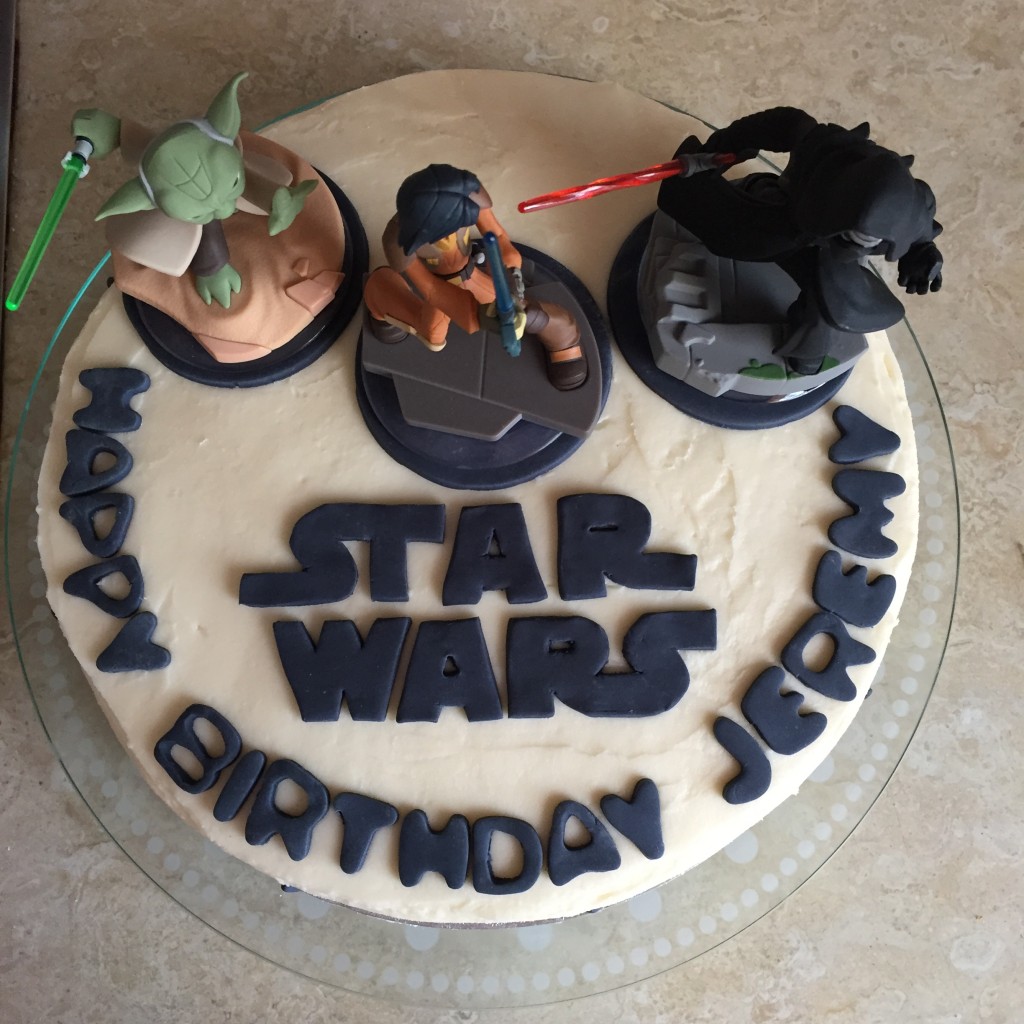
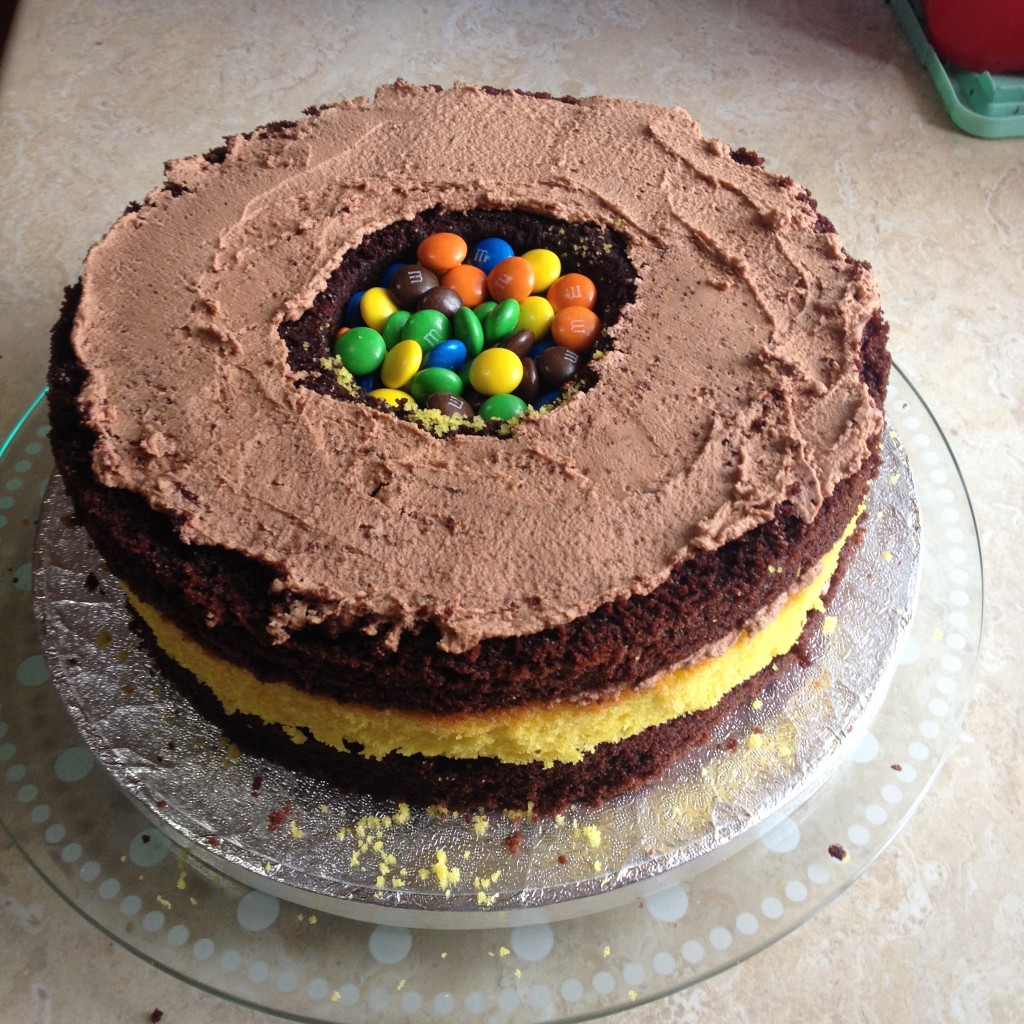
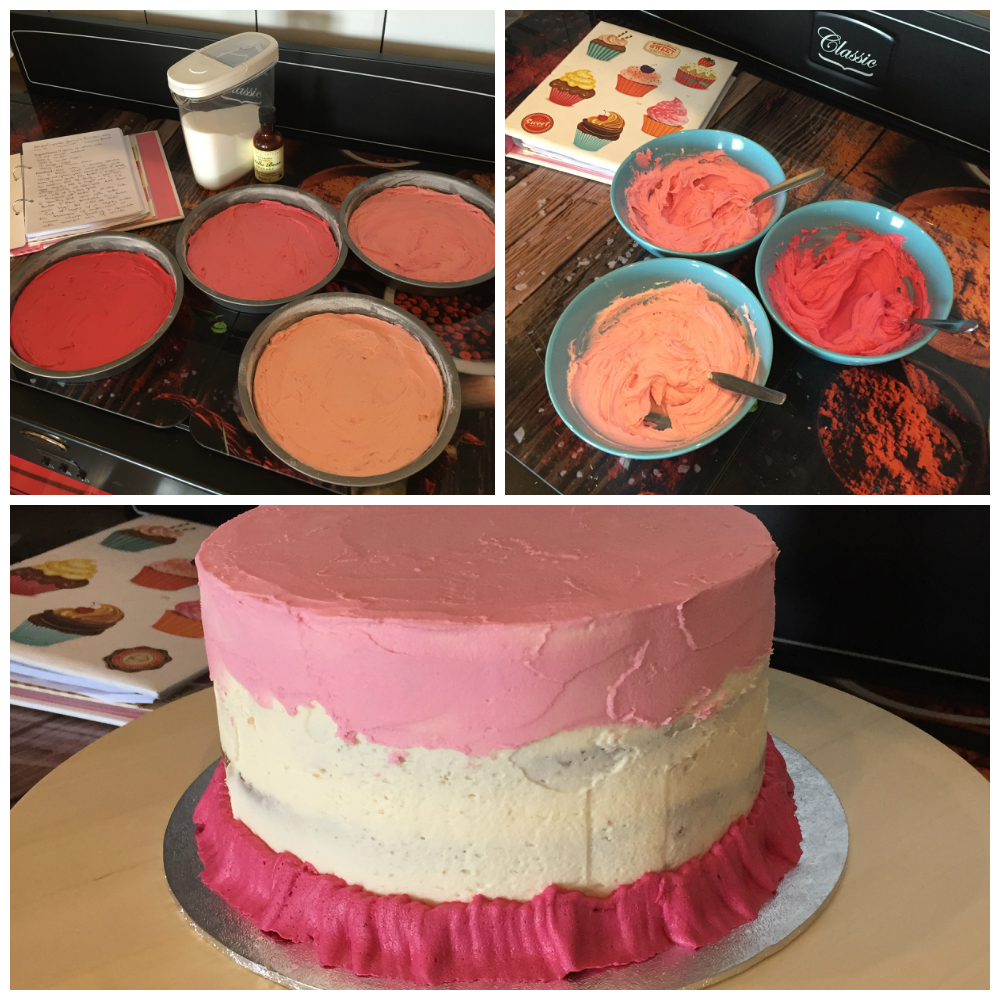
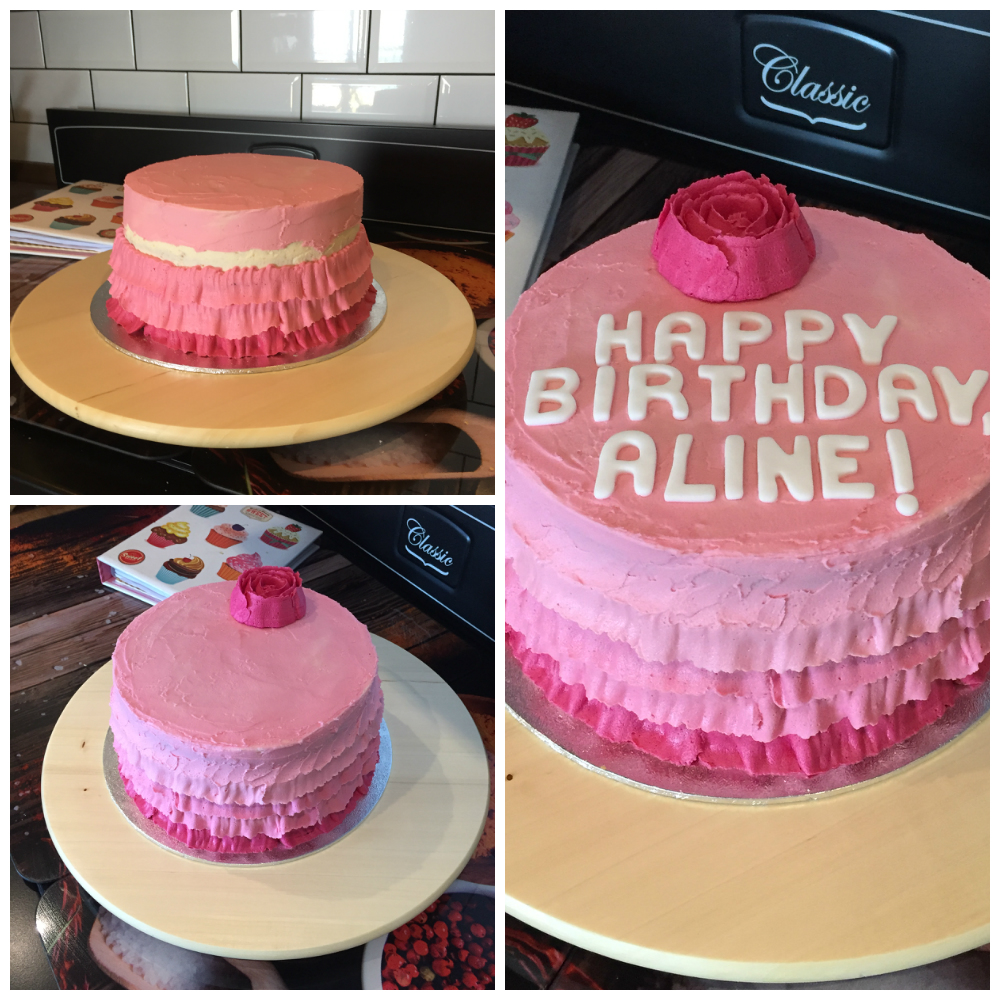
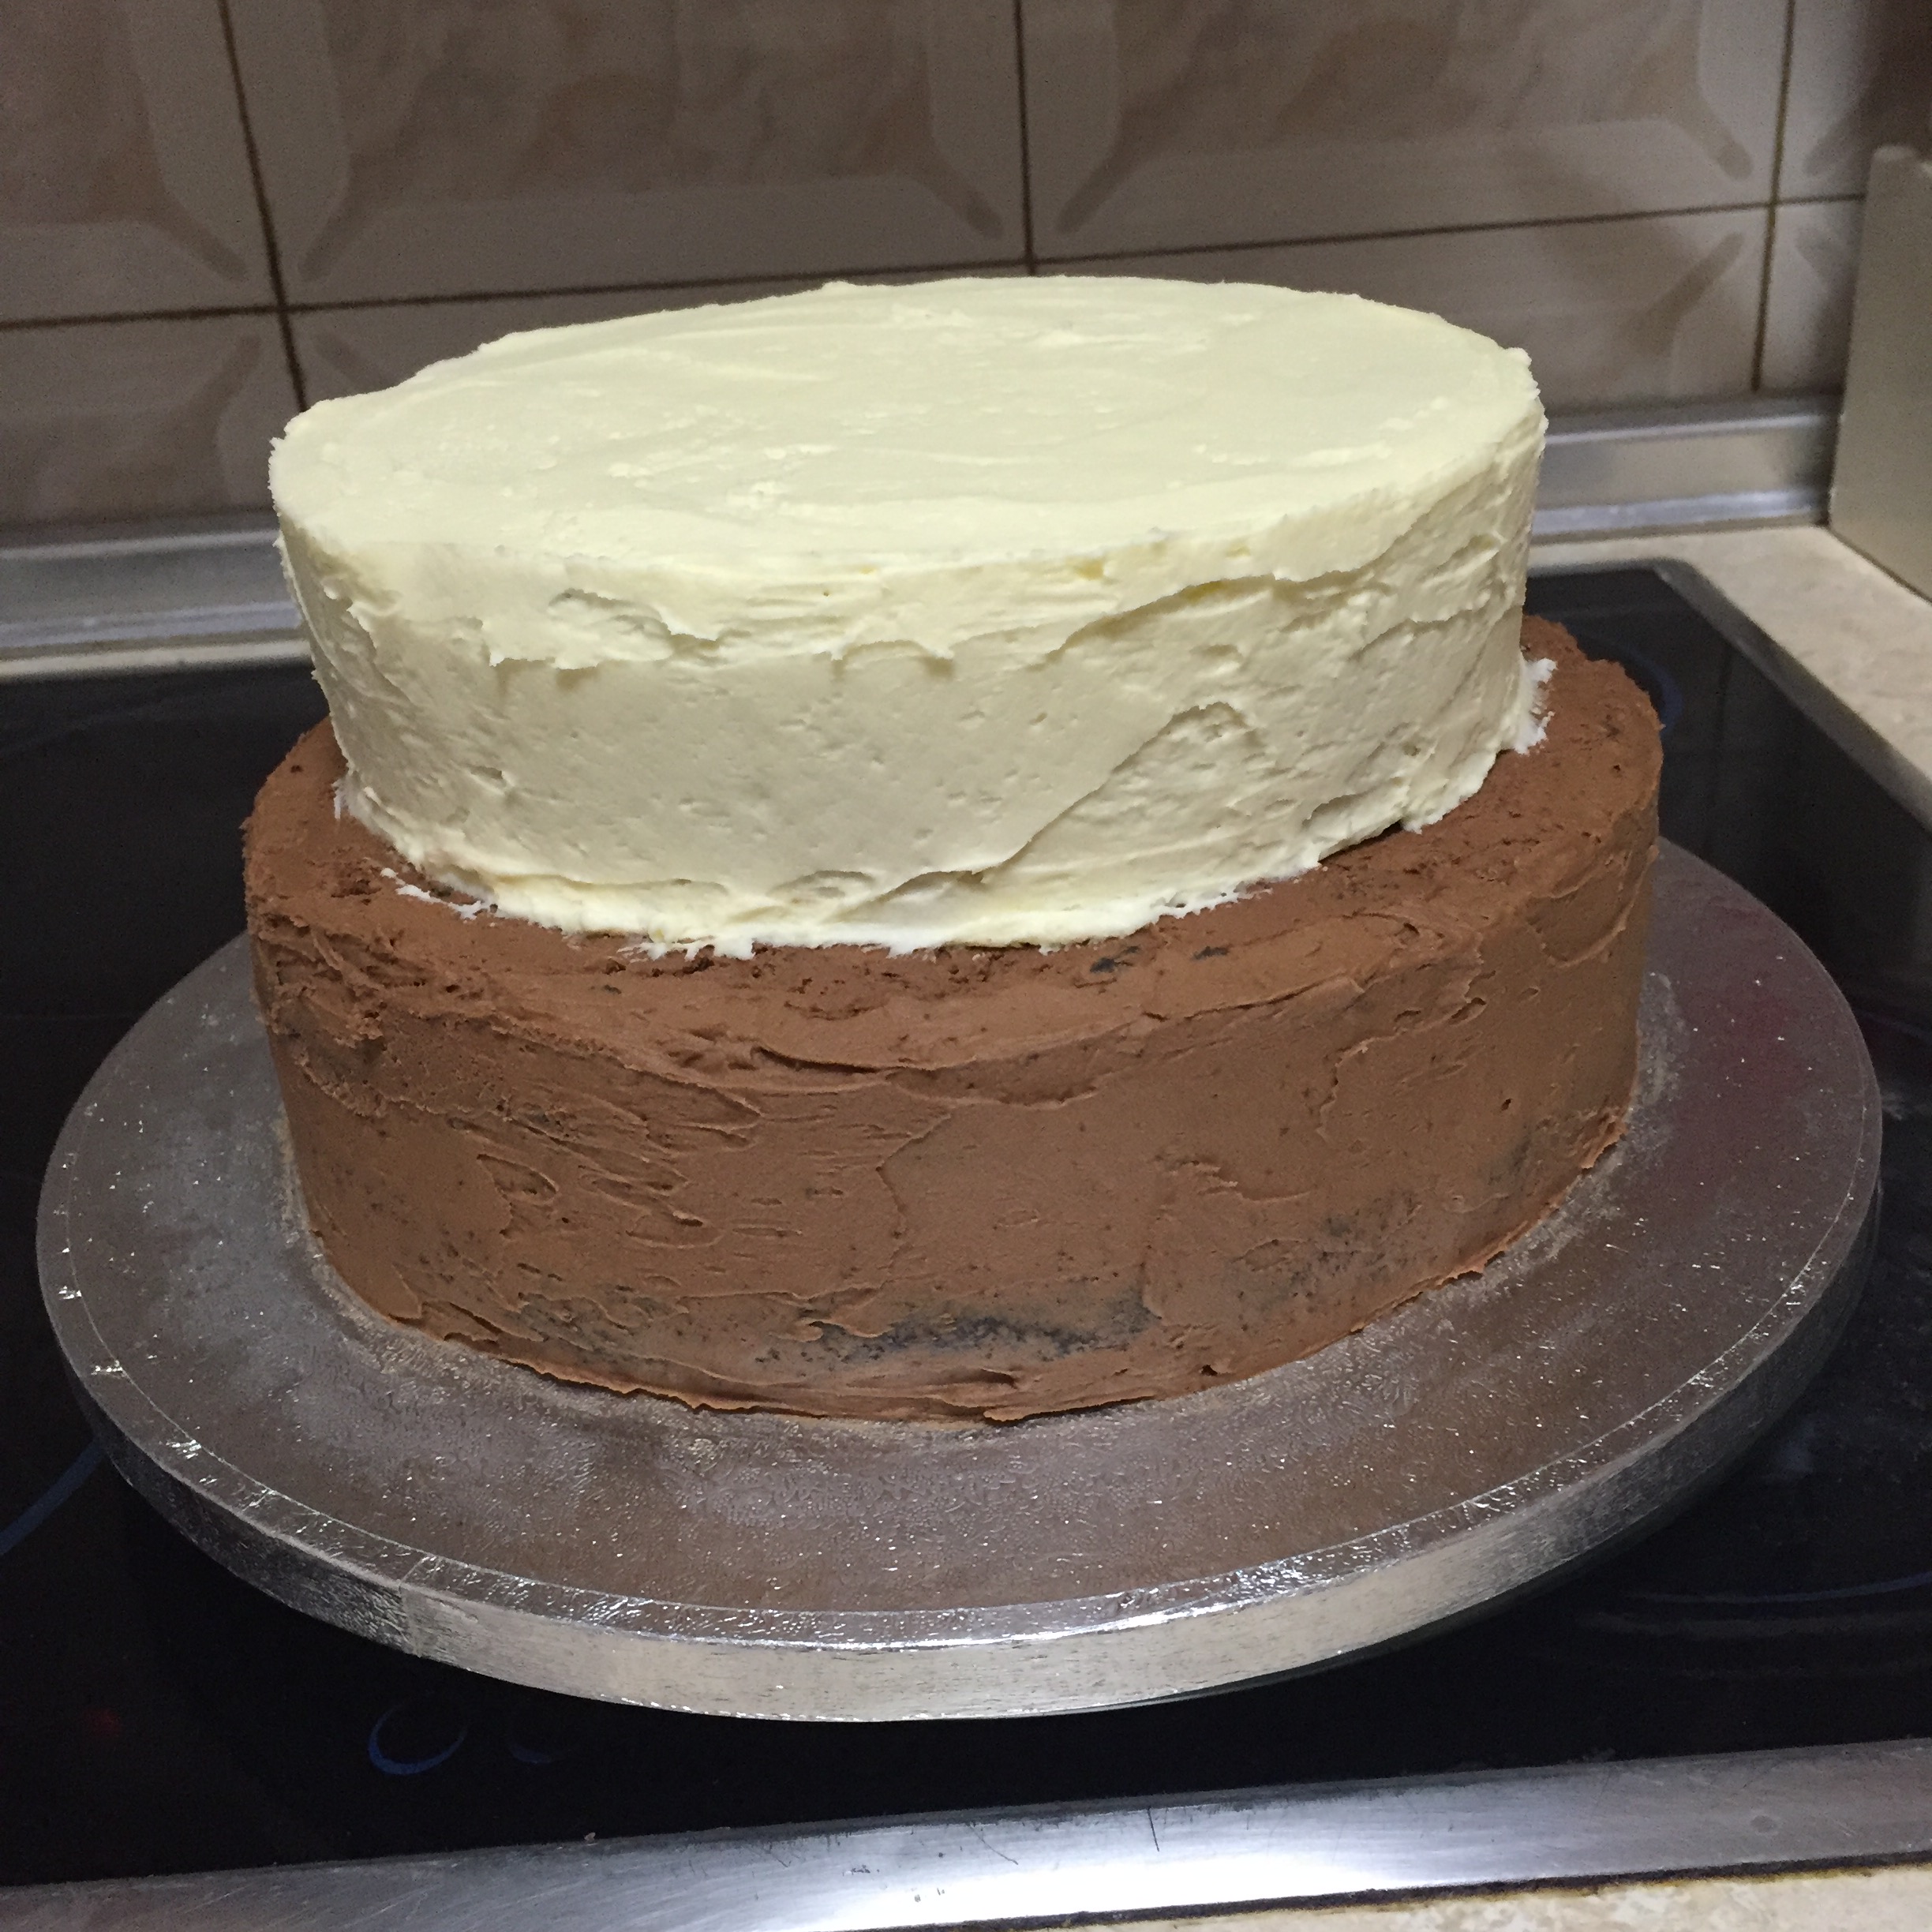
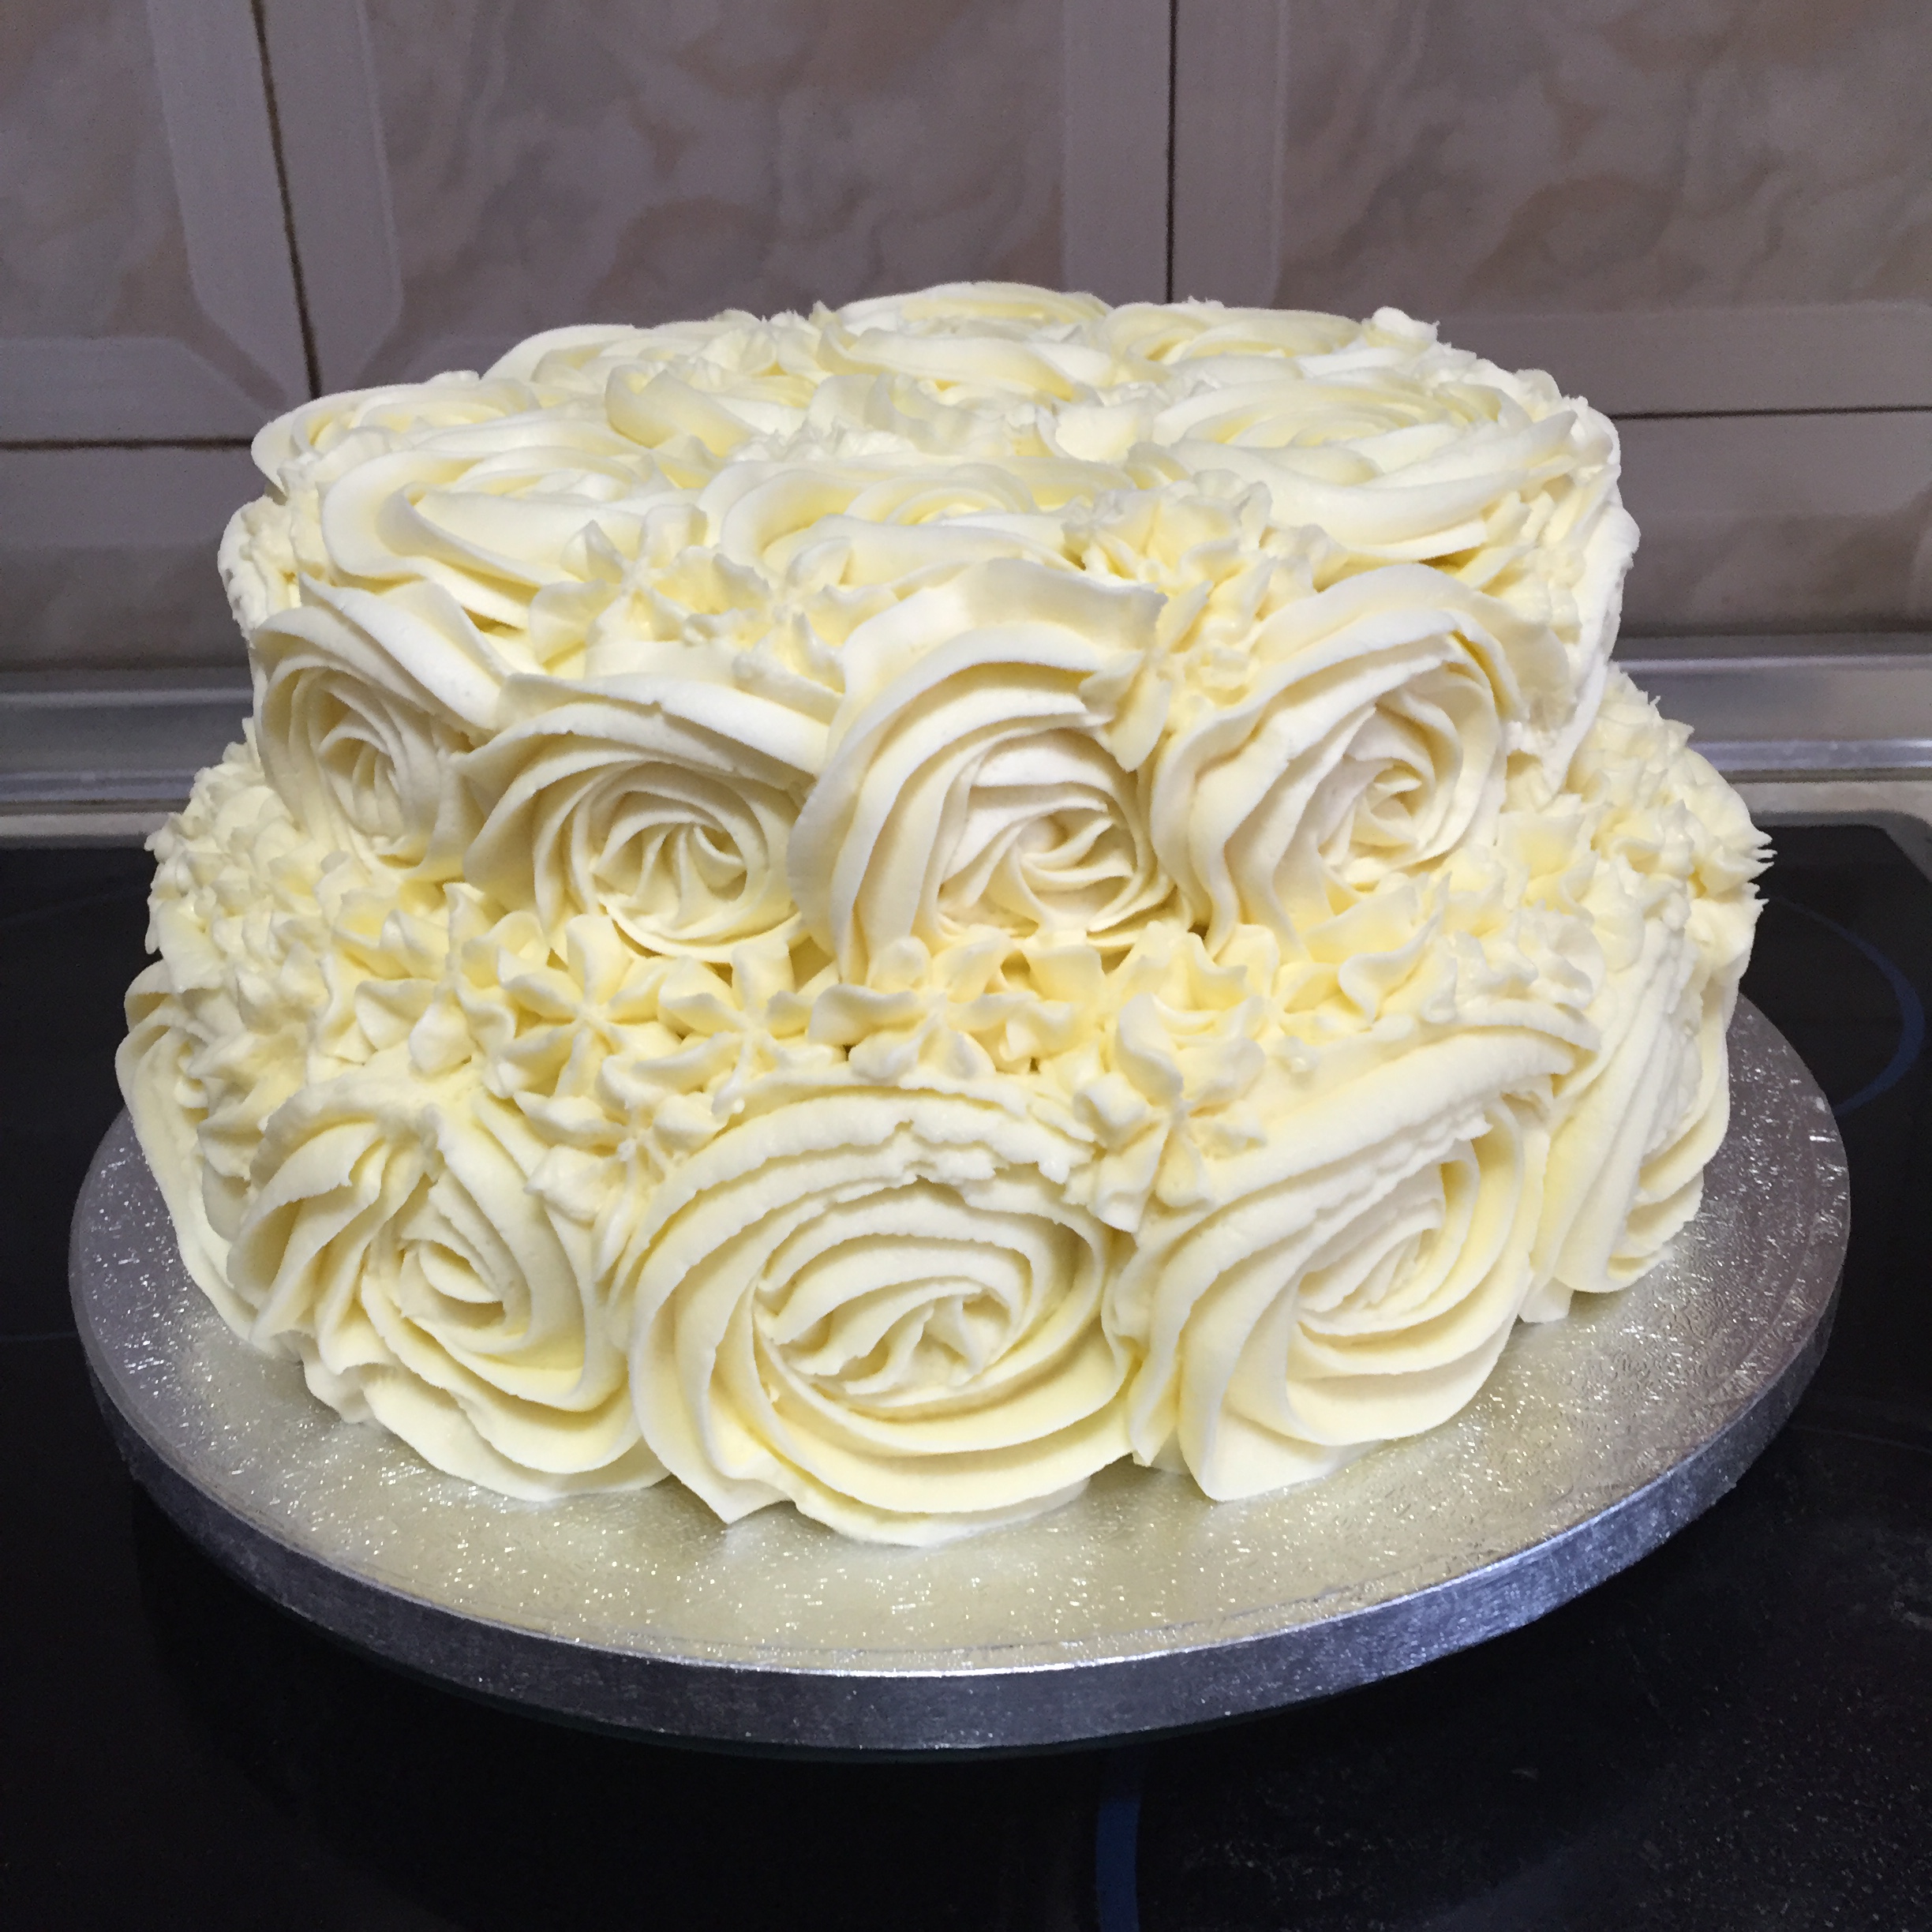
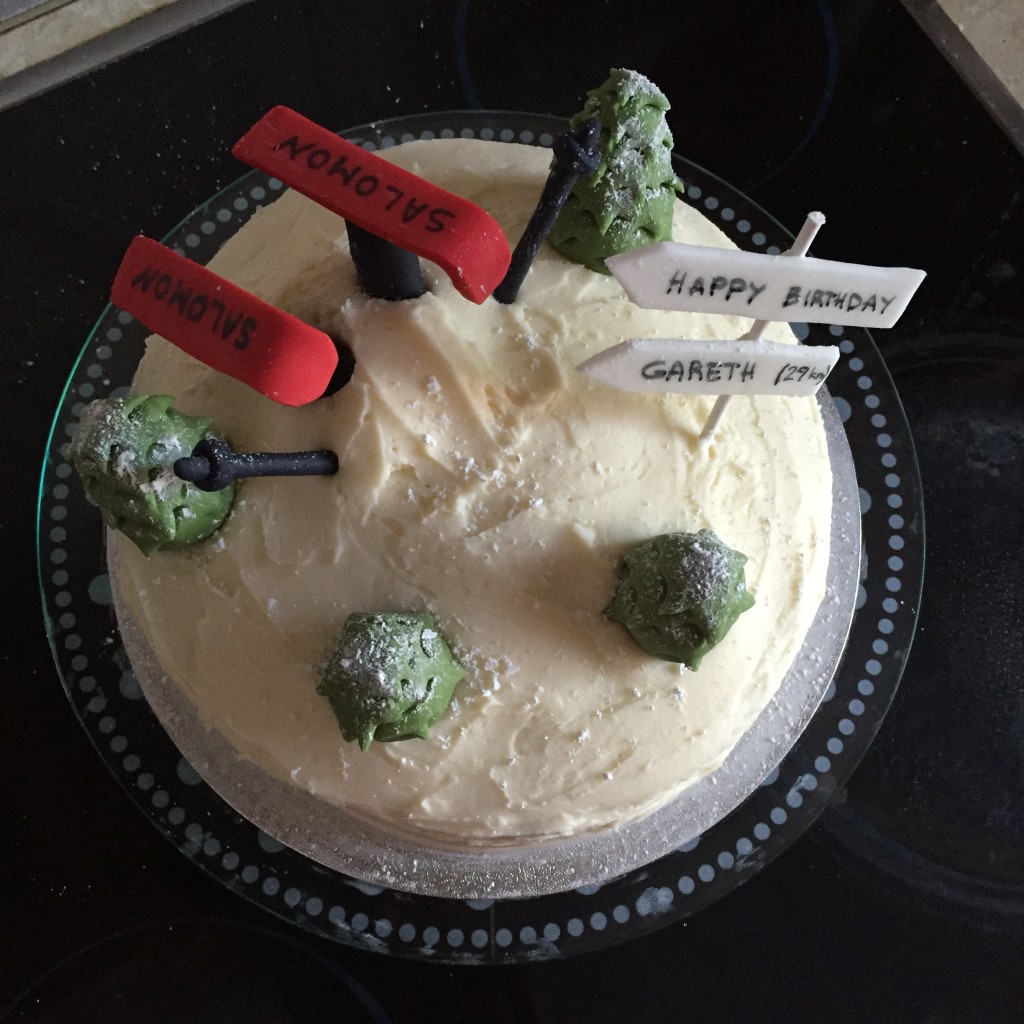
I was pretty sure she doesn’t suspect anything yet but had yet another hurdle to overcome. The cake was not iced or decorated yet – So my plan was to wake up early in the morning, go over, finish the cake and come back before the sister wakes up. But guess what – she had woken up earlier that day. G kept it cool: ‘I don’t know where she is’. Good that I do tend to go for runs in the morning that my sister thought I’d gone for a run. So we walked in with the cake and she was still very surprised! Admittedly, not my best bake (untested German ingredients, new oven, different tools) and not the best looking cake ever but made from the heart. So here is Vanina’s surprise red velvet birthday cake:


 Here’s what you’ll need:
 When you’re done with this and it’s time for the party, sit back and enjoy the faces of the crowd as they cut into the cake and the jelly beans spill out!
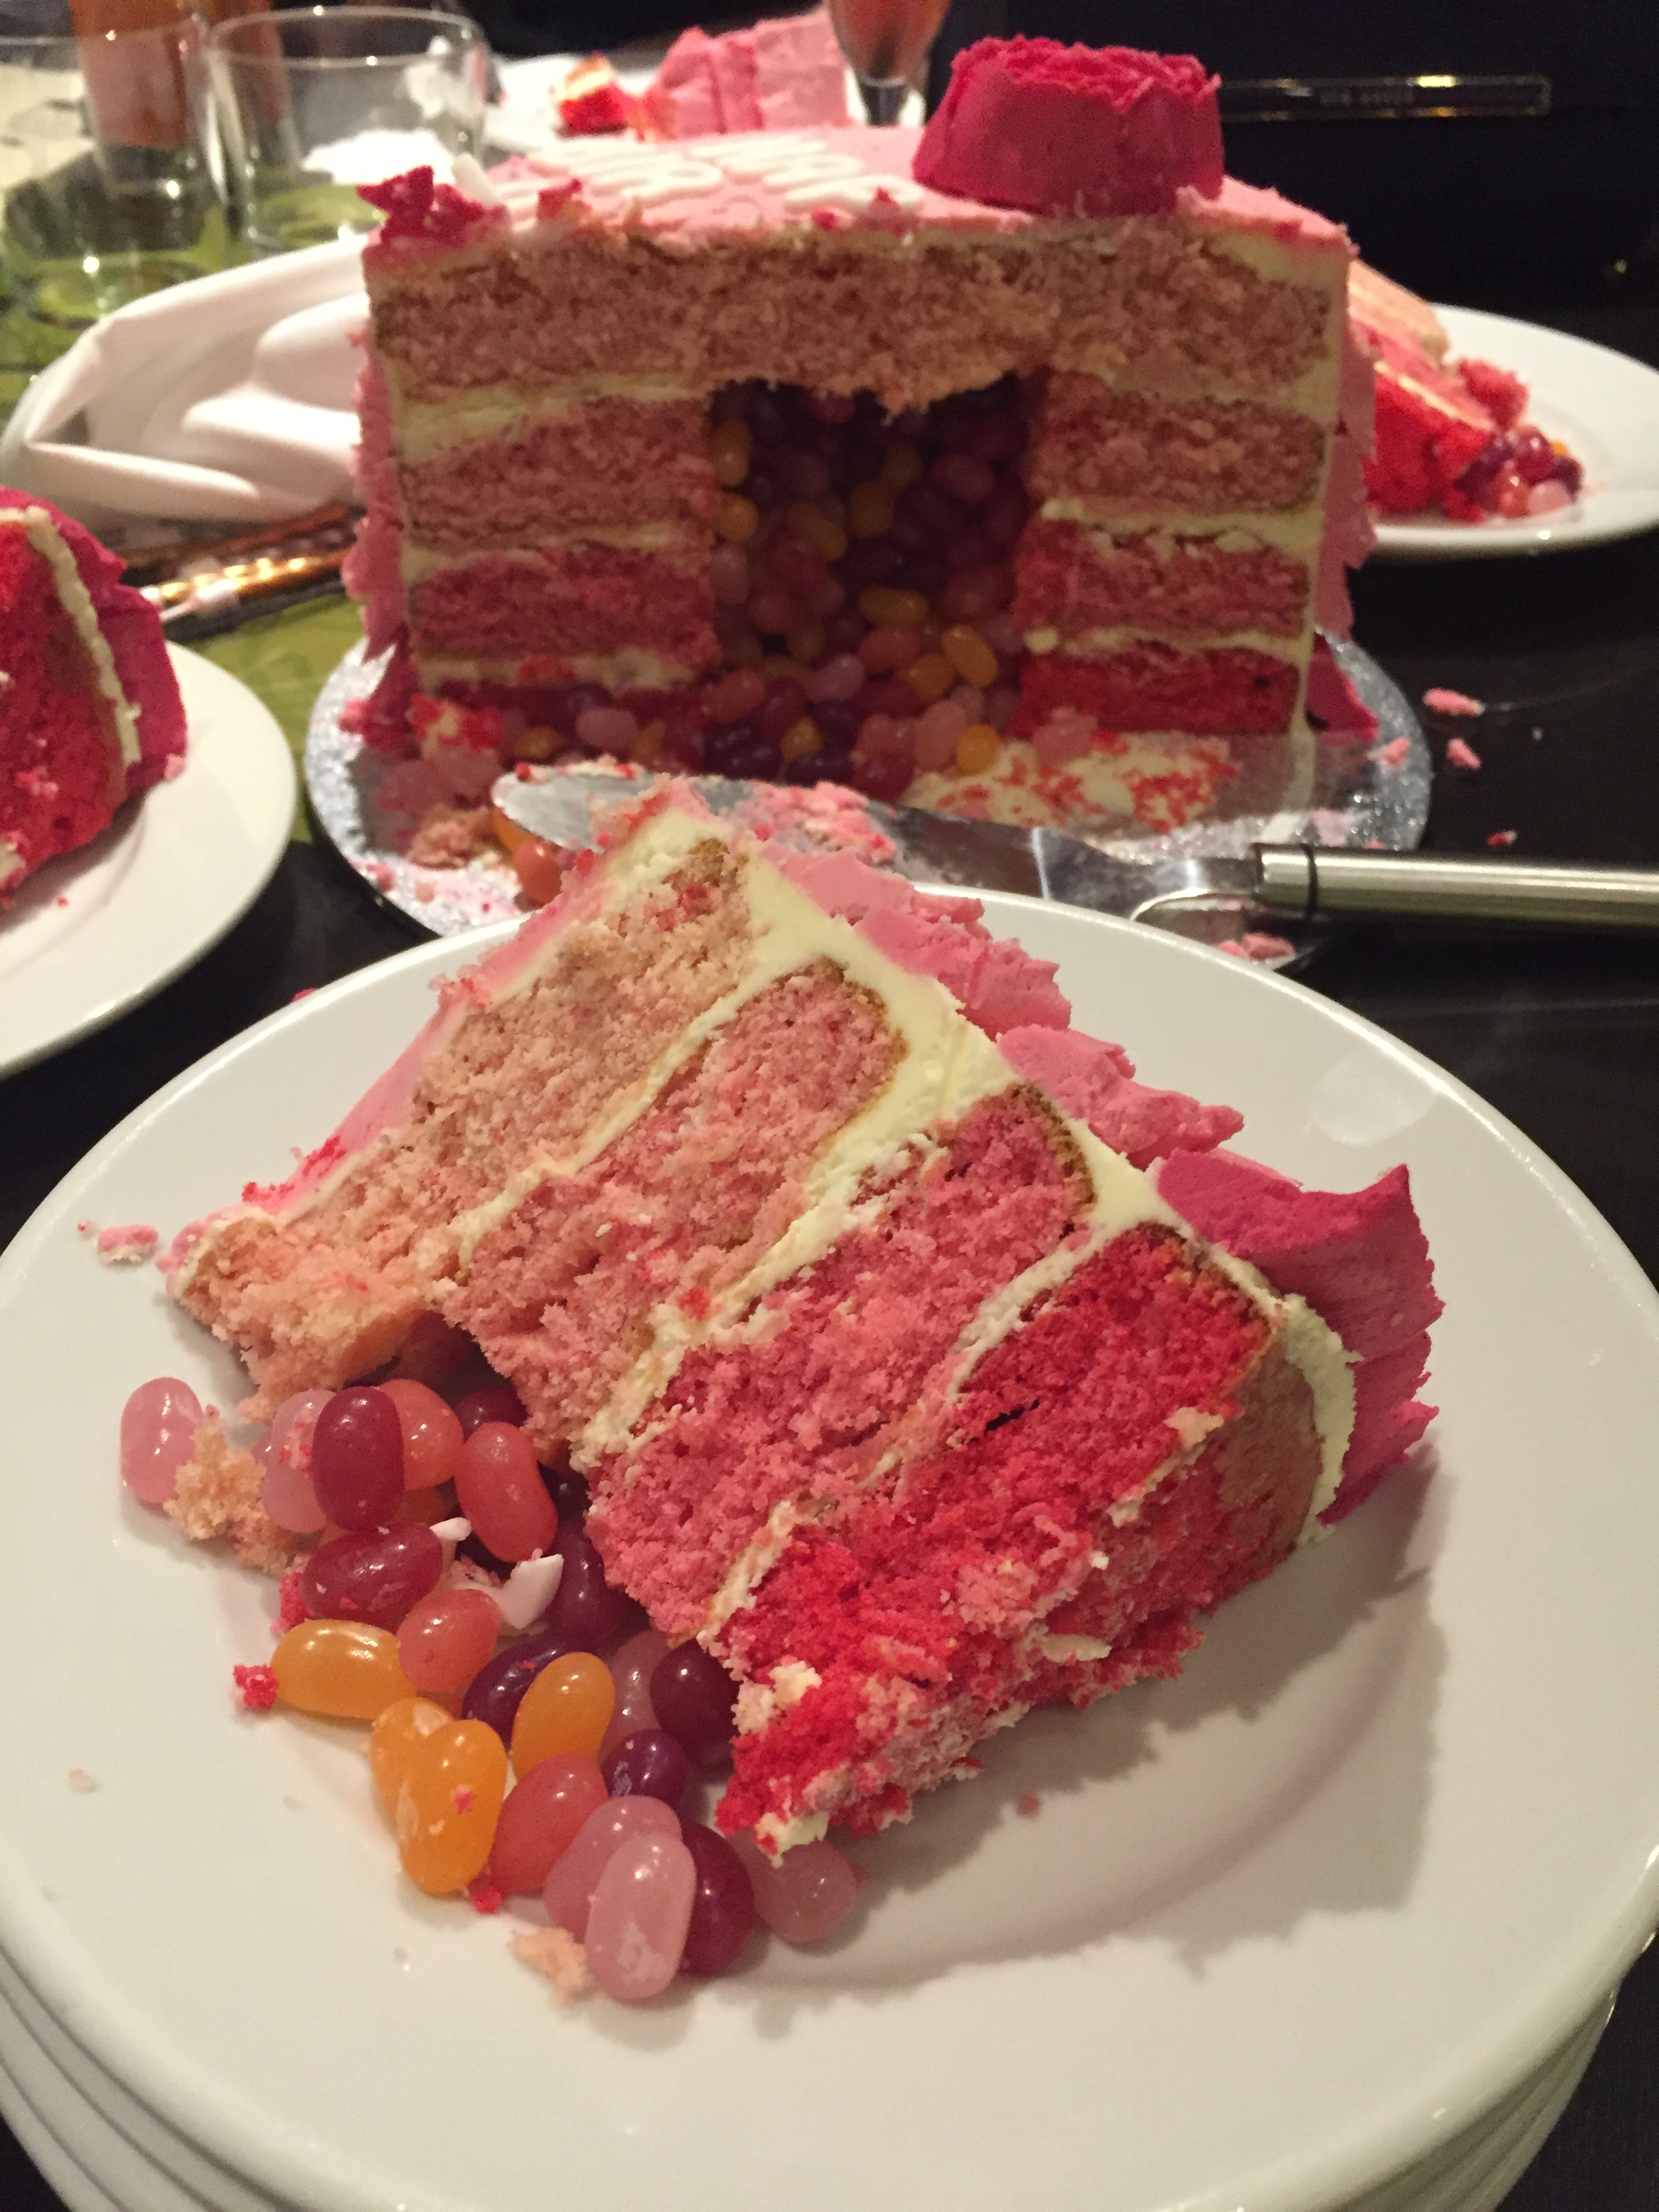

 *When we went to Germany for Christmas, I brought back almost half a suitcase of cake decorating stuff – sprinkles, cookie cutters etc, but my best buy by far was a set of edible felt tip pens (8 different colors too). How did I live without them before? I definitely recommend them to everyone – they’re great for writing on fondant or dry royal icing.
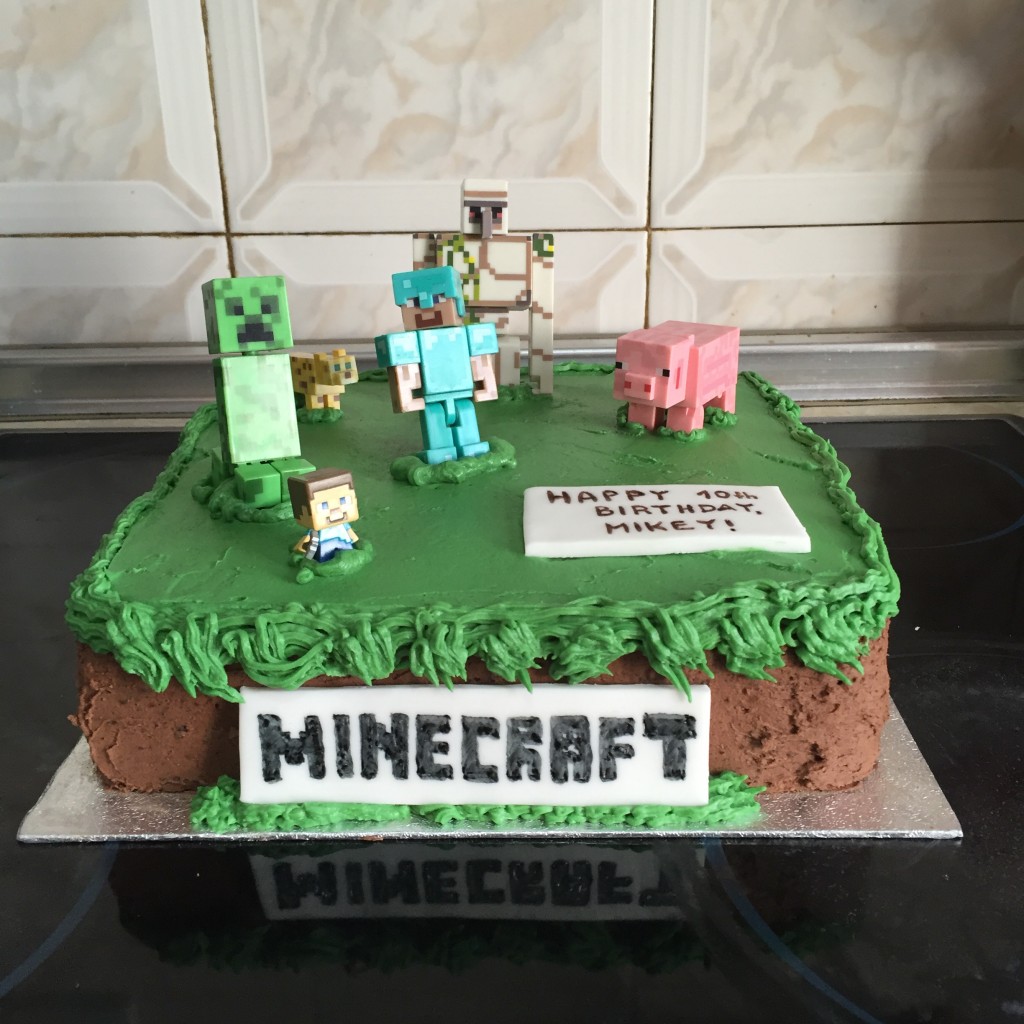
 Needless to say, I was happy to hear that the cake was liked so much but I was also a little disappointed. The actual creator of the cake has to this date never received such a letter. At least it’s good to know that the things I create provoke such deep feelings, isn’t it? Have a look at the cake yourself: