A love letter to a cake

Sharing is caringShare on FacebookTweet about this on TwitterPin on PinterestShare on Google+Share on Tumblr

Recently I have been experimenting a little more with gluten free baking. I have done loads of gluten free cupcakes before but had my first go at GF pastry which turned out to be a success. But then I saw this recipe on Jemma’s YouTube channel and it really made me curious – no xanthan gum needed (a powder which acts like gluten to bind the ingredients together), no flour – just polenta and ground almonds. So I decided to make it. Admittedly, it didn’t turn out quite as fluffy as Jemma’s (it was nice and moist though) so it does need tweaking – maybe play a bit with temperature or baking time (after all, my current oven isn’t the best to say the least). But it still tasted good and I shared with some friends, not omitting  to mention the shortcomings of it. And then something unexpected happened. I got this:

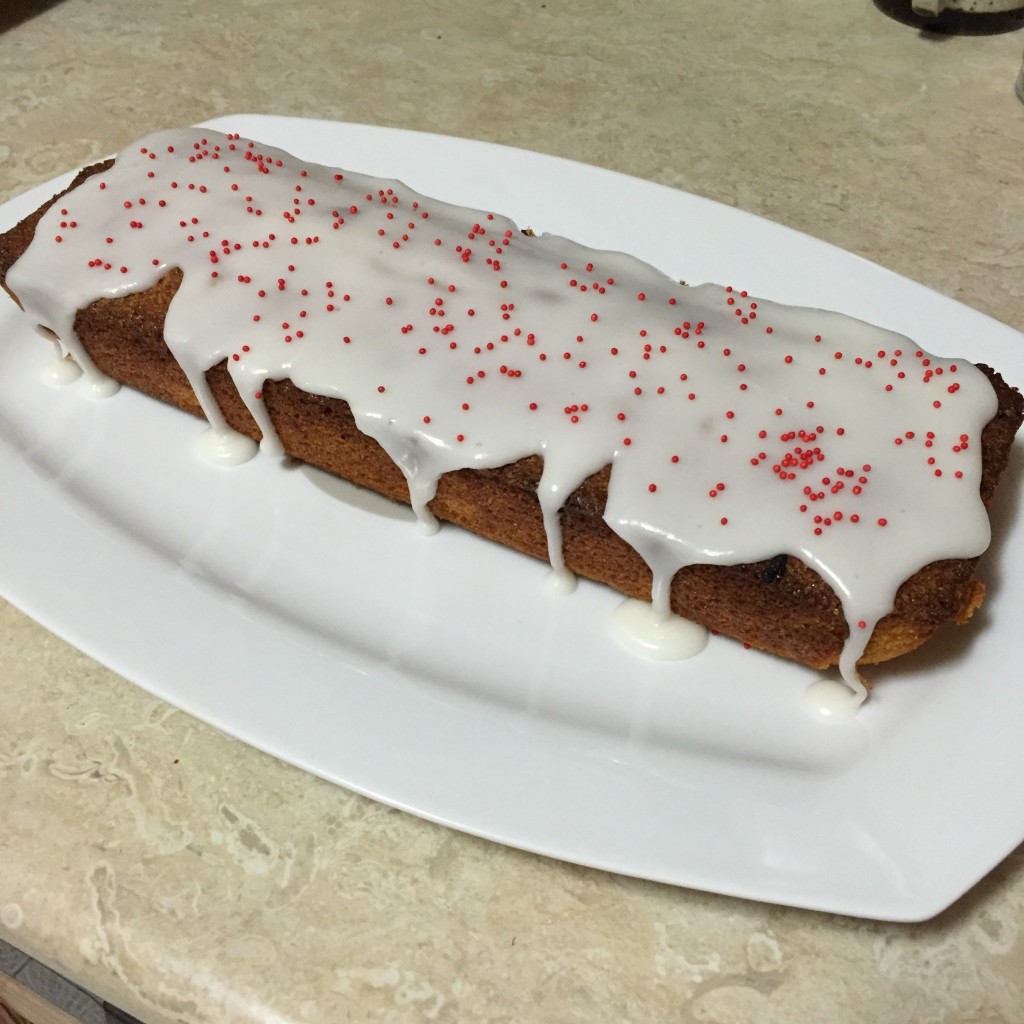
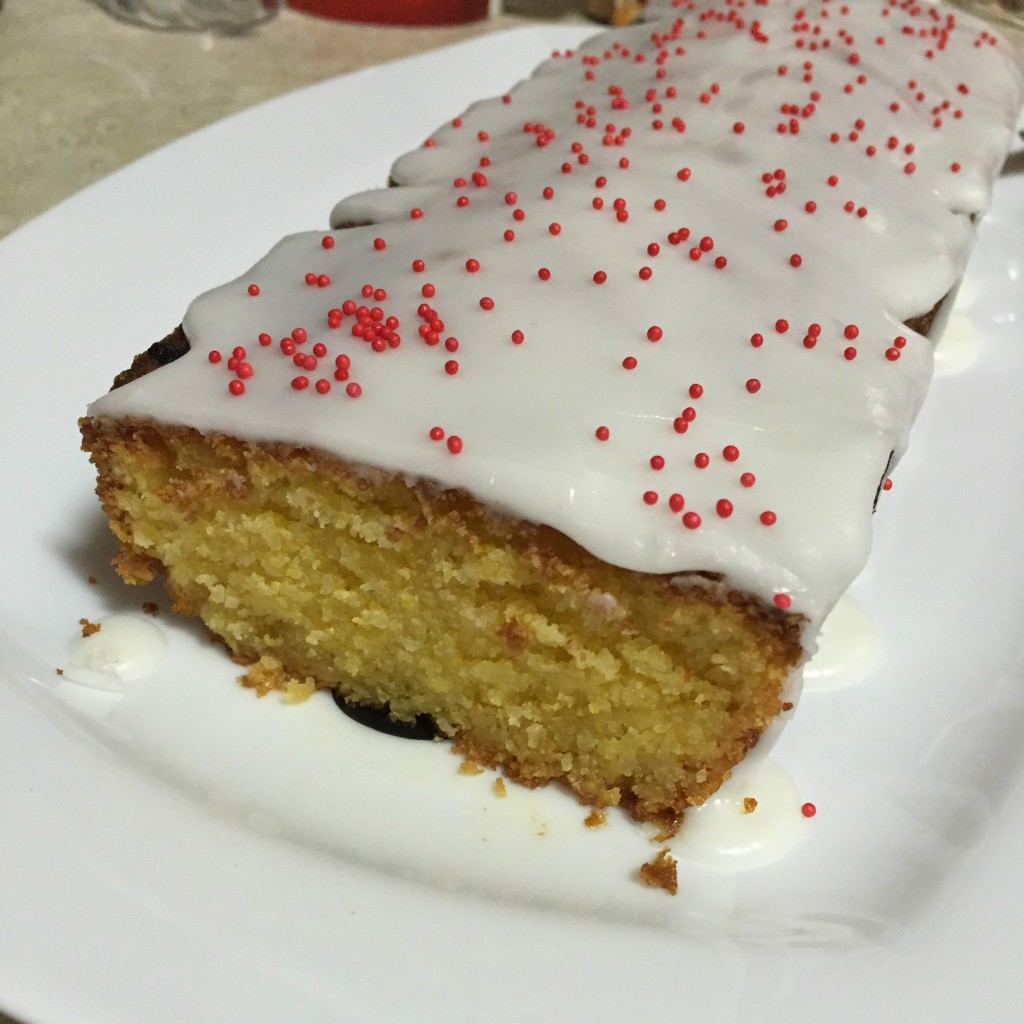
Needless to say, I was happy to hear that the cake was liked so much but I was also a little disappointed. The actual creator of the cake has to this date never received such a letter. At least it’s good to know that the things I create provoke such deep feelings, isn’t it? Have a look at the cake yourself:

Whole

Before we cut it

The inside

The inside

Sharing is caringShare on FacebookTweet about this on TwitterPin on PinterestShare on Google+Share on Tumblr

Star Wars Frenzy

Sharing is caringShare on FacebookTweet about this on TwitterPin on PinterestShare on Google+Share on Tumblr

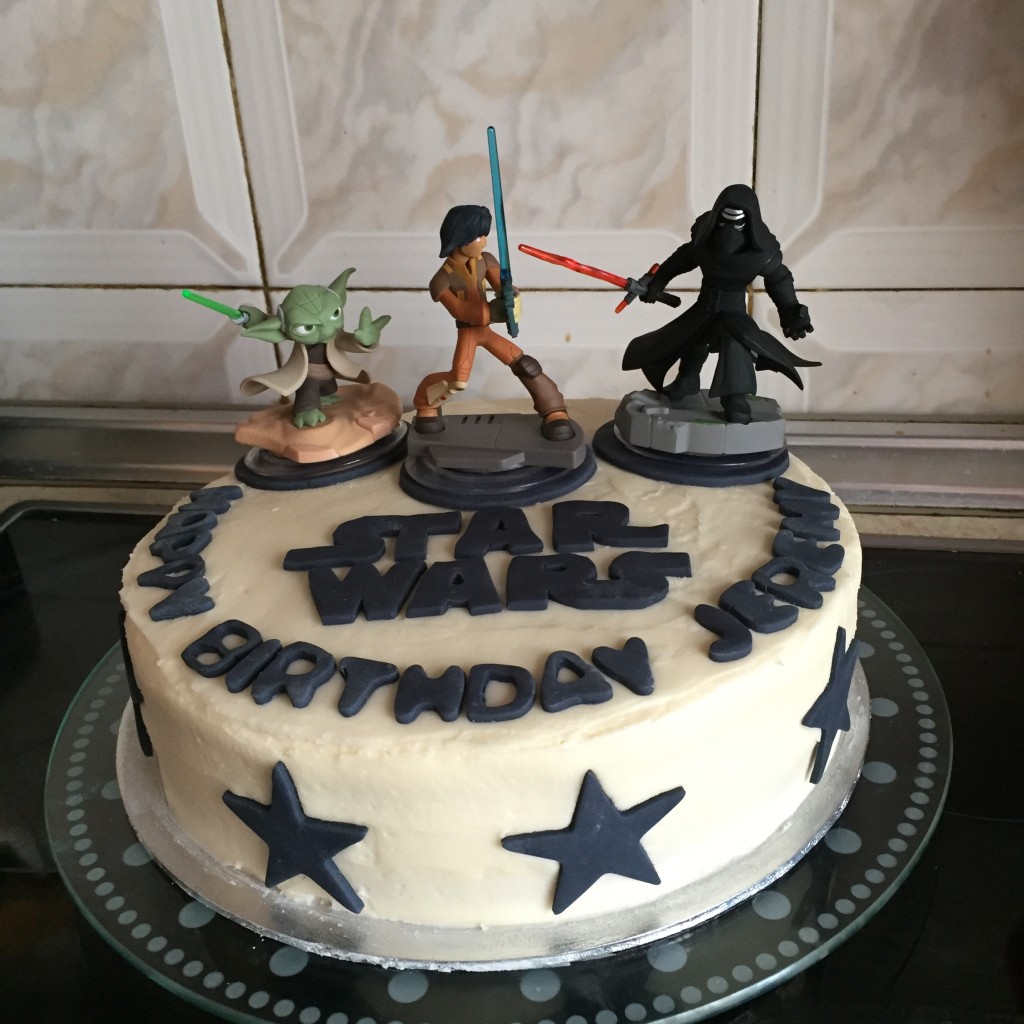
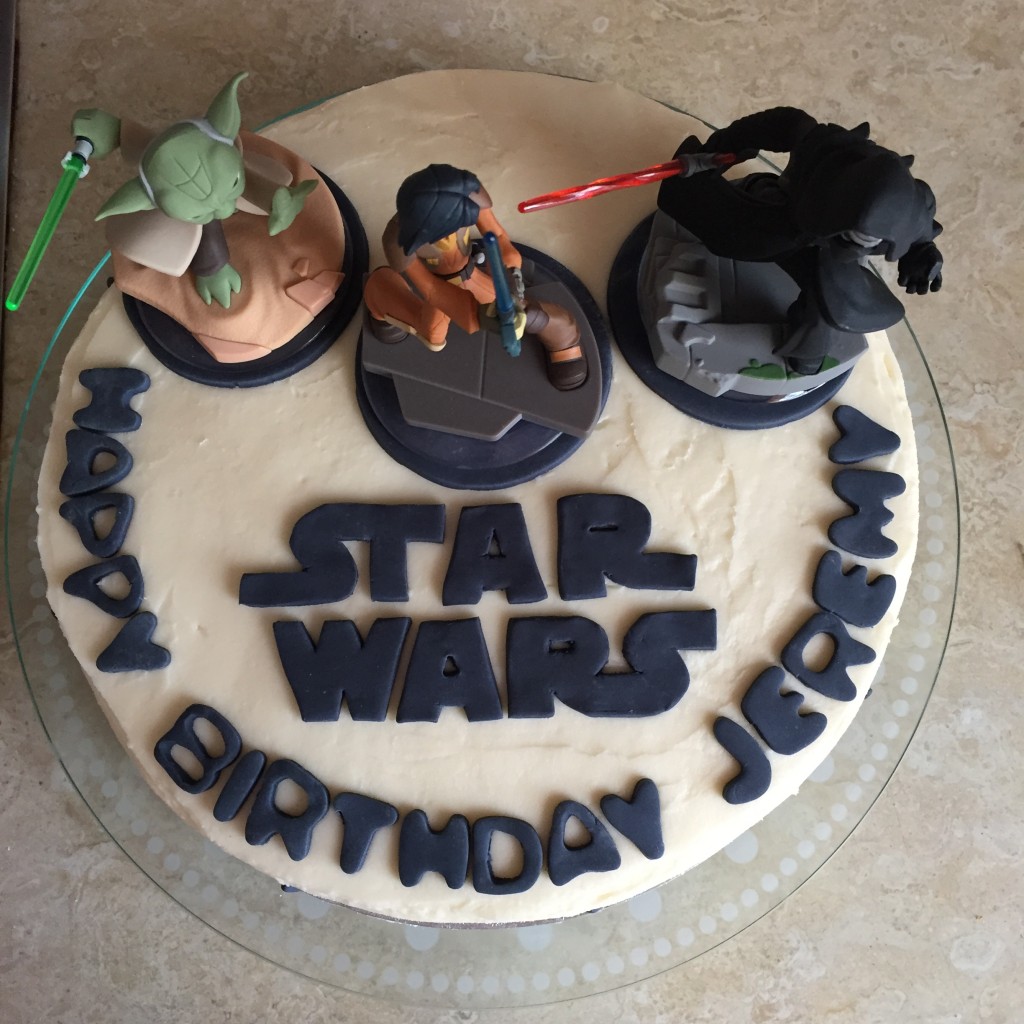
The last few months have been all about Star Wars. Did you see the movie? What did you think of it? Did you buy everything Star Wars themed? I may be guilty of buying a Star Wars toothbrush for G – they were on offer, is my excuse. But no, I didn’t watch the movie, same as I haven’t really seen any of the other ones before. It did not, however, come as a surprise when I was tasked to make a Star Wars cake for a friend’s son’s birthday. Lucky for me, modern day game consoles made my job really simple by providing the perfectly sized figurines of the movie characters. All that was really left for me was to make a few stars (it’s all about them, isn’t it? Ok, maybe it isn’t but it seemed to match), cut out the logo from fondant (which in itself was no easy task but I used a paper stencil I had printed out and cut out) and personalize the cake for birthday boy. I know this is cheating but it does save a lot of time.

I used a vanilla sponge base but sprinkled chocolate chips on top before baking and finished it off with some tasty cream cheese frosting. Upon request, the cake was gluten free – I am becoming quite the master of gluten free baking, even if I say so myself! I hope Jeremy had a lovely 8th birthday.

side top

Sharing is caringShare on FacebookTweet about this on TwitterPin on PinterestShare on Google+Share on Tumblr

Guilt free muffins [+RECIPE]

Sharing is caringShare on FacebookTweet about this on TwitterPin on PinterestShare on Google+Share on Tumblr

While I take food allergies seriously, there seems to be a trend of going gluten free, whether you are indeed intollerant to it or not. Is it all a marketing scam to sell you oats at £8 a kilogram as opposed to the ‘normal’ ones costing only £1? Which is why I myself am rather skeptic to the ‘free from’ foods. But not when I make them at home! Then it’s not about gluten, but mostly about carbs, sugar, saturated fats etc. Which is basically what cake is made of, I know. But alas, I have finally found a recipe which is has no gluten, is low carb, has no sugar or butter, and actually tastes like baked goods! It also passed the toddler test when fellow blogger Polly Mixtures came over with Mini Mixtures- who, at the age of 1 and a bit, was absolutely ecstatic about those muffins. Calories – 0, Nadia – 1! Here the recipe, which I found on this blog and pimped by using my own home-made apple sauce and by adding roasted hazelnuts (I also had to bake for longer but I just blame my oven for this). It didn’t say how many muffins the recipe yields but I doubled it and ended up with 18.

Apple, cinammon and hazelnut muffins
(makes 9)

Ingredients:
5 large, free range eggs1 cup apple sauce
½ cup coconut flour
2-3 tbsp cinnamon
1 tsp baking soda
1 tsp vanilla (optional)
¼ cup coconut oil
1 cup of roasted chopped hazelnuts
Extra stevia if you prefer the muffins sweeter, mine actually tasted inbetween sweet and savoury, just how I like them

Method:
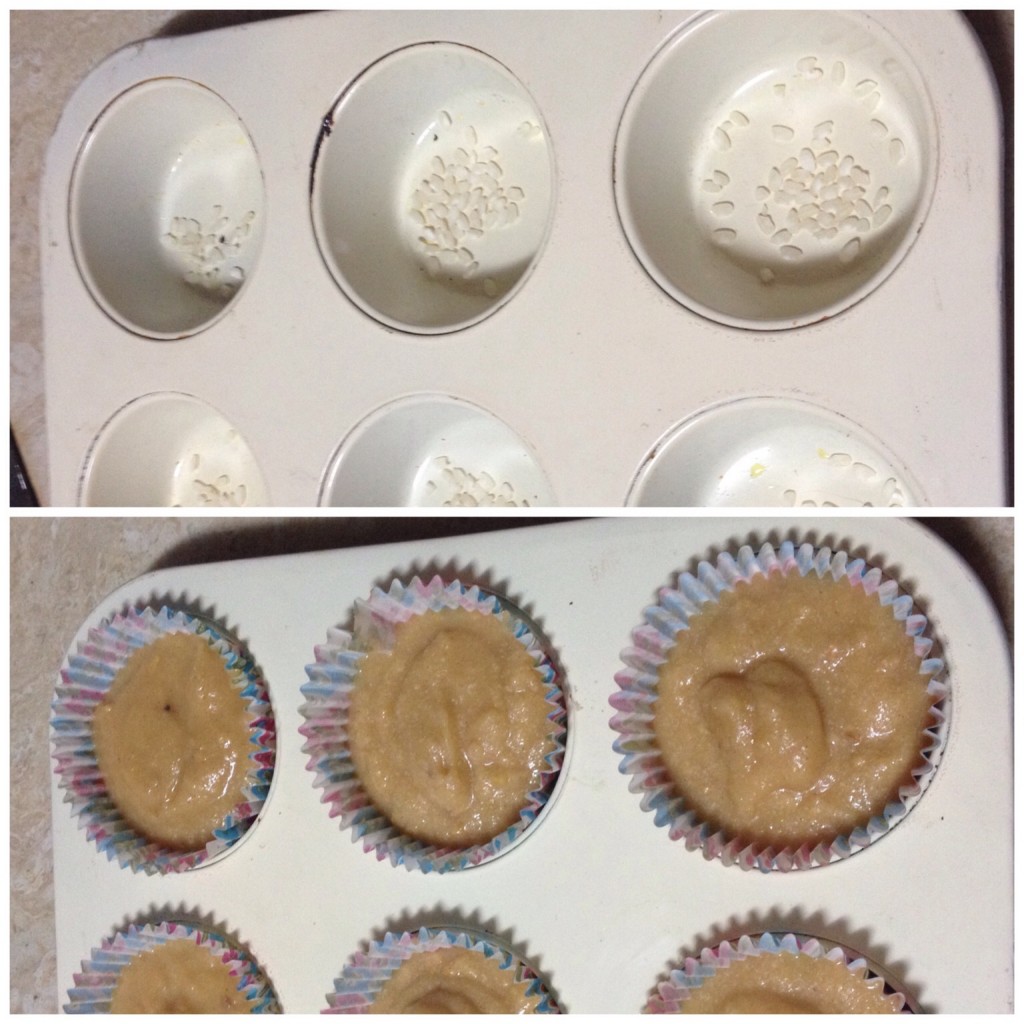
Preheat the oven to about 200 degrees Celsius. Line a muffin tin (I always sprinkle some rice under the cases so air can go under and they don’t go soggy. Mix all ingredients in a mixing bowl using a whisk. Let it sit for about 5 minutes. Pour into cases using an ice cream scoop or a spoon or a measuring cup until 3/4 full. Bake for about 20 minutes or until they are nice and golden and a toothpick comes out clean. You can glaze with honey or jam if you are not too fussed about the sugar in it (unles you get a sugar free one). Let cool and enjoy completely guilt free!

IMG_4813

Before the oven – kind of looks like baby food!

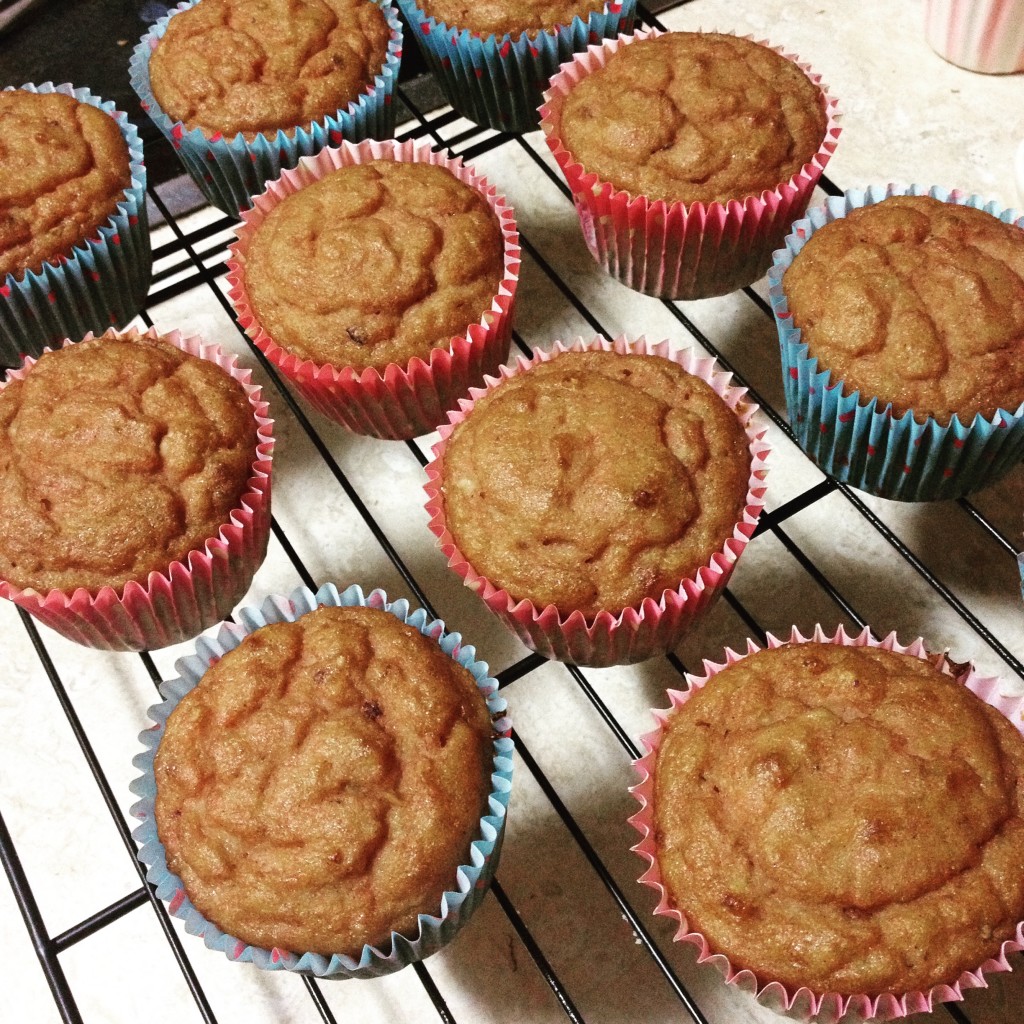
IMG_4815

That’s more like it!

Sharing is caringShare on FacebookTweet about this on TwitterPin on PinterestShare on Google+Share on Tumblr

Sugar free apple sauce [+RECIPE]

Sharing is caringShare on FacebookTweet about this on TwitterPin on PinterestShare on Google+Share on Tumblr

Season 6 of the Great British Bake Off started last night and I was suddenly itching to bake again (even though on Friday I was throwing plenty of ‘No more baking for at least 2 weeks’ around). But this time I wanted to eat it too and I am trying to eat healthy so I stay away from grains, sugar, butter – basically almost everything which cake contains. But I still have some coconut flour left so decided to explore the healthy baking road again.

The recipe I eventually chose called for apple sauce. Now, I have always been an ambassador for easy and have so far used store bought apple sauce. But since I am trying to avoid sugar, and since there was plenty of apples about to go bad in the fridge, I decided to finally succumb to making everything from scratch. Happy to report this time it was a success! This apple sauce can be used not only for baking but also to accompany roast pork etc. It is also easily customizable so you decide how much cinnamon you can add, how sweet to make it, how thick, etc. Here the recipe:

Home made sugar free apple sauce (also gluten free)
(makes a few cups)

Ingredients:
6 apples (any you like or have at hand)A pinch of cinnamon (optional)
A cup of water
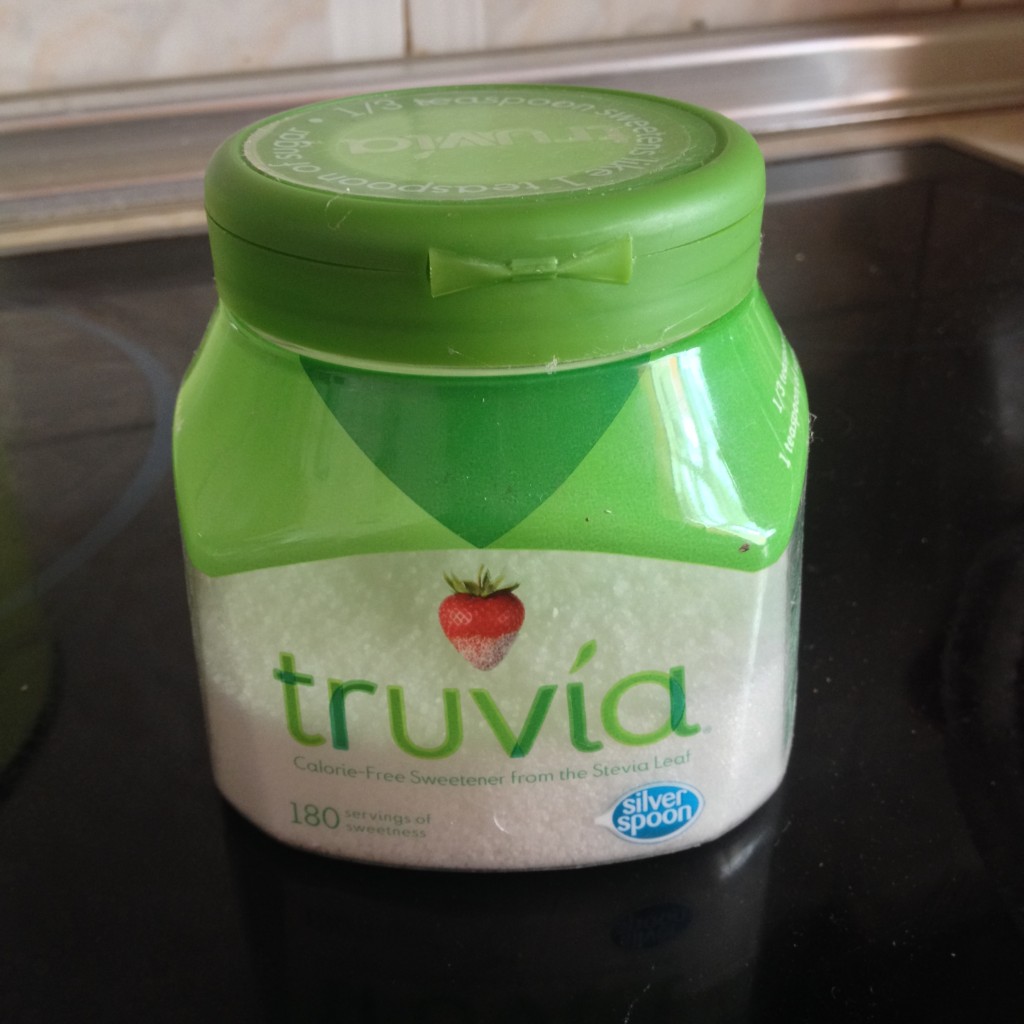
1 tbsp stevia (optional), see picture below

Method:
Peel and chop apples. The smaller the pieces, the quicker it will cook. Add to a pot together with water, cinnamon and stevia. You don’t need to add sweetener if you don’t want the sauce to be too sweet but since I am using the sauce as a substitute to sugar, I added some stevia for extra sweetness. Let simmer over medium – high heat for approximately 20 mins, stirring occasionally. If you want a thicker sauce, use less water but stir more often to avoid sticking to the pan.
Once the mixture has been cooked and apples are nice and soft, puree with a hand held blender. Let cool and enjoy!

IMG_4805

The stevia I use for baking

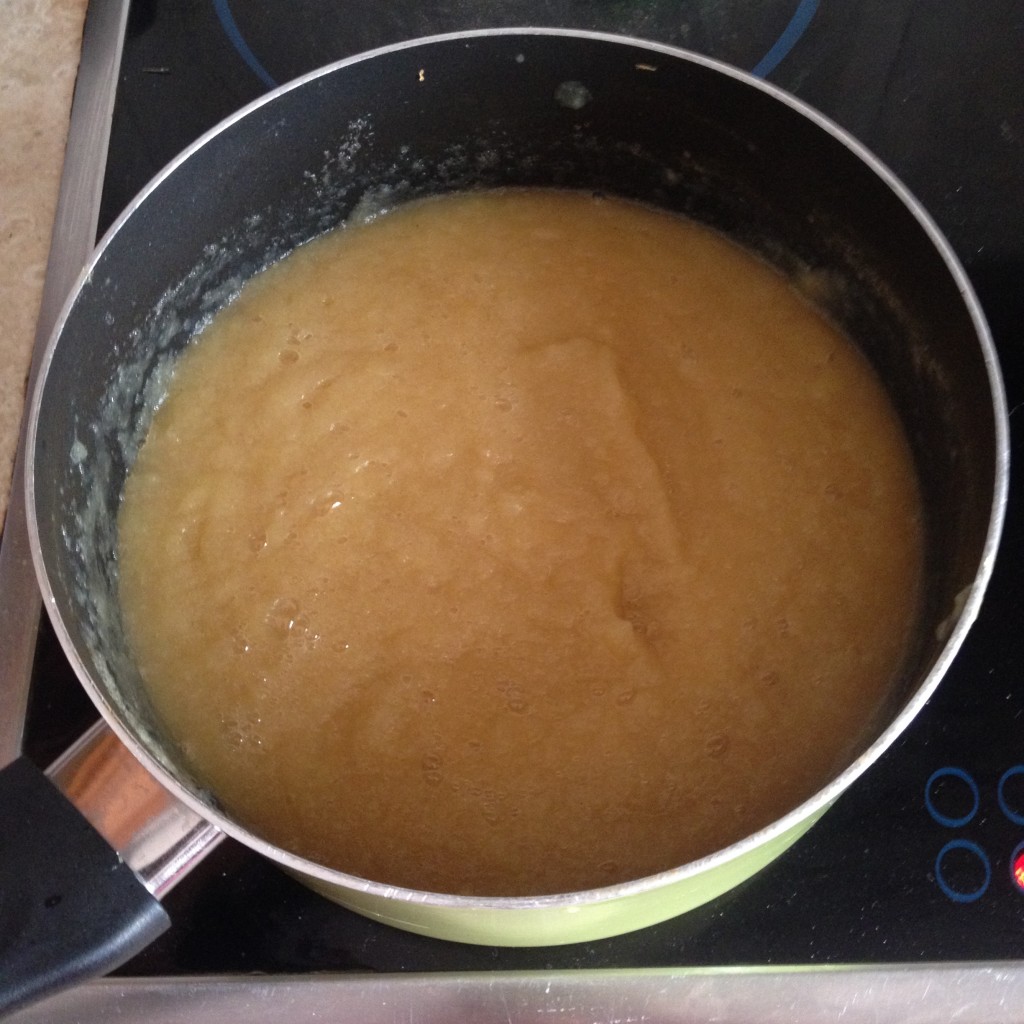
IMG_4806

The finished apple sauce

Sharing is caringShare on FacebookTweet about this on TwitterPin on PinterestShare on Google+Share on Tumblr

Gluten- and (almost) lactose free raspberry cupcakes [+RECIPE]

Sharing is caringShare on FacebookTweet about this on TwitterPin on PinterestShare on Google+Share on Tumblr

What is the best way to say thank you if you are a baker, you may wonder? With cupcakes, no doubt. What is the best say to celebrate an achievement too? Yes, you guessed it. Freshly baked cupcakes all the way.

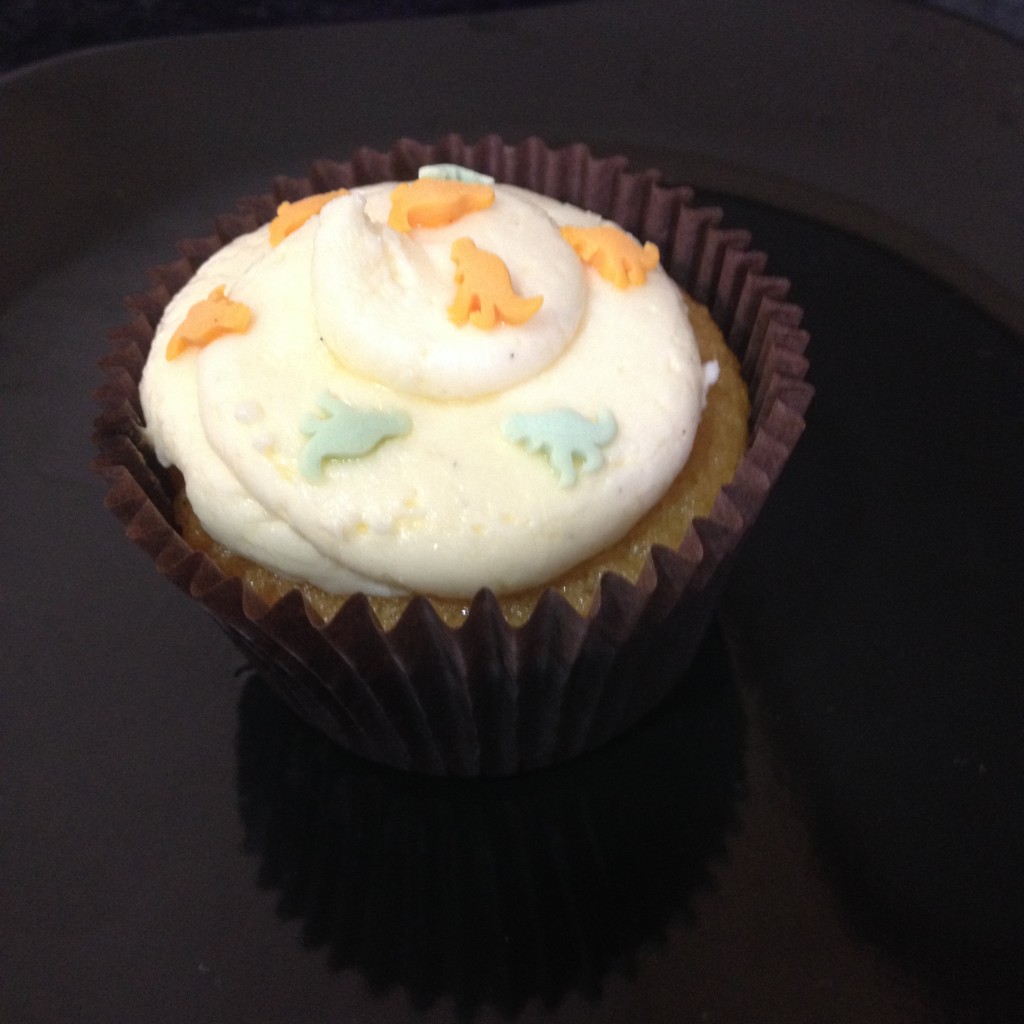
This week I finally passed my theory and driving motorcycle exams and to thank the people who supported me and to mark the occasion, I whipped up some gluten- and (almost) lactose free raspberry cupcakes. What a mouthful! But when allergies are involved, you can never be too careful. There are so many recipes for gluten and/or lactose baking out there, vegan and what not but to be perfectly honest, some of them are not worth the effort, at least from the sound of it. So what I tend to do is use my normal recipes but adjust the ingredients. I think they were a success, especially since I had to run to take a picture of the last one before it was devoured! What do you think?

Aren't the dinosaur sprinkles the best?

Aren’t the dinosaur sprinkles the best?

I used CupcakeJemma‘s recipe for vanilla cupcakes with her vegan buttercream recipe but replaced ingredients and added my own touch so here we go:

Gluten- and (almost) lactose free raspberry cupcakes
(makes 24)

Ingredients for the cupcakes:
250g self-raising gluten free flour
250g caster sugar
1/2 tsp of bicarbonate soda250g of soft unsalted dairy free soya butter (or spread)
4 large free range eggs
3 tbsp of lactose free milk
1/2 tsp of vanilla extract
100g of chocolate chips (I used normal milk chocolate chip ones – hence it’s ‘almost lactose free’. You can skip those, or substitute for dairy free chocolate)
150g fresh raspberries

Ingredients for the (vegan) frosting:
200g dairy free soya butter (or spread)
660g icing sugar
1/2 tsp vanilla bean paste

Dinosaur (or any other) sprinkles

Method:
Preheat your oven to 170 degrees Celsius. Sieve the dry ingredients in a large mixing bowl (I have a stand mixer so just use its bowl). Add the butter and eggs and beat for about 60 seconds starting on a low speed and increasing to medium-high. Add milk mixed with vanilla and blast for another half a minute. Scrape everything off the bowl. Gently fold the chocolate chips (if using) and fresh raspberries and fill the paper cases two thirds full. Bale for 20-22 minutes (I baked them 22 as my oven doesn’t have a fan). Leave to cool.
While the cupcakes are baking, make the frosting. Beat the soya butter in the electric mixer until smooth (1-2 minutes). Sift the icing sugar in a separate bowl, then add to the soya butter in 2 batches and beat well after each sugar addition (start on slow speed unless you want it to snow sugar all over your kitchen). Add the vanilla (and a spalsh of water if too stiff) and beat for another few minutes on medium high speed. Once the cupcakes have cooled completely, you can pipe as you wish and add sprinkles. Jemma is showing some pretty cool piping techniques here.

Sharing is caringShare on FacebookTweet about this on TwitterPin on PinterestShare on Google+Share on Tumblr

Sugar free coconut flour muffins [+RECIPE]

Sharing is caringShare on FacebookTweet about this on TwitterPin on PinterestShare on Google+Share on Tumblr

So I have another confession to make. I very very rarely eat what I bake. Believe me, it isn’t the easiest task to bake loads and maintain a low-carb diet. So sometimes I get inspired and bake for myself too.

I had been looking at coconut flour and coconut oil recipes for a while as a healthier substitute to good old flour and butte but wasn’t able to get my hands on coconut flour around here. And while I was in Vienna last week I had no chance to visit any awesome bakeries but brought back a whole kilo of coconut flour – happy days!

I chose an easy recipe for sugar free muffins which involved coconut flour and made a test batch last night. Kitchen smelled fab but… They looked nothing like the ones on the picture… See here for yourselves and compare to mine:
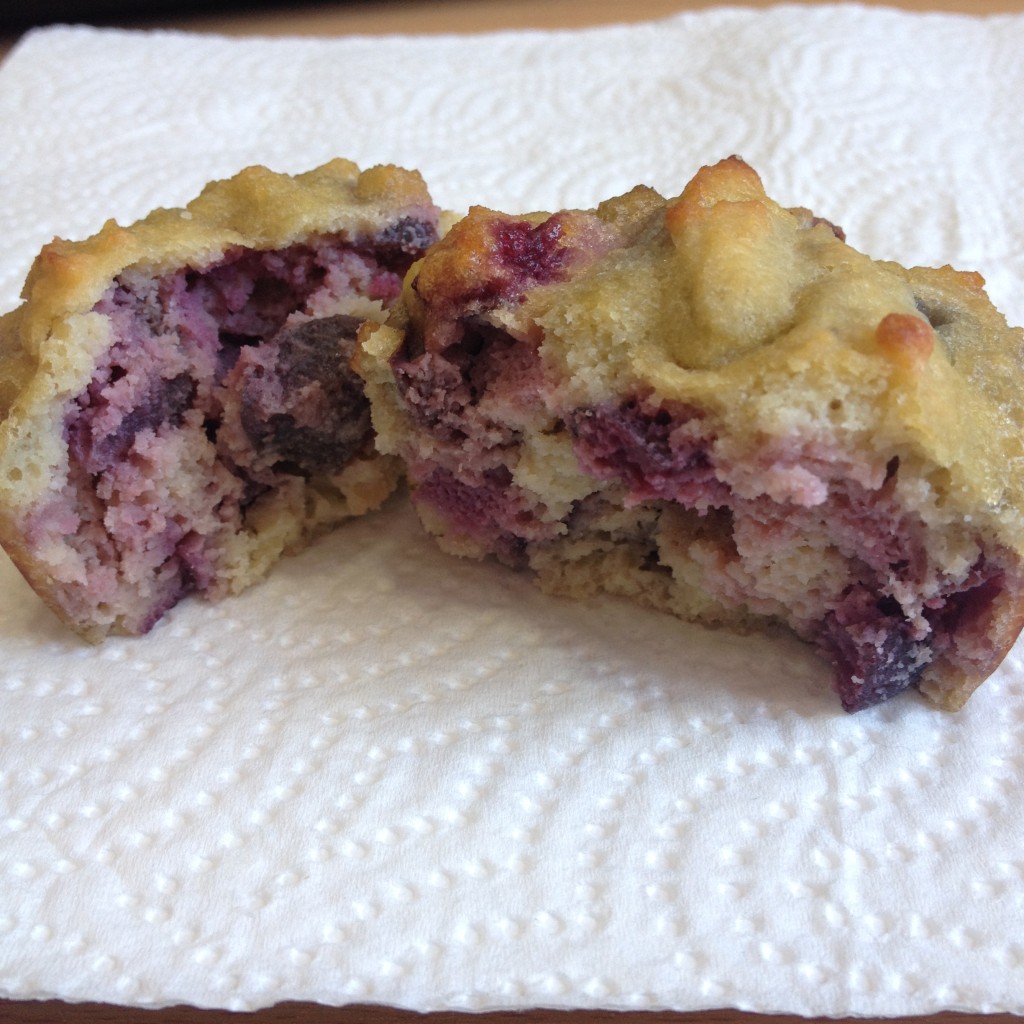
My sugar free, coconut oil, coconut flour and fresh cherry muffin

My sugar free, coconut oil, coconut flour and fresh cherry muffin

They did taste nice, but didn’t rise as much as expected and they were a tad too sweet for me. This could be because I changed a few things from the original recipe: I didn’t wait for the eggs to warm up completely; I used powdered Stevia (maybe the liquid sweetener works better for consistency); I replaced the melted butter for coconut oil – also not sure if this affected its fluffiness. And also I used cherries which probably have a higher water content than raspberries and blueberries. My experiments with coconut flour continue till I find the perfect recipes!

You can find the recipe I used on the link above but I will type it out for you here too with the changes I made. Please do shar your results if you decide to make it!

Sugar free, coconut oil, coconut flour and fresh cherry muffins
(makes 6)

Ingredients

  • 3 eggs (room temperature – important)
  • 1/3 cup coconut flour
  • ¼ cup coconut oil
  • ½ teaspoon vanilla
  • ¼ teaspoon salt
  • ¼ cup powdered Stevia (or a little less if you like me don’t like overly sweet cakes)
  • ½ teaspoon baking powder
  • 2-5 Tablespoons water (see below)
  • ½ cup pitted and chopped cherries


Preparation

Heat oven to 180° C. Line a muffin tin with 6 muffin cases – before that add a sprinkle of rice under the cases  in the tin (this will ensure that the cases don’t get too wet/soggy as it allows for air under).

1) Whisk the eggs until whites and yolks are well-mixed. Add in the coconut oil little by little while continuing to whisk. Add salt and vanilla and mix until combined. .

2) Mix the remaining dry ingredients — coconut flour, baking powder, and sweetener.

3) Mix the dry and wet ingredients together. Now whisk in water, one tablespoon at a time. The coconut flour will absorb the liquid from the wet ingredients like crazy. You want to get it to a consistency that will hold up the cherries, but not be too thick.

4) Mix the cherries with a spoon of the flour so they don’t fall to the bottom. Gently add them to the batter and divide among 6 muffin cases. Bake for about 15 to 18 minutes, or until just turning golden on top. I had to bake mine for about 22 mins as the cherries added extra moisture.

Sharing is caringShare on FacebookTweet about this on TwitterPin on PinterestShare on Google+Share on Tumblr