Sharing is caring


That is all. Happy Friday!
Sharing is caring
That is all. Happy Friday!
So I have another confession to make. I very very rarely eat what I bake. Believe me, it isn’t the easiest task to bake loads and maintain a low-carb diet. So sometimes I get inspired and bake for myself too.
I had been looking at coconut flour and coconut oil recipes for a while as a healthier substitute to good old flour and butte but wasn’t able to get my hands on coconut flour around here. And while I was in Vienna last week I had no chance to visit any awesome bakeries but brought back a whole kilo of coconut flour – happy days!
I chose an easy recipe for sugar free muffins which involved coconut flour and made a test batch last night. Kitchen smelled fab but… They looked nothing like the ones on the picture… See here for yourselves and compare to mine:
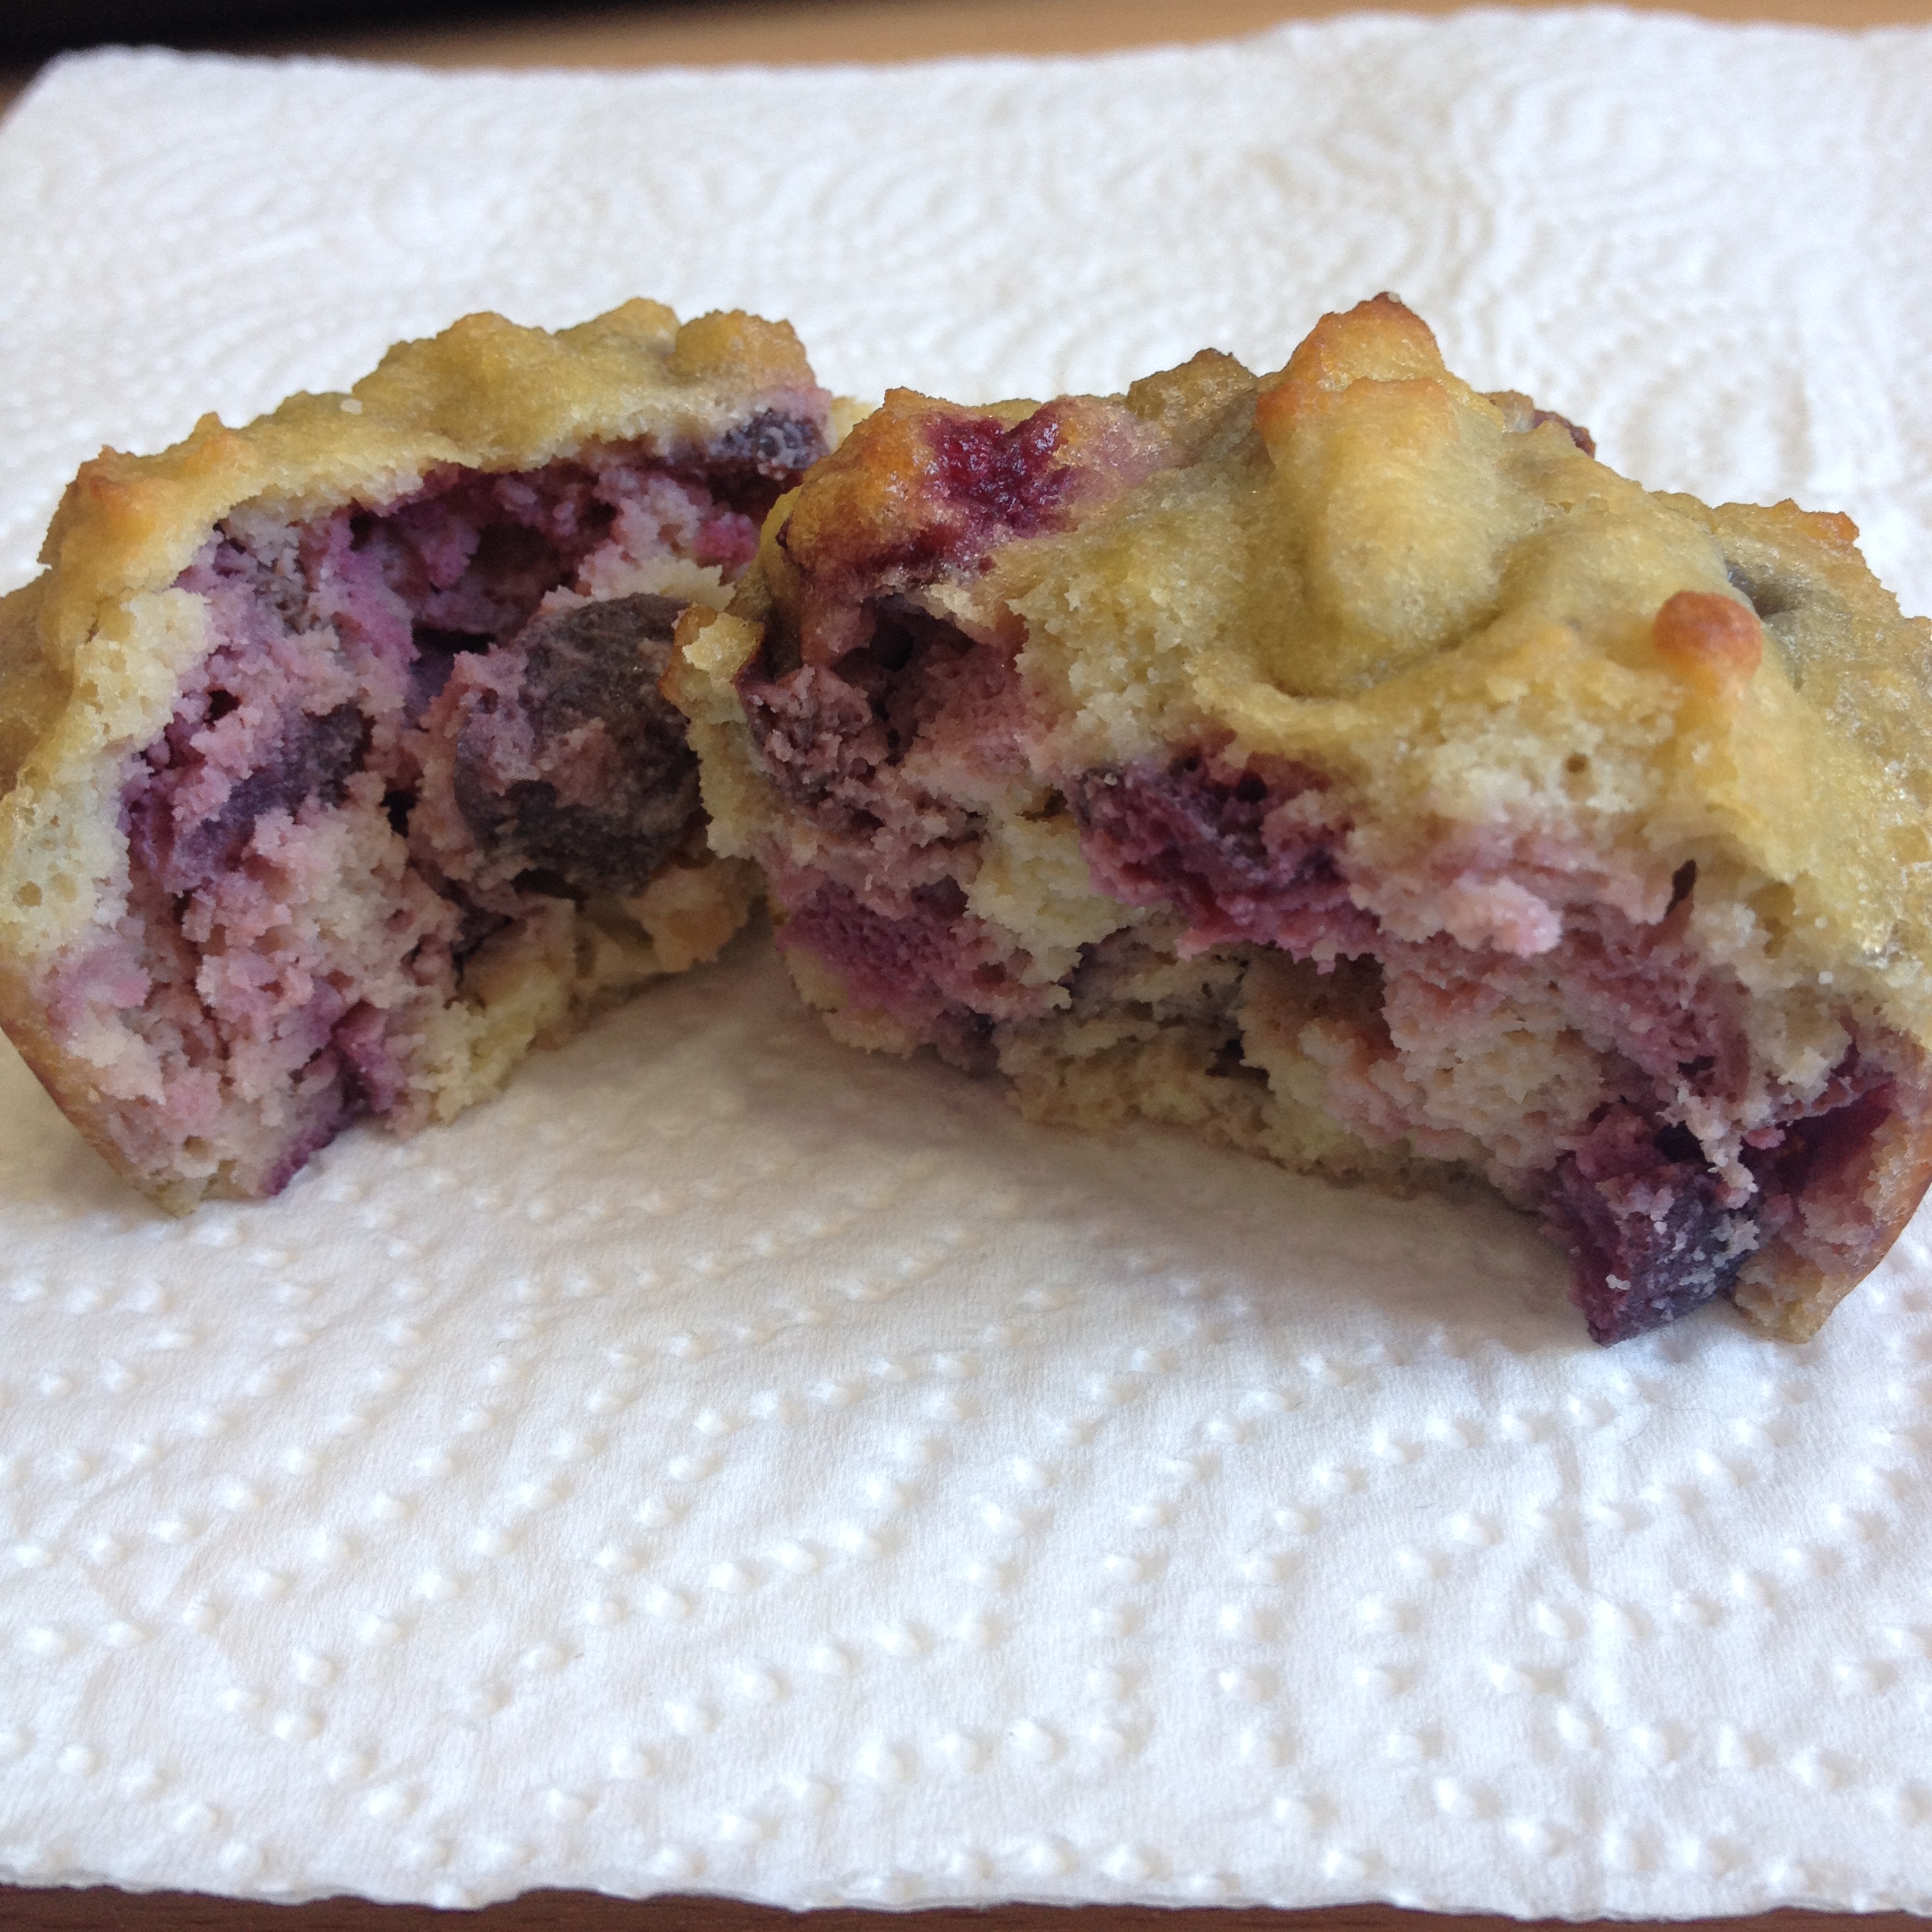
My sugar free, coconut oil, coconut flour and fresh cherry muffin
They did taste nice, but didn’t rise as much as expected and they were a tad too sweet for me. This could be because I changed a few things from the original recipe: I didn’t wait for the eggs to warm up completely; I used powdered Stevia (maybe the liquid sweetener works better for consistency); I replaced the melted butter for coconut oil – also not sure if this affected its fluffiness. And also I used cherries which probably have a higher water content than raspberries and blueberries. My experiments with coconut flour continue till I find the perfect recipes!
You can find the recipe I used on the link above but I will type it out for you here too with the changes I made. Please do shar your results if you decide to make it!
Sugar free, coconut oil, coconut flour and fresh cherry muffins
(makes 6)
Ingredients
Preparation
Heat oven to 180° C. Line a muffin tin with 6 muffin cases – before that add a sprinkle of rice under the cases in the tin (this will ensure that the cases don’t get too wet/soggy as it allows for air under).
1) Whisk the eggs until whites and yolks are well-mixed. Add in the coconut oil little by little while continuing to whisk. Add salt and vanilla and mix until combined. .
2) Mix the remaining dry ingredients — coconut flour, baking powder, and sweetener.
3) Mix the dry and wet ingredients together. Now whisk in water, one tablespoon at a time. The coconut flour will absorb the liquid from the wet ingredients like crazy. You want to get it to a consistency that will hold up the cherries, but not be too thick.
4) Mix the cherries with a spoon of the flour so they don’t fall to the bottom. Gently add them to the batter and divide among 6 muffin cases. Bake for about 15 to 18 minutes, or until just turning golden on top. I had to bake mine for about 22 mins as the cherries added extra moisture.
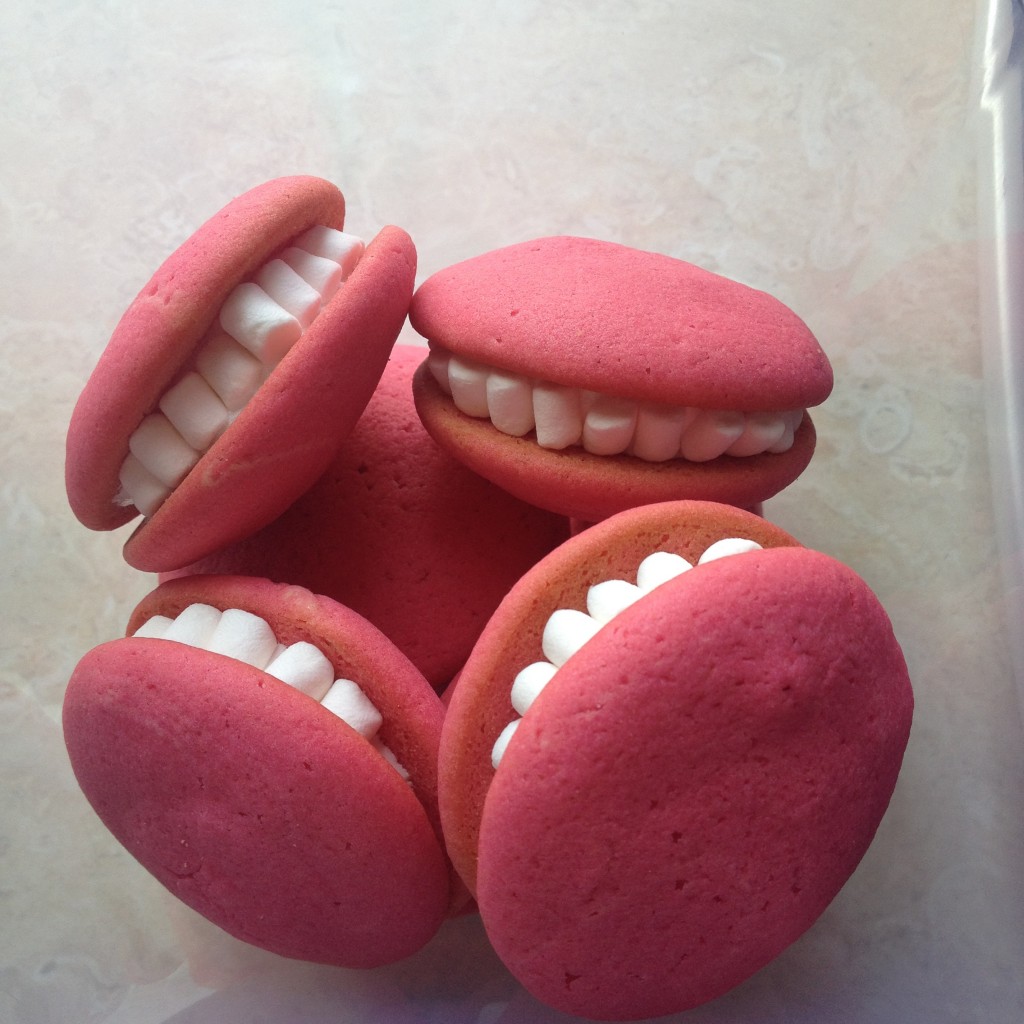
Is it a cake? Is it a cookie? Is is a pie? It is all of the above! It’s also pretty close to pure awesomeness.
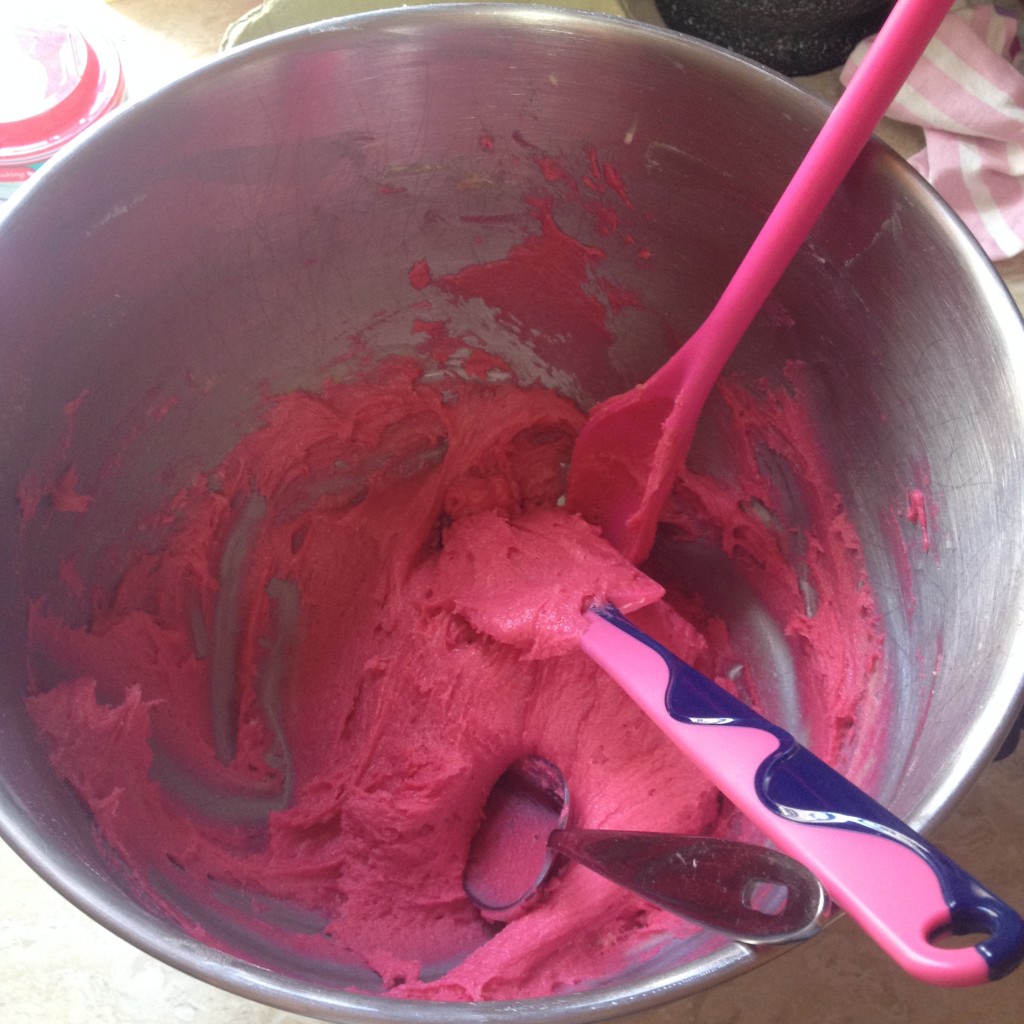
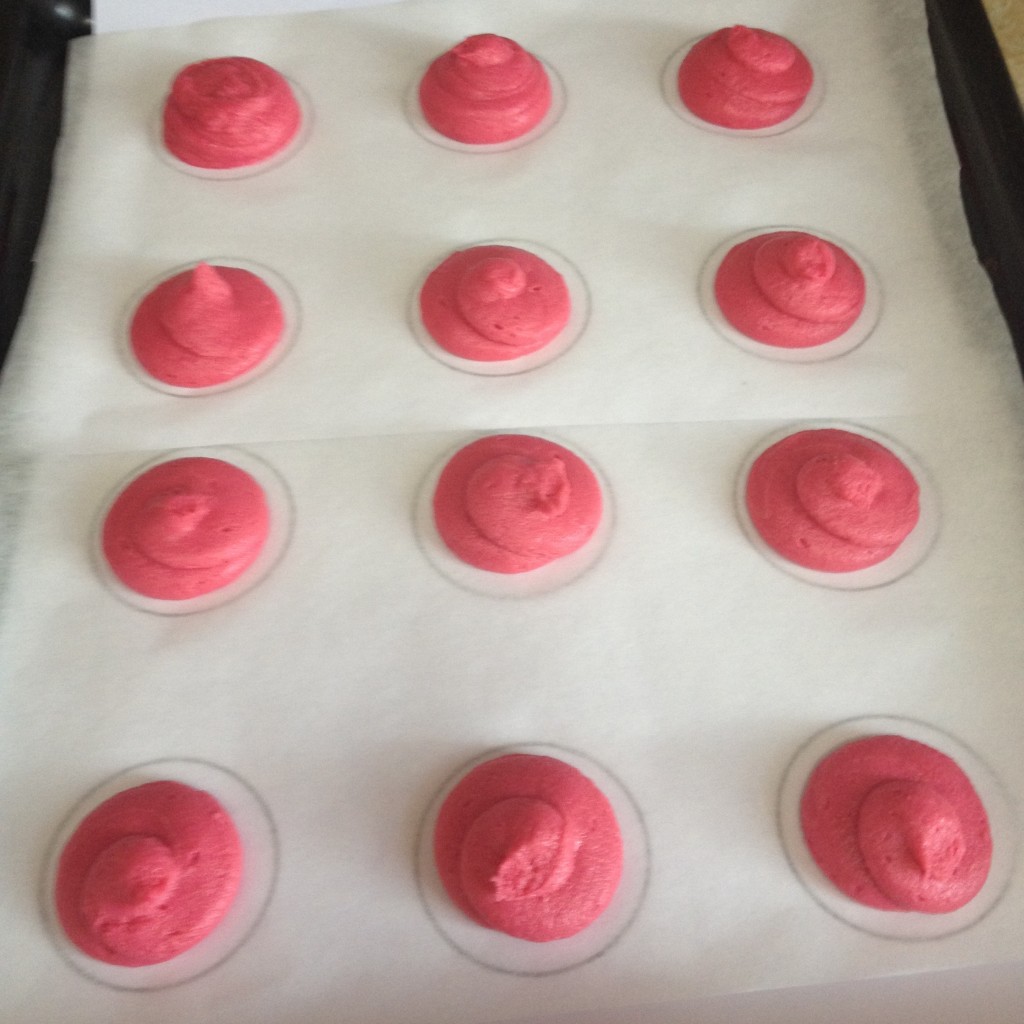
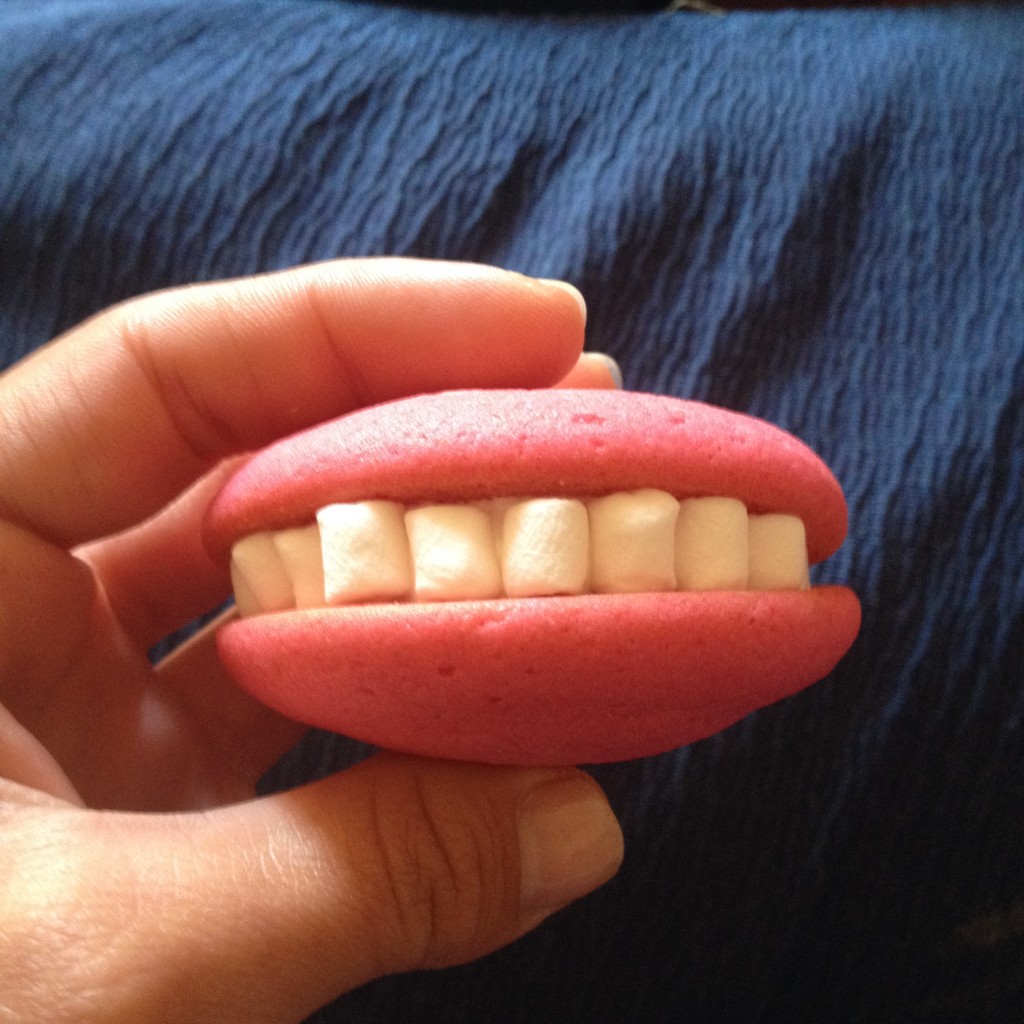
This weekend I had a play date with a puppy so I simply *had to* bake. Not for the puppy, of course, but for his owners, who refer to my baked goods as (and I quote): ‘little pieces of Heaven’. Looking for something simple, yet effective, I stumbled across Jemma’s newest recipe online – Whoopie Pie Smiles. Oh boy, oh boy, oh boy! May I say, they came out perfect and took some time to make but were very easy. Have a look yourself:
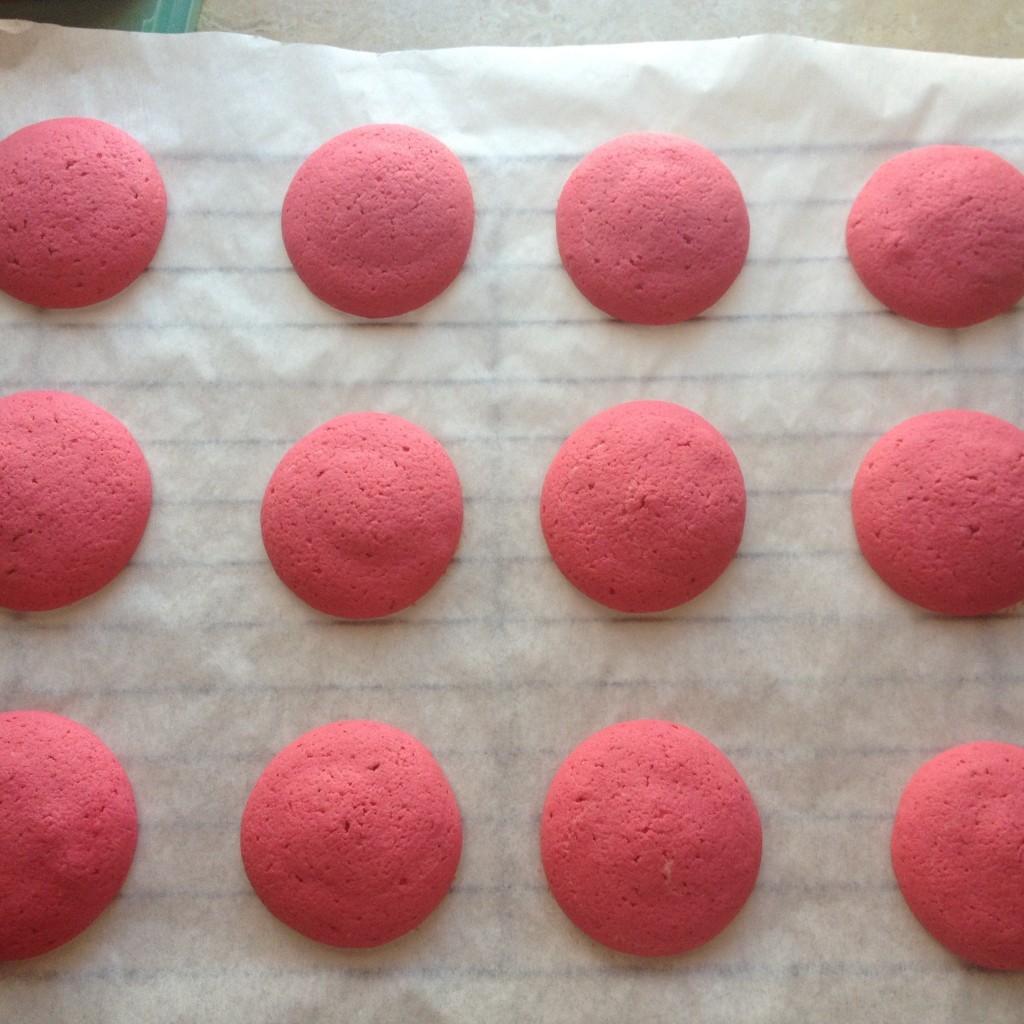
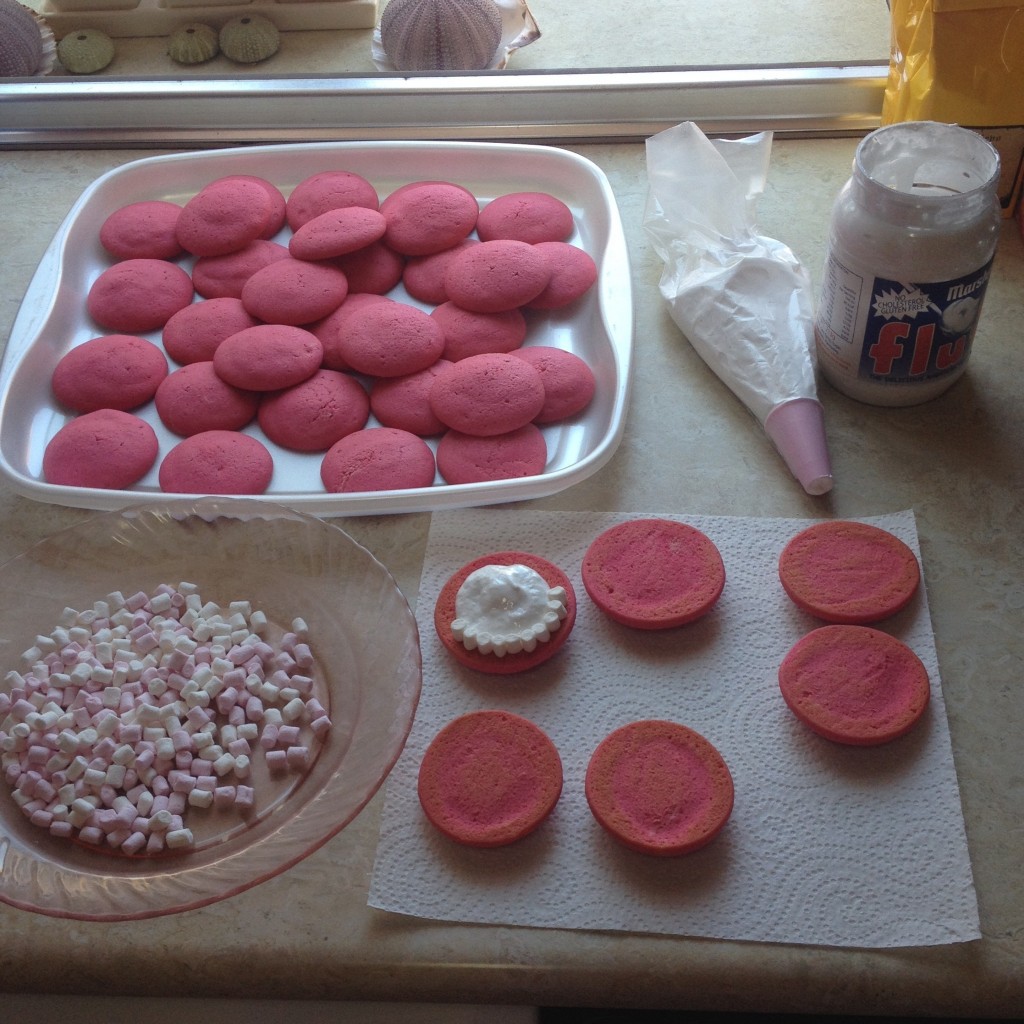
I also used the store-bought Marshmallow Fluff – do not recommend it. I am not sure if it was the heat or the humidity or simply the texture of the fluff, but while it looked perfect for the first 10 minutes or so, some of my smiles ‘drooled’ quite a lot, which is to say the frosting leaked out and also it didn’t hold well enough for me to stack them in a tupperware.
Lessons learned: Next time, I will definitely make the frosting myself. And I am not sure if I will go for marshmallow, I think peanut butter buttercream will taste incredible in those and will also hold better. And I may lose the teeth. While they look pretty awesome, it did take me a while to stick all those tiny mallows on.
I am at the airport travelling to Vienna as I type so there may be a few days of no baking and subsequently no posts, unless I stumble across a bakery worth a report from far lands. Bis bald!
Guys, I have a confession to make. No, it isn’t that my mixer has a name (sad, I know). Also no, not the fact I am a compulsive shopper when it comes to baking tools, decorations etc. No, it isn’t that I am perfectly happy to stay up until 2am finishing a baking job knowing full well I will be dead tired the whole next day either (also sad, I’ll give you that too). If you have actually met me in real life, I am pretty sure you know where this is going.
So here it is: I lOVE CupcakeJemma and want to be her when I grow up. While it may be a tad too late for me and some may argue I am already grown up, I lay awake at night trying to imagine what it is to be her. To be living my ‘cupcakes, little cutesie bakery in the heart of London, being totally awesome’ dream. What I would say to her if I am lucky enough to meet her one day? Would she think I am a stalker and call the police on me? When I look at her (on YouTube), it is like a magic mirror – very much like me but already a successful, professional baker. Self-taught, no less. Covered in tattoos. Down to earth. Funny. A little crazy. Chasing her dream. Just look at her:
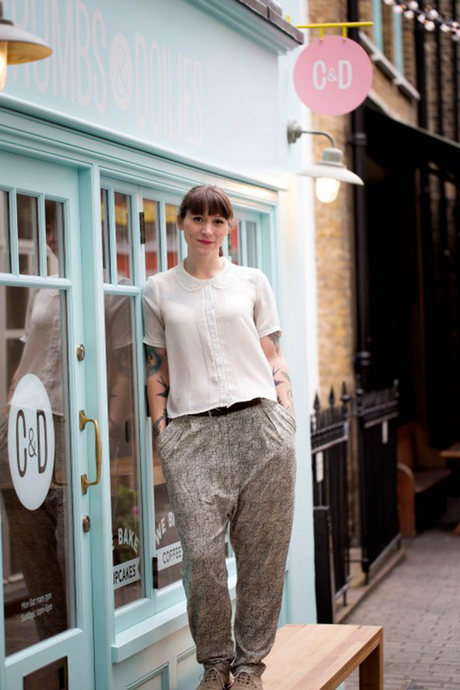
Jemma at her new shop in London / Photo courtesy of the London Evening Standard
Now quick, follow her on Instagram, susbcribe to her on YouTube and order her book. You won’t regret it. Oh, and wish me luck – I am going to London in a month and I am keeping my fingers crossed to meet her when I go for a cheeky mini cupcake to Crumbs & Doilies in Soho.
P.S. I am baking Whoppie Pies tomorrow. Stay tuned!
I briefly considered leaving this post for another 3 weeks so at least it is a whole year since I last posted. But no, since I will be making an effort to blog regularly, it seems too much of a risk for me to postpone again.
The last year has been great but oh boy, has it been busy! I travelled a lot, baked a lot but most importantly, we made the decision to settle with G. and bought our own flat! It is still being built, but I have spent many sleepless night fussing over my new kitchen and oven.
RangeMaster or Belling? Silver or red? 90cm wide or 100cm wide? Electric or gas? Is RangeMaster really worth the money? So many decisions lie ahead but I am excited to be able to bake more than a tray of 12 cupcakes at a time and to have enough storage space and worktops once the flat is finished. The uninterrupted sea views over the Mediterranean and the parking spot are just extras for me..
Anyways, while I do have about a million photos I could upload or a million things to say, let’s take things one at a time. Speak soon!
Last weekend was full of baking and experimenting! And it was great (until the moment when my lower back decided I have abused it enough and left me rather crippled for most of Sunday but that was OK as I did really need a break)!!!
Our Scout group was holding a fundraising cake stall on Saturday morning so I prepared around 3 dozen of individual cookie bags and another 3 dozen of vanilla cupcakes with rainbow frosting. Ok, rainbow frosting was the plan, at least. What I didn’t take into account is that a) temperatures have been rather high around here for early summer (we’re talking 28 degrees Celsius) and b) no air-con in the kitchen. So the buttercream melted from the time I mixed it till the moment I spooned it into the piping bags. So they looked more psychedelic than rainbow but… it happens! I am still pretty proud as we were able to collect plenty of money for the Scout group. And don’t they still look pretty?
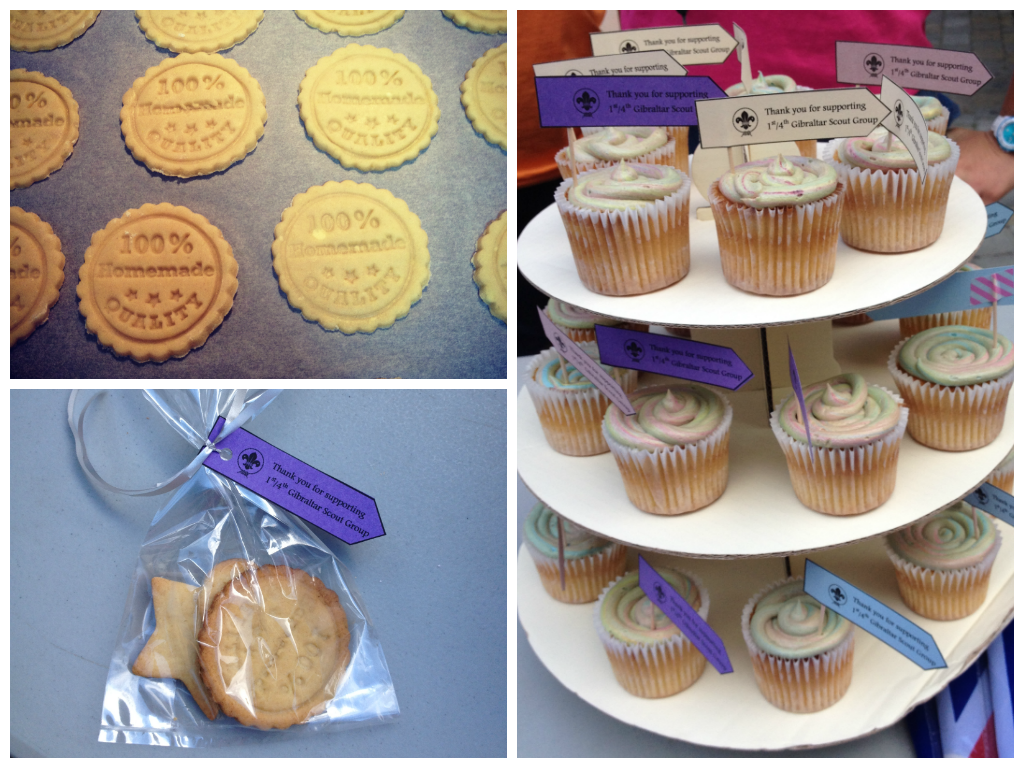
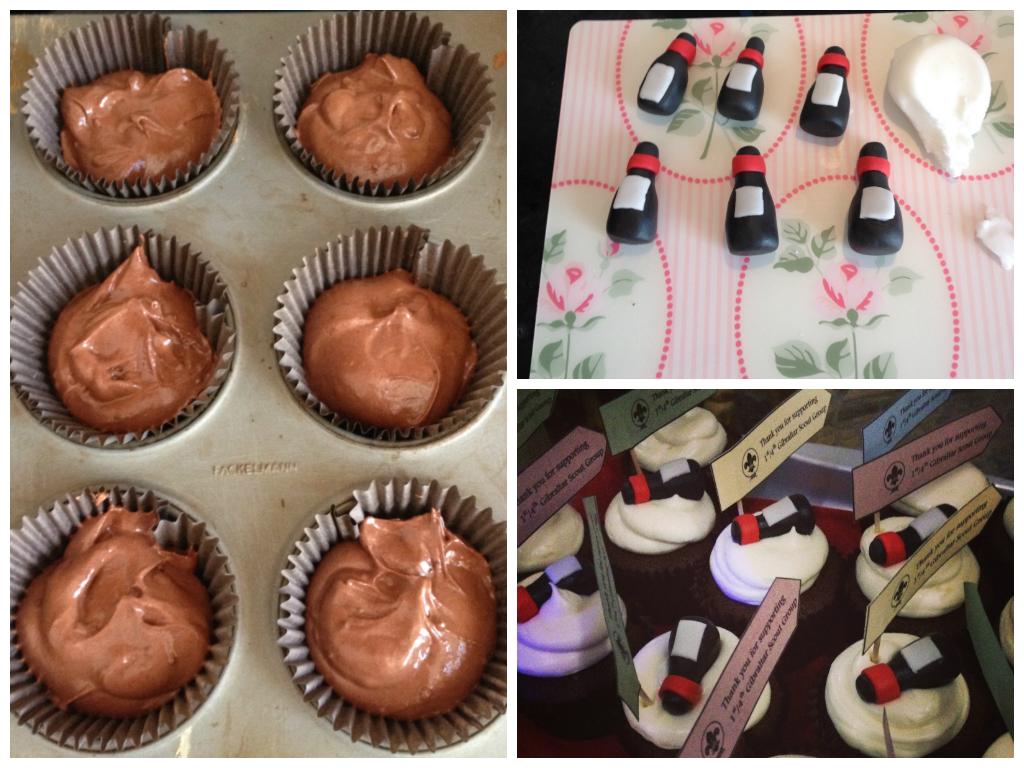
That same evening we were holding another fundraising event in a local wine shop & tasting room and I had set my mind on making wine-spiked cupcakes seeing as it was going to be adult only. The guys from My Wines had been kind enough to provide me with a bottle of mocha coffee flavoured wine – yum!
The cupcakes came out beautifully moist and rich and I topped them up with my favorite Hummingbird Bakery cream cheese frosting and little wine bottles made of fondant. What a treat after drinking plenty of vino! Recipe below.
Recipe taken from: Butter me up, Brooklyn (aside from frosting)
For the cupcakes:
For the frosting (by the Hummingbird Bakery):
To make the cupcakes:
In a medium bowl whisk together flour, cocoa, baking powder, cinnamon, salt and baking soda. In a large bowl (I use my standing mixer’s one) beat butter and both sugars together until smooth (if using a standing mixer, use the paddle attachment). Add eggs and beat to combine, then add red wine and vanilla and beat until incorporated. At this stage, it will look weird but don’t worry, the dry ingredients will make it smooth again. Add these in several additions, being careful not to over mix. Divide the batter evenly among the prepared cupcake liners until they are 2/3 full.
Bake for 20 to 22 minutes, or until a tester inserted into the center of cupcakes comes out clean. Let the cupcakes cool for five minutes or so in the tin, then turn them out onto a wire rack to cool completely.
To make the frosting:
Beat the icing sugar and butter together in a freestanding electric mixer with a paddle attachment (or use a handheld electric whisk) on medium-slow speed until the mixture comes together and is well mixed (it will look like crumbs).
Add the cream cheese in one go and beat until it is completely incorporated. Turn the mixer up to medium-high speed. Continue beating until the frosting is light and fluffy, at least 5 mins. Careful not to overbeat as it can turn runny quite quickly.
Carrying cupcakes around is a messy and complicated affair, let me tell you this. I have been dreading this coming weekend when the Scout Group I am a leader for is hosting a fundraising cake stall, as well as a fundraising wine night for which I am baking cupcakes with chocolate wine (yum!).
But today I nipped into a local pound shop to check out if they had any boxes I can use to carry the cupcakes in, and found The Solution to my problem. Just look at this beauty:
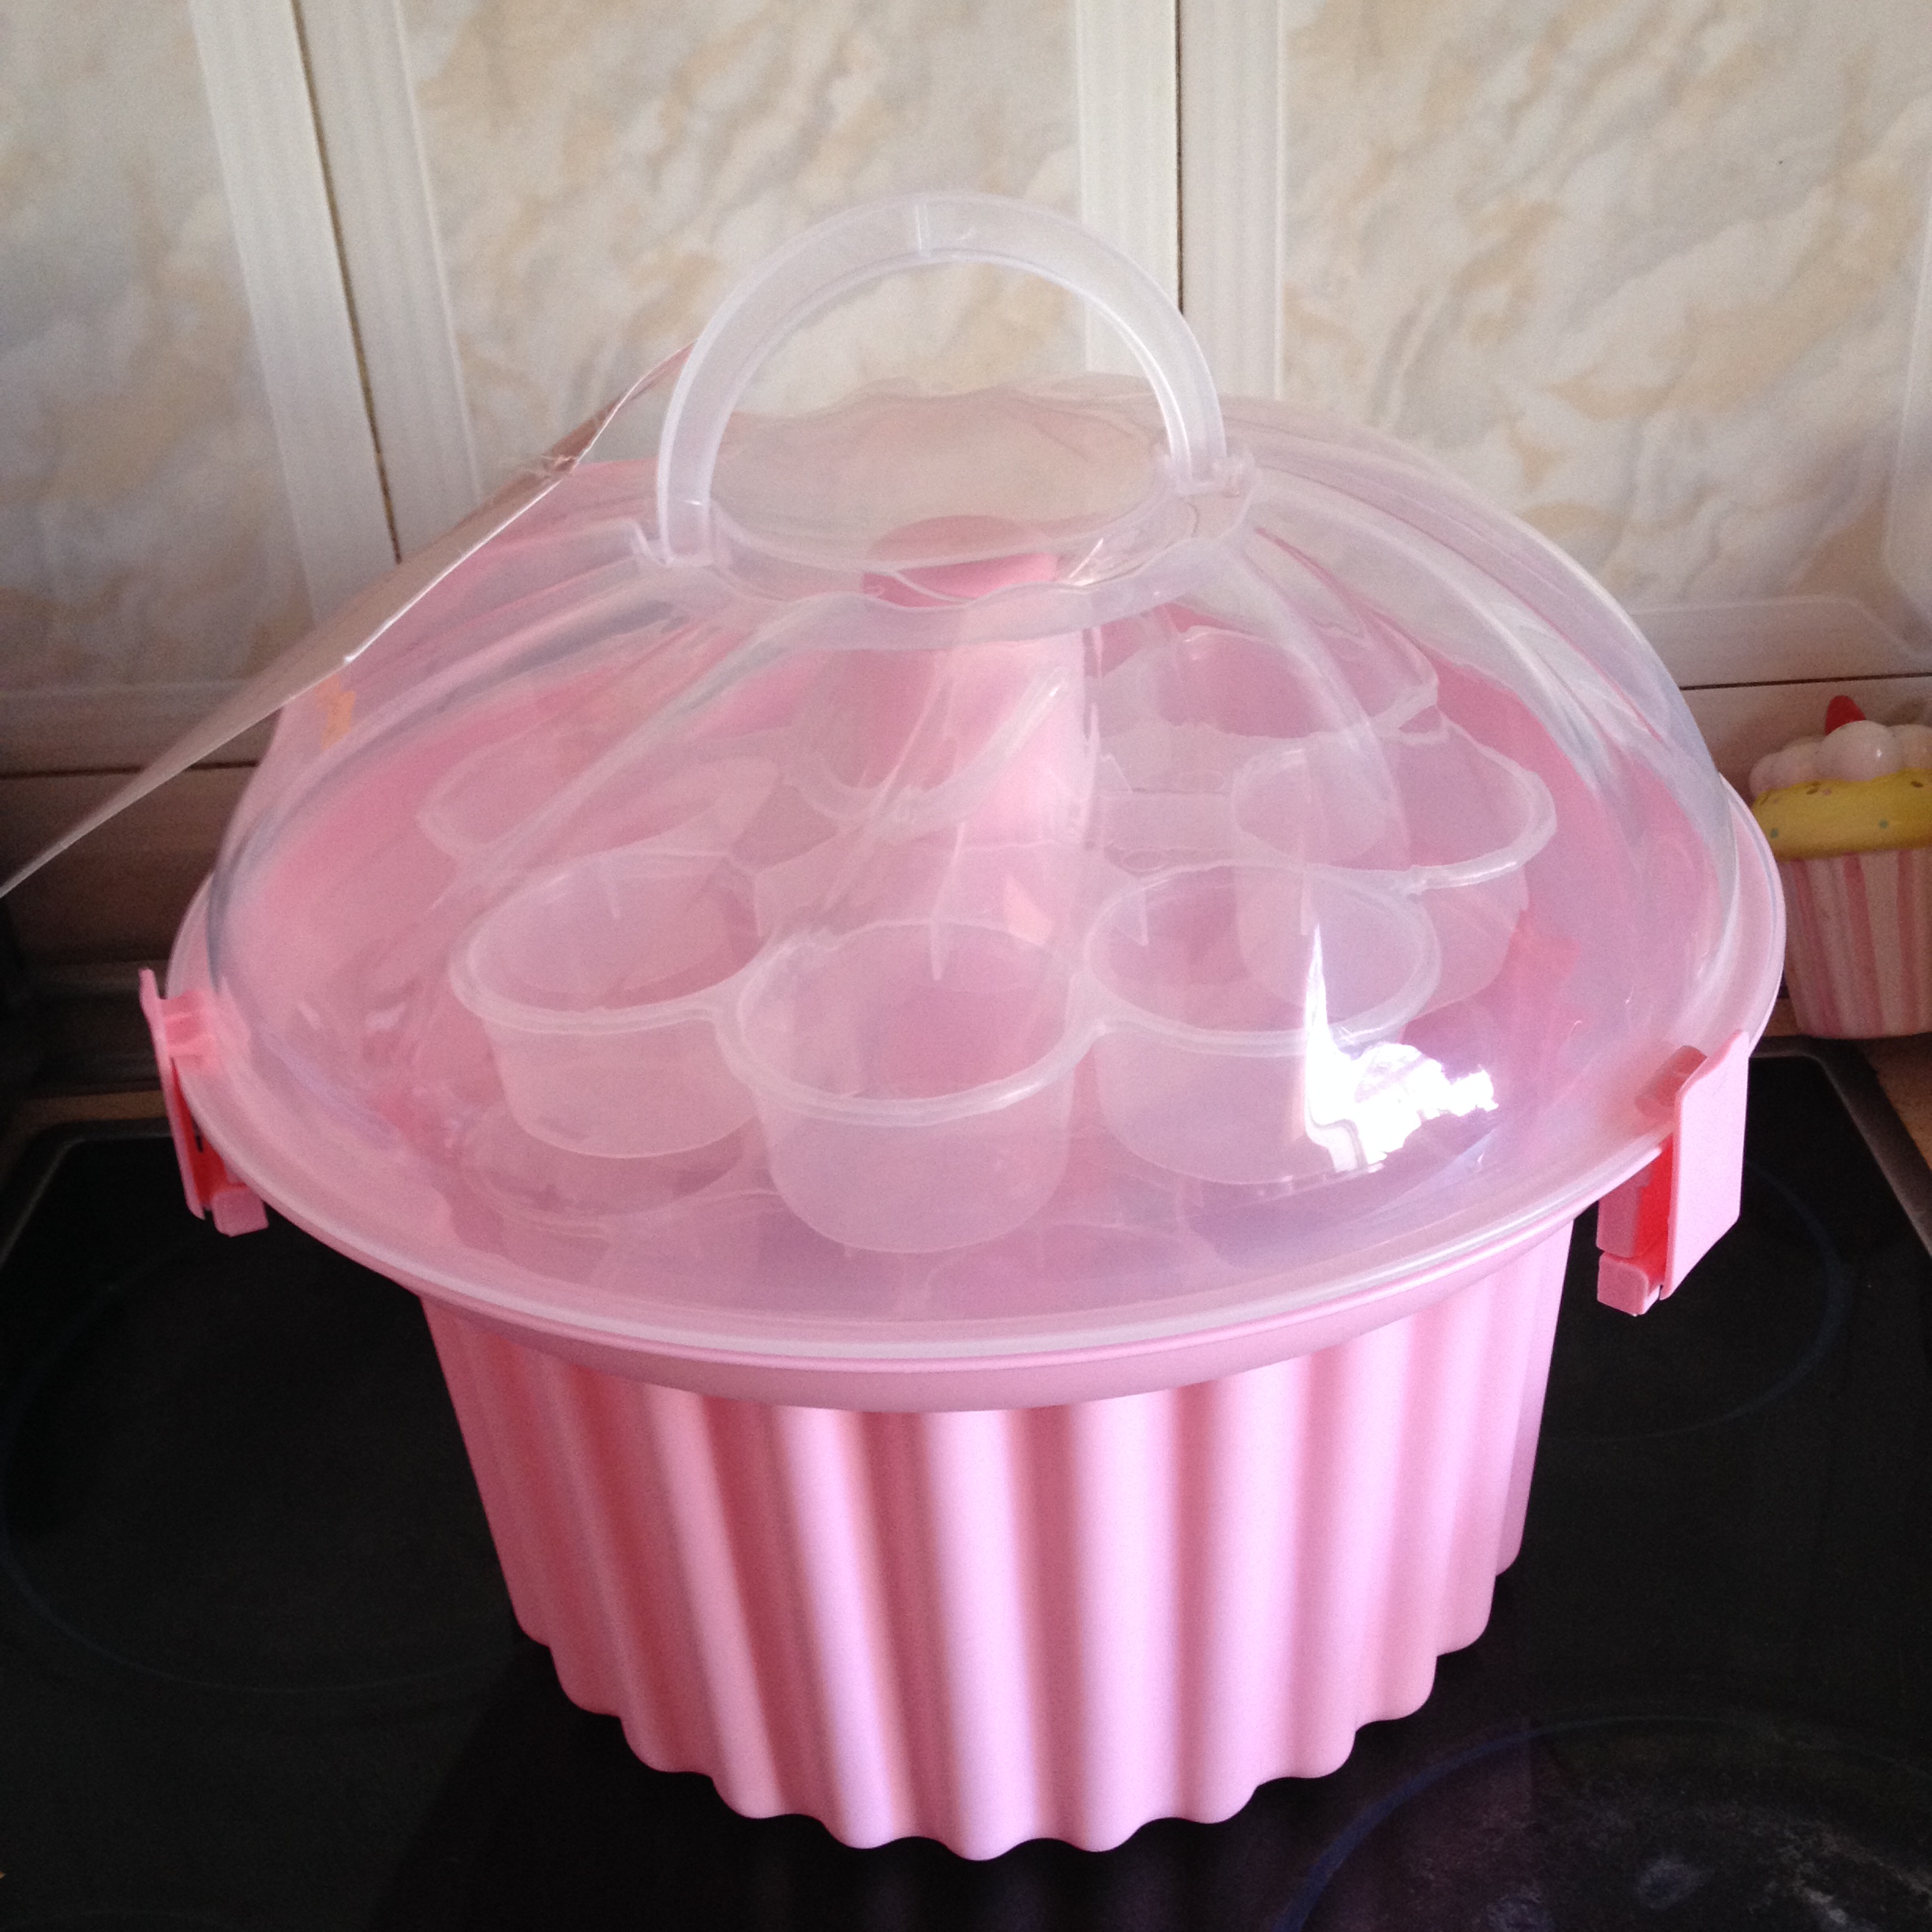
For a few weeks now I had been eyeing this cupcake caddy on Amazon. But while we are considered UK for anything else, delivery to Gib is not the easiest things of all. It takes ages, costs a fortune or is not possible at all for bulky/heavy objects. I decided not to go through the stand mixer drama again and gave up. So imagine how I felt today when I saw it!!! Insta-buy, obviously.
Cannot wait for Saturday morning to stack all the funfetti cupcakes in it!
So I had all those posts planned in my head… Mother’s day (in March where I am based), Easter, etc. But now it’s been way after each of these events so I decided to forget about the plan and post everything backwards. Starting with my latest baking creation: a birthday cake for a keen gardener!
Me and my friend who ordered it didn’t want fondant so this made it a little more complicated but I am still happy with the result. Red velvet cake with cream cheese all the way (albeit painted green on the outside) and all edible decorations:
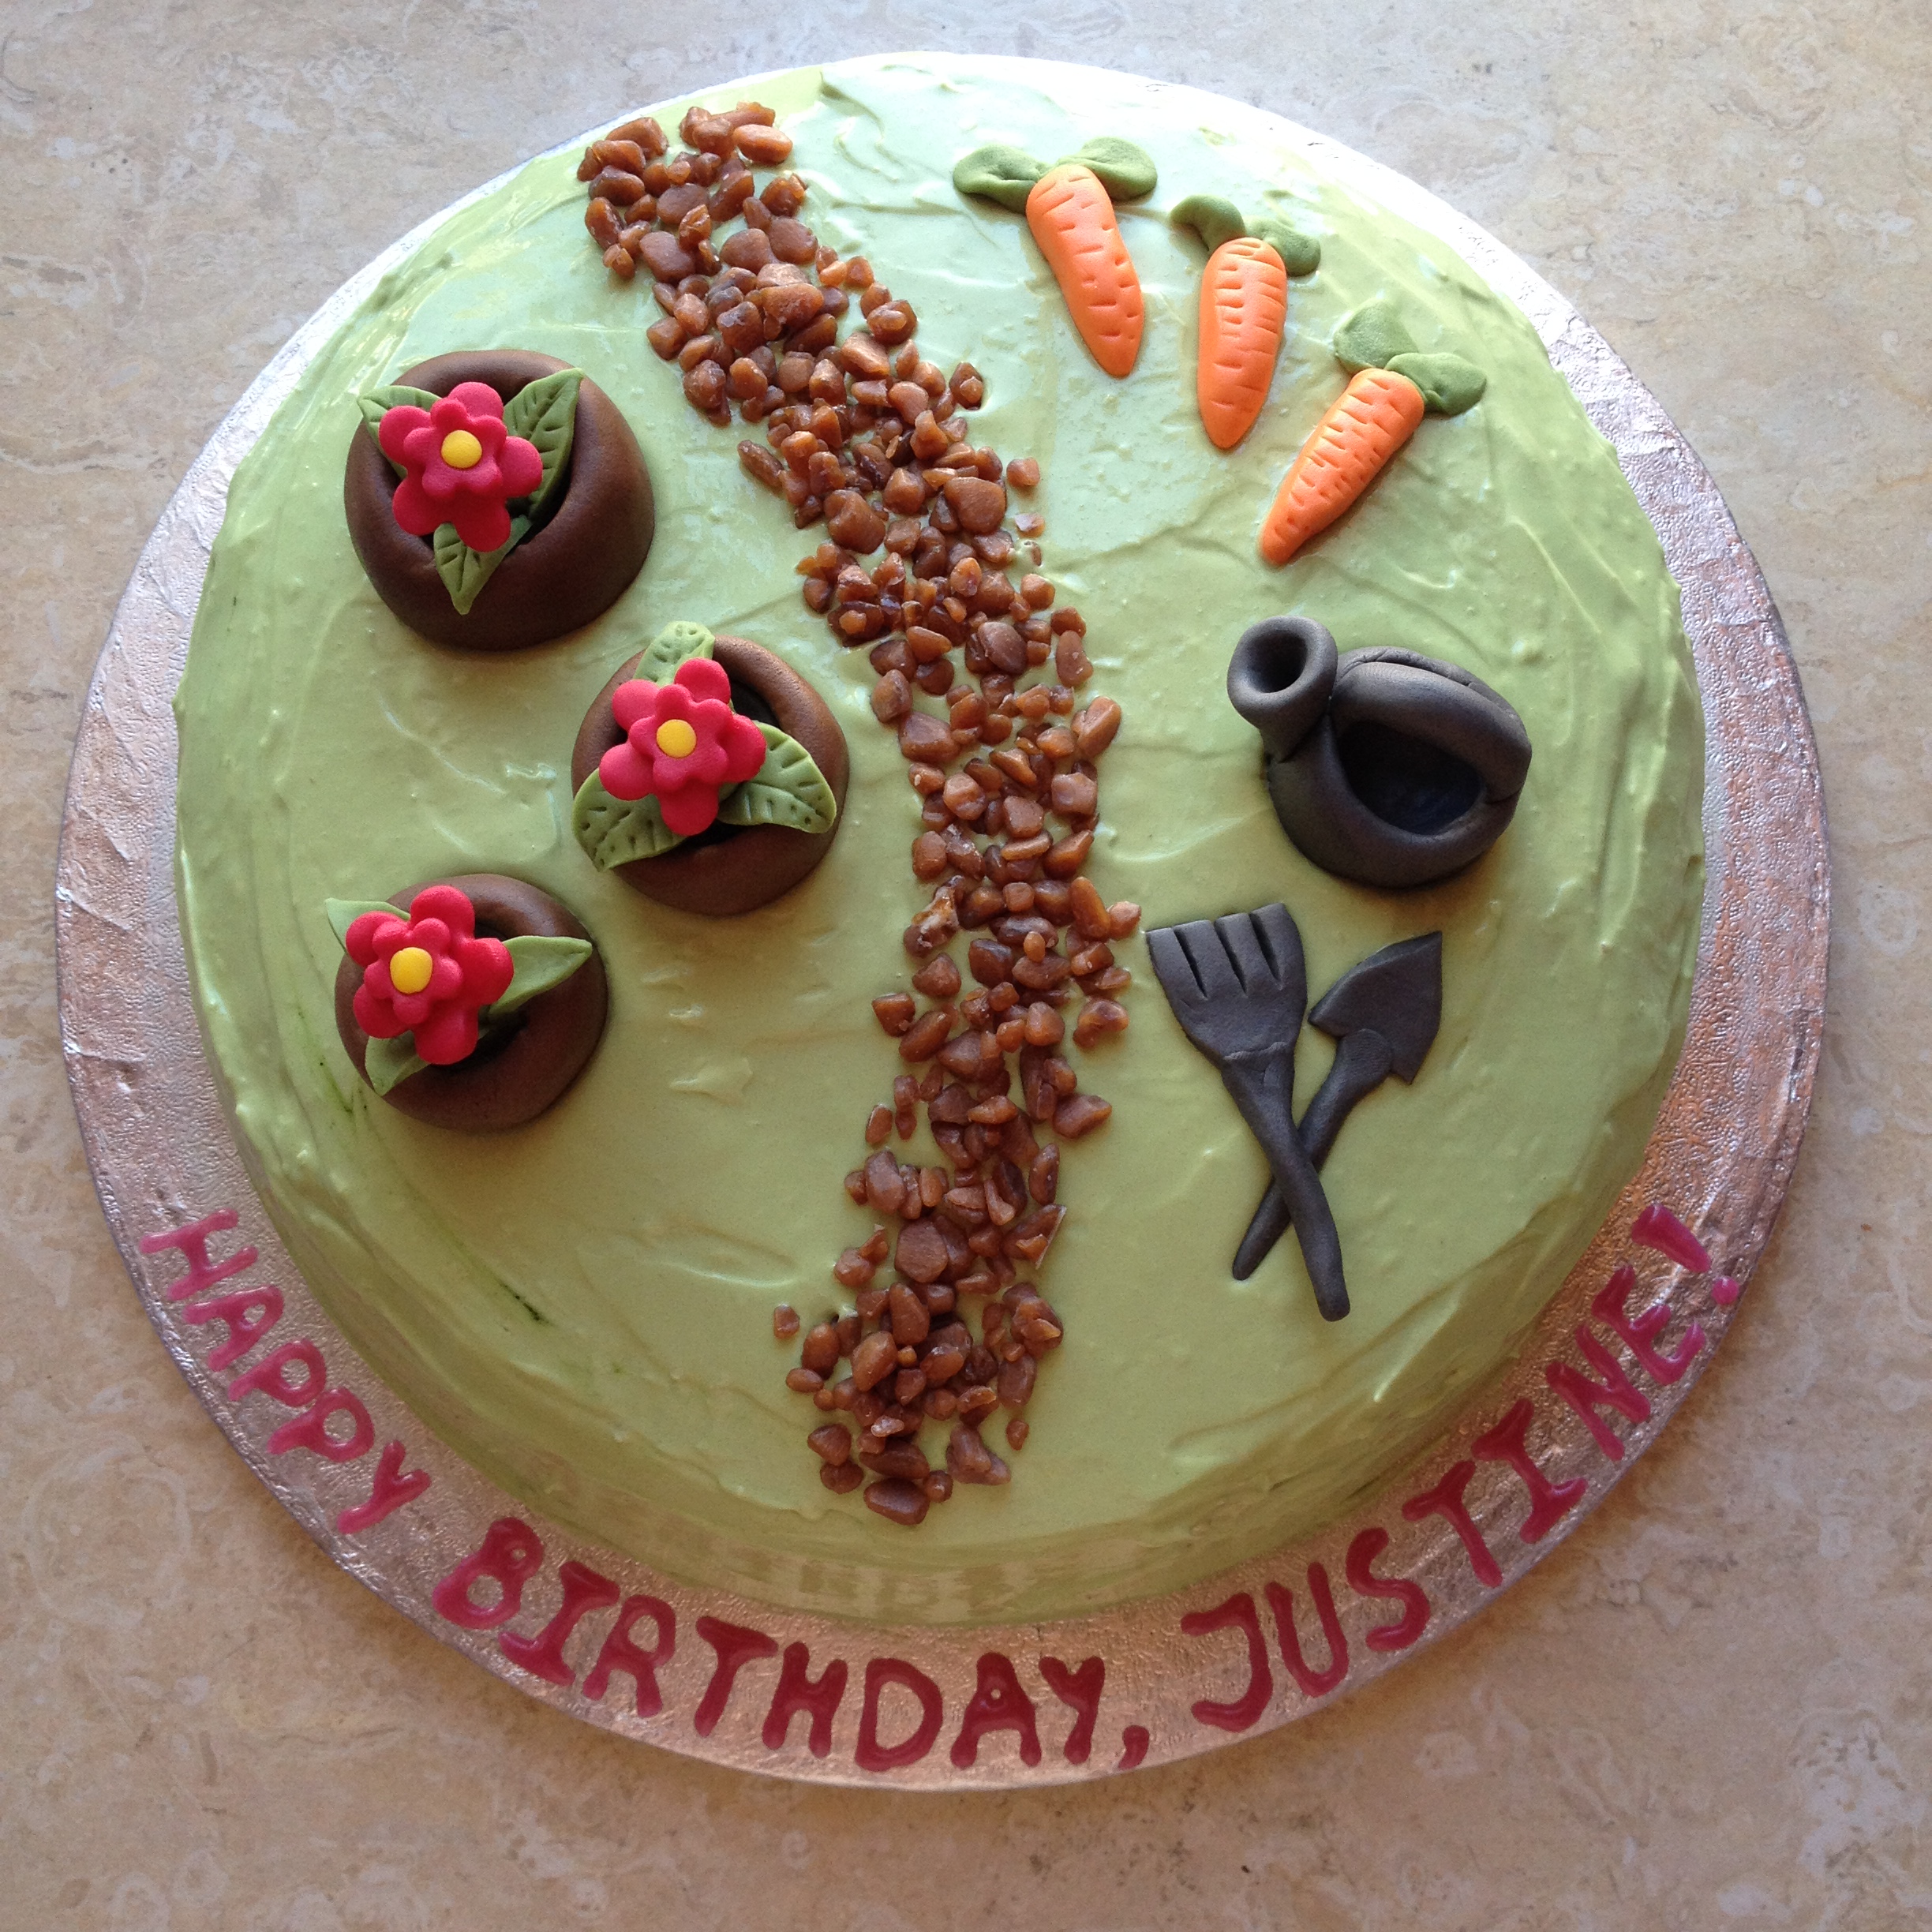
I loved making all the decorations but my favorite is the watering can. Too much cute, I think!
I am still here and still baking, by the way. I know I have been seriously slacking off around here but loads of baking, 3 business trips in the last 4 weeks, loads of other activities, fostering a tiny kitten and trying to have a social life really took its toll.
I am really looking forward to this coming (long, thankfully) weekend which also happens to be Easter weekend. This means 4 days off in which I hopefully manage to catch up on sleep, visits to Spain, maybe a BBQ (weather permitting), and best of all, time to blog!
There is a Mother’s Day post, ‘The Big Baking Job’ post, a baby shower post, maybe a kitten post and few more coming. See you soon!
I have some BIG news to share. Are you ready?
Andy has arrived. What a blessing after weeks of delivery (or refusal of delivery) drama. I’m so happy to finally have him home. Here he is, isn’t he just beautiful?
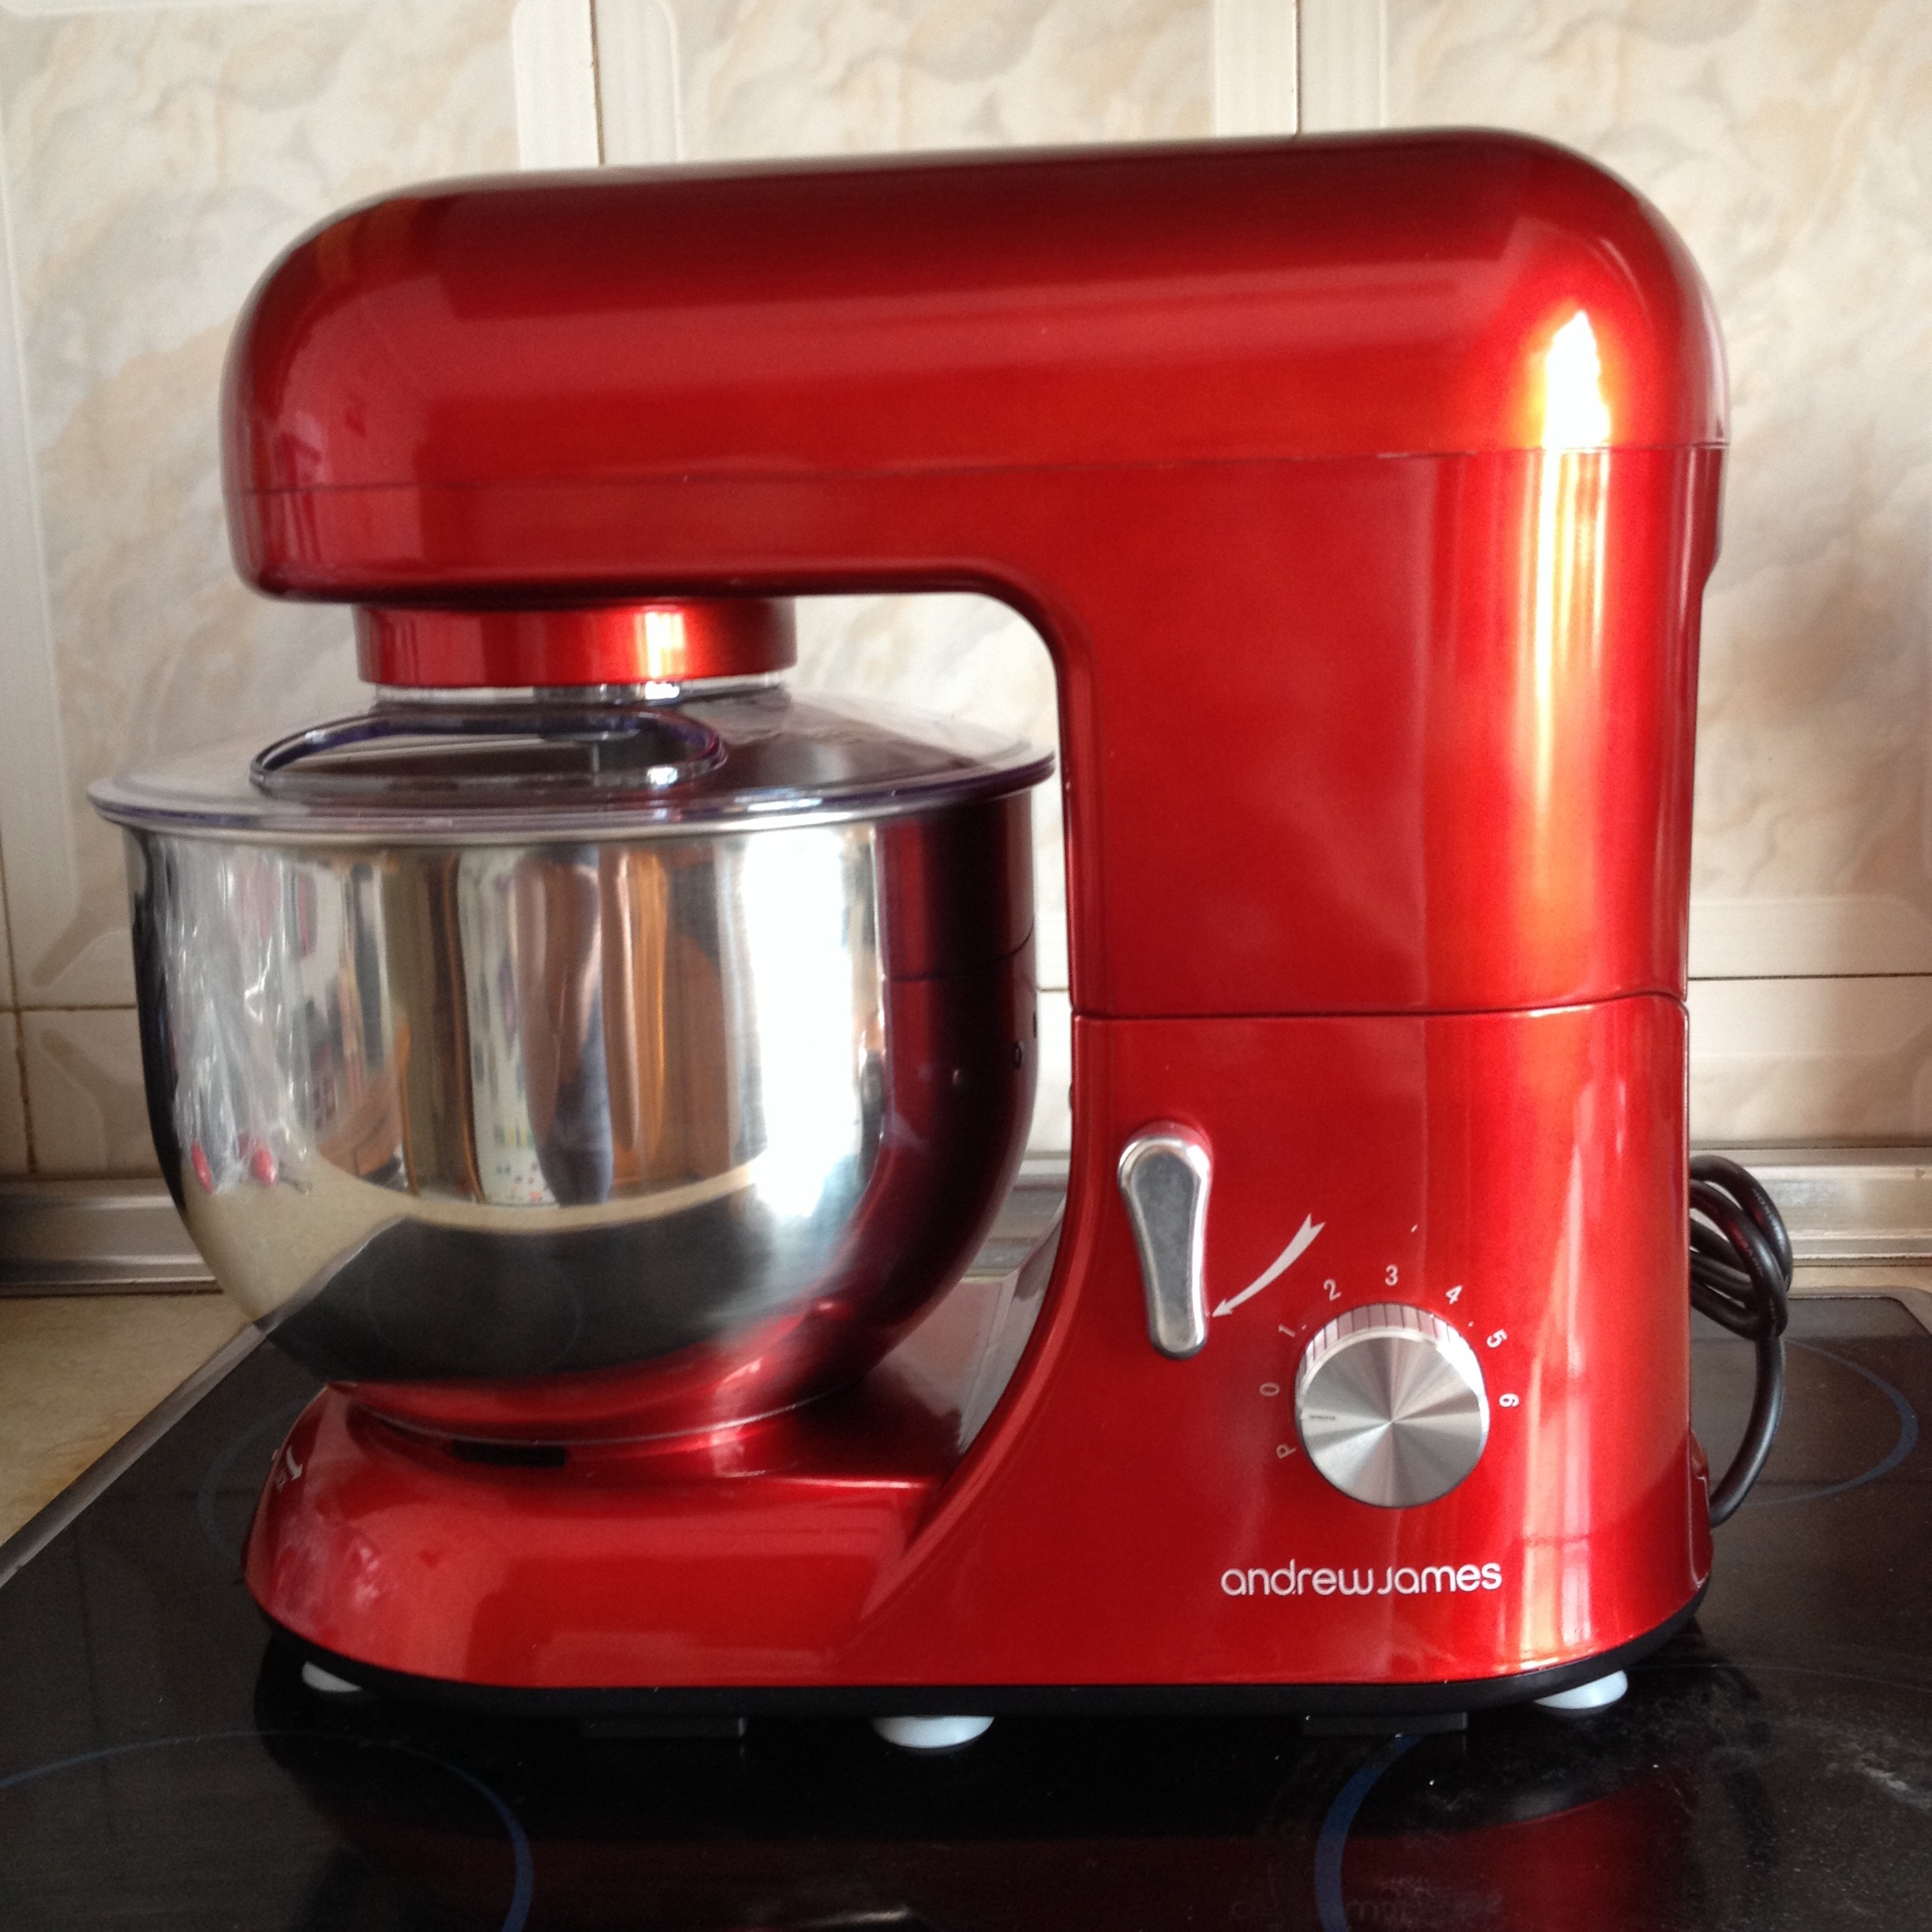
He’s only lived with us for a few days (after having an adventure and travelling to Malaga from Vienna in my suitcase) but I can see how we will be best friends. Not only is he good-looking, but he is a huge help in the kitchen. Welcome home, Andy.
And this is what we did together yesterday over a cup of coffee (quite literally). These Hummingbird Bakery Tiramisu cupcakes:

Happy times!