So I have another confession to make. I very very rarely eat what I bake. Believe me, it isn’t the easiest task to bake loads and maintain a low-carb diet. So sometimes I get inspired and bake for myself too.
I had been looking at coconut flour and coconut oil recipes for a while as a healthier substitute to good old flour and butte but wasn’t able to get my hands on coconut flour around here. And while I was in Vienna last week I had no chance to visit any awesome bakeries but brought back a whole kilo of coconut flour – happy days!
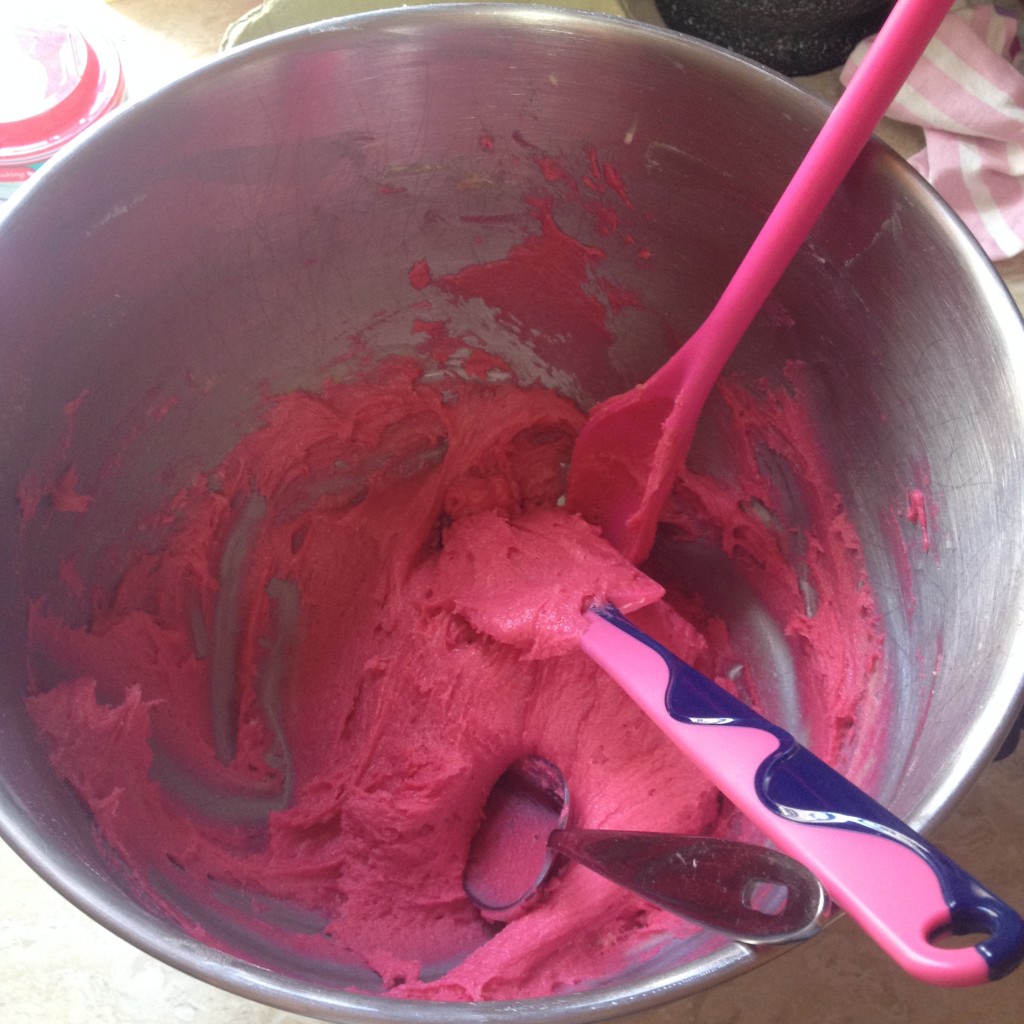
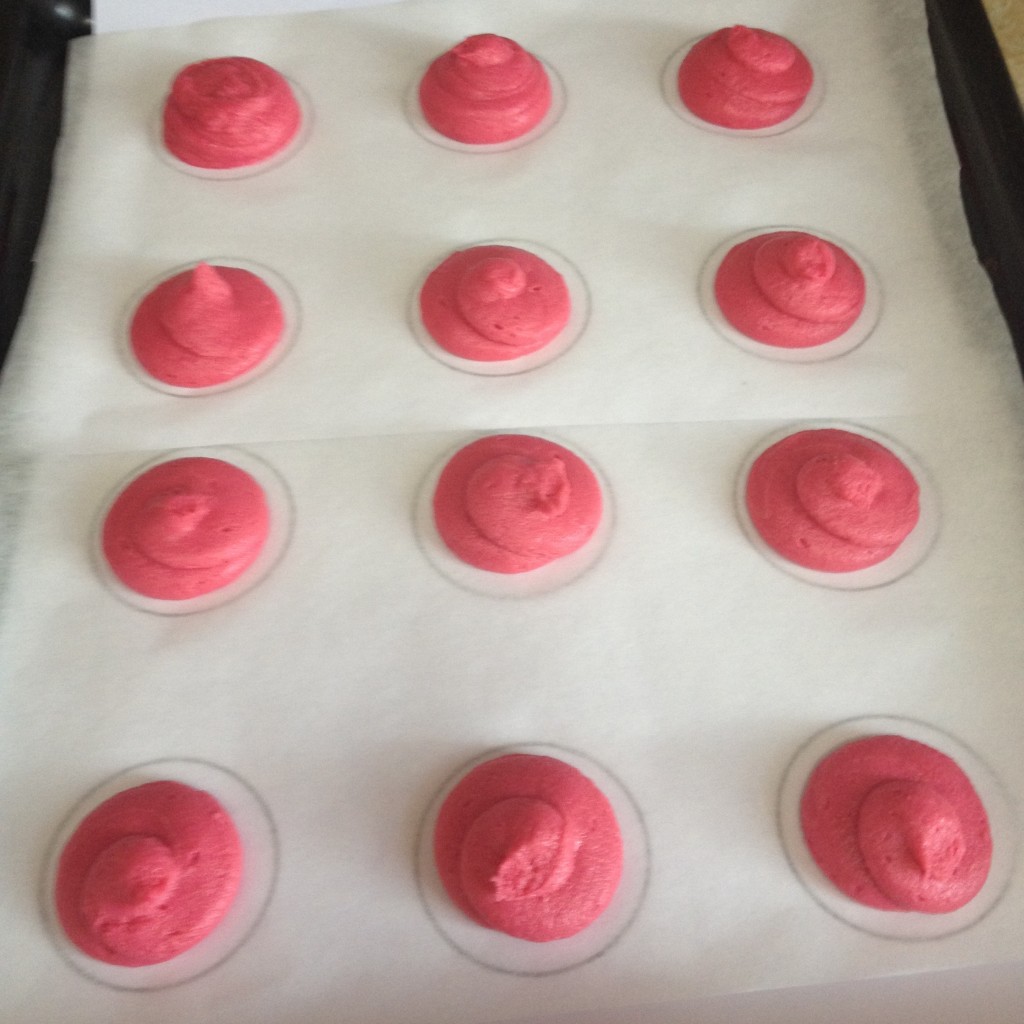
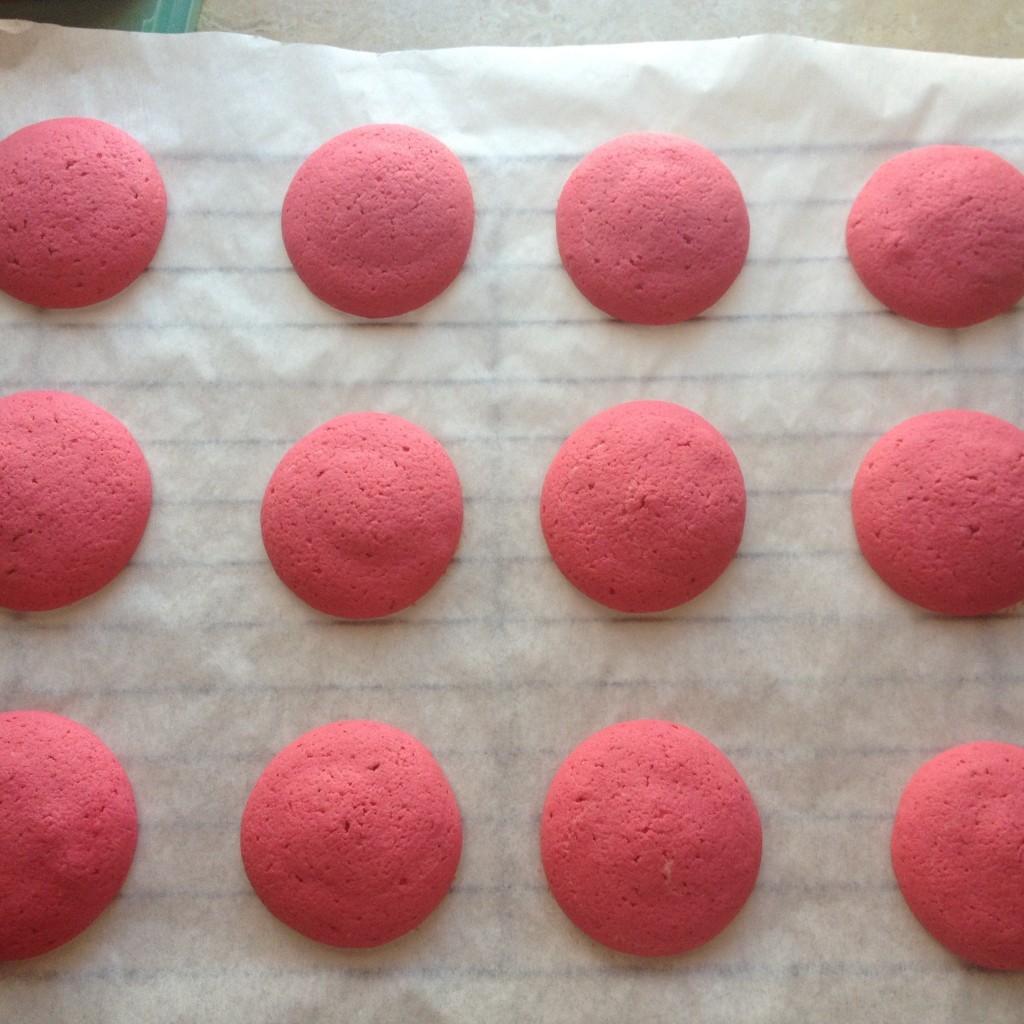
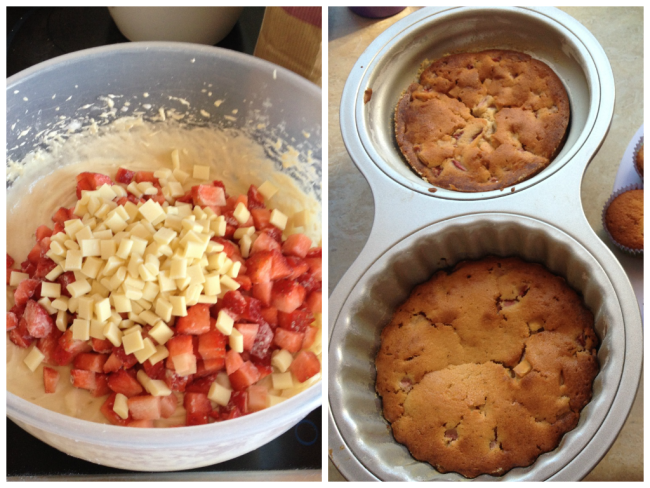
I chose an easy recipe for sugar free muffins which involved coconut flour and made a test batch last night. Kitchen smelled fab but… They looked nothing like the ones on the picture… See here for yourselves and compare to mine:
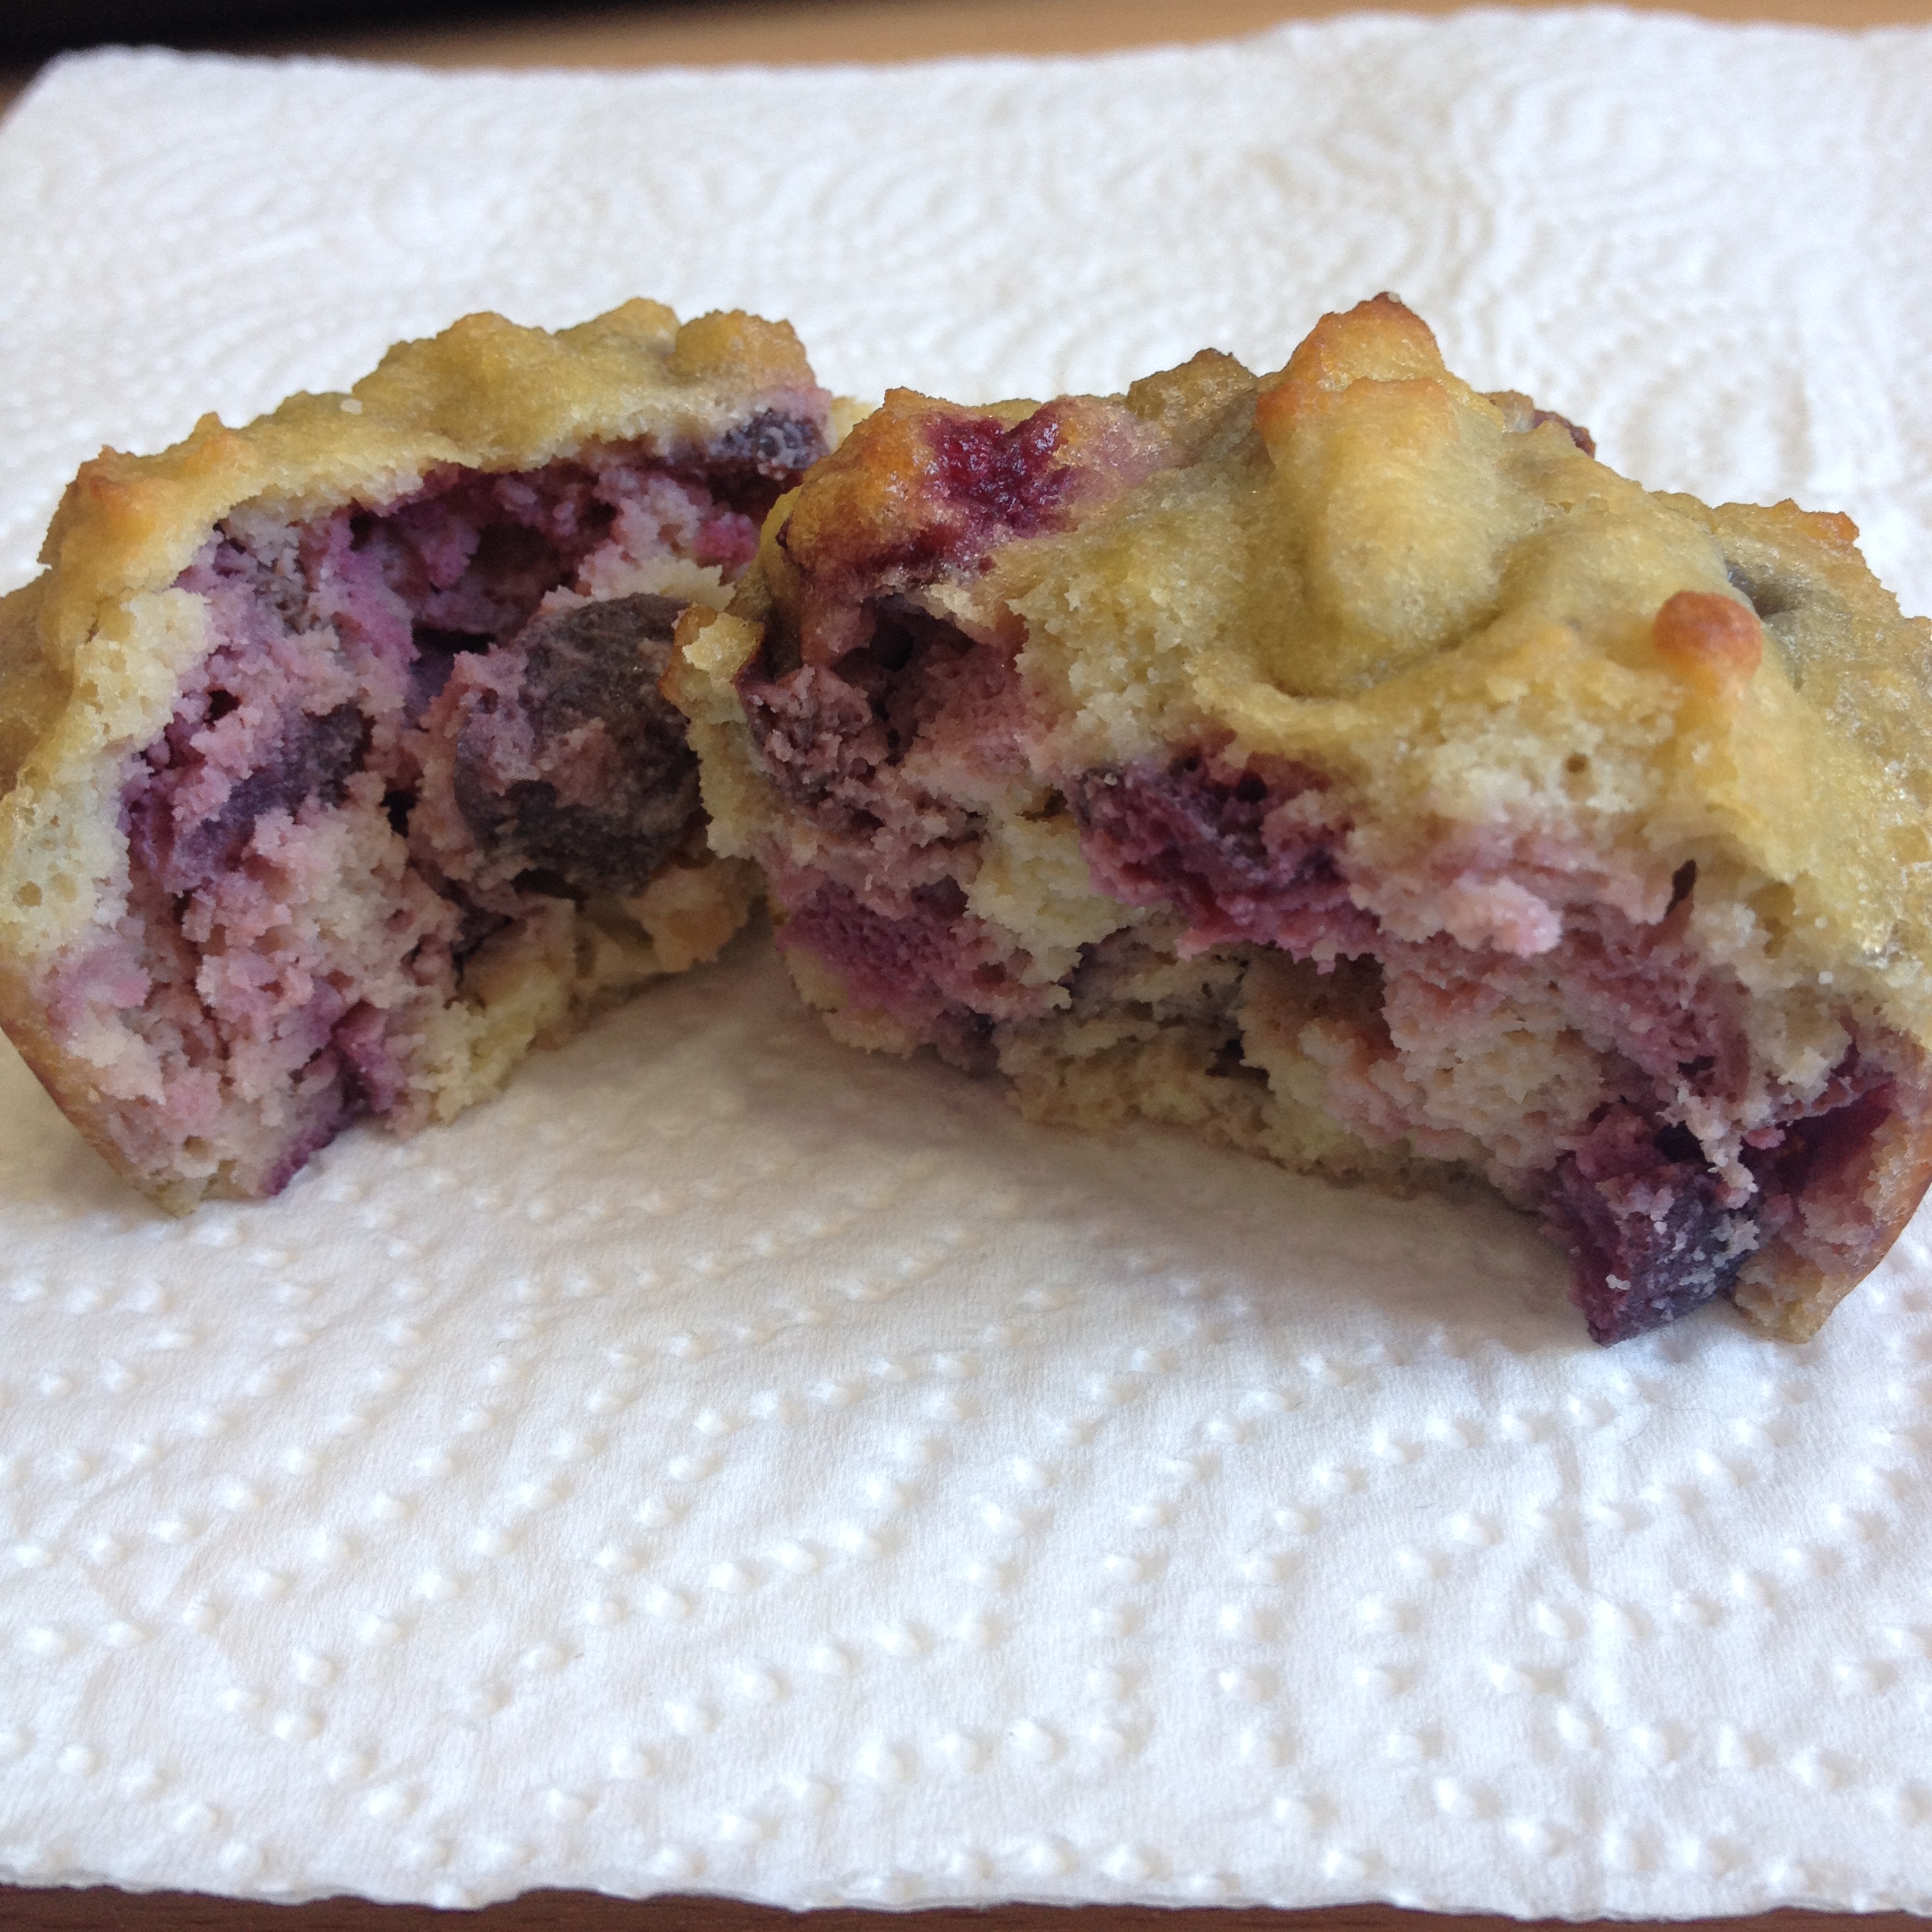
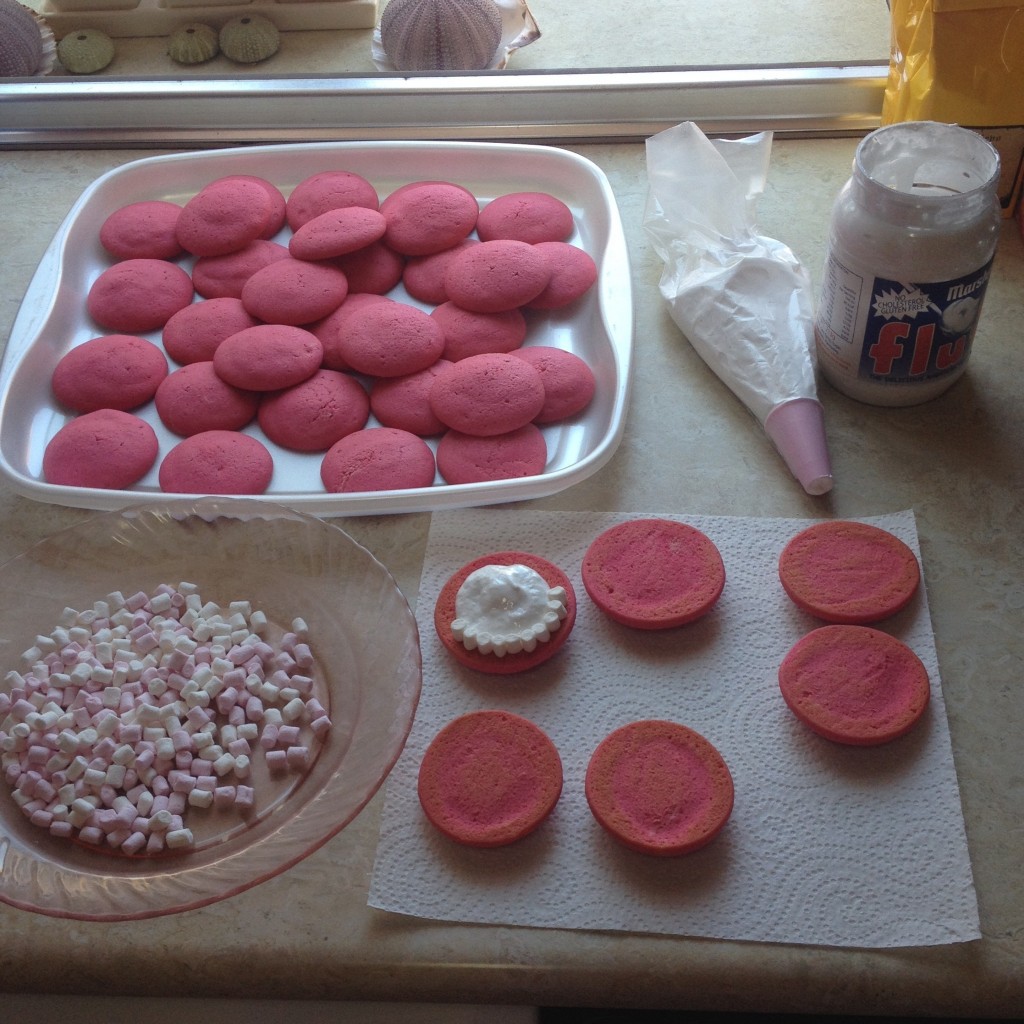
My sugar free, coconut oil, coconut flour and fresh cherry muffin
They did taste nice, but didn’t rise as much as expected and they were a tad too sweet for me. This could be because I changed a few things from the original recipe: I didn’t wait for the eggs to warm up completely; I used powdered Stevia (maybe the liquid sweetener works better for consistency); I replaced the melted butter for coconut oil – also not sure if this affected its fluffiness. And also I used cherries which probably have a higher water content than raspberries and blueberries. My experiments with coconut flour continue till I find the perfect recipes!
You can find the recipe I used on the link above but I will type it out for you here too with the changes I made. Please do shar your results if you decide to make it!
Sugar free, coconut oil, coconut flour and fresh cherry muffins
(makes 6)
Ingredients
- 3 eggs (room temperature – important)
- 1/3 cup coconut flour
- ¼ cup coconut oil
- ½ teaspoon vanilla
- ¼ teaspoon salt
- ¼ cup powdered Stevia (or a little less if you like me don’t like overly sweet cakes)
- ½ teaspoon baking powder
- 2-5 Tablespoons water (see below)
- ½ cup pitted and chopped cherries
Preparation
Heat oven to 180° C. Line a muffin tin with 6 muffin cases – before that add a sprinkle of rice under the cases in the tin (this will ensure that the cases don’t get too wet/soggy as it allows for air under).
1) Whisk the eggs until whites and yolks are well-mixed. Add in the coconut oil little by little while continuing to whisk. Add salt and vanilla and mix until combined. .
2) Mix the remaining dry ingredients — coconut flour, baking powder, and sweetener.
3) Mix the dry and wet ingredients together. Now whisk in water, one tablespoon at a time. The coconut flour will absorb the liquid from the wet ingredients like crazy. You want to get it to a consistency that will hold up the cherries, but not be too thick.
4) Mix the cherries with a spoon of the flour so they don’t fall to the bottom. Gently add them to the batter and divide among 6 muffin cases. Bake for about 15 to 18 minutes, or until just turning golden on top. I had to bake mine for about 22 mins as the cherries added extra moisture.