Last weekend was full of baking and experimenting! And it was great (until the moment when my lower back decided I have abused it enough and left me rather crippled for most of Sunday but that was OK as I did really need a break)!!!
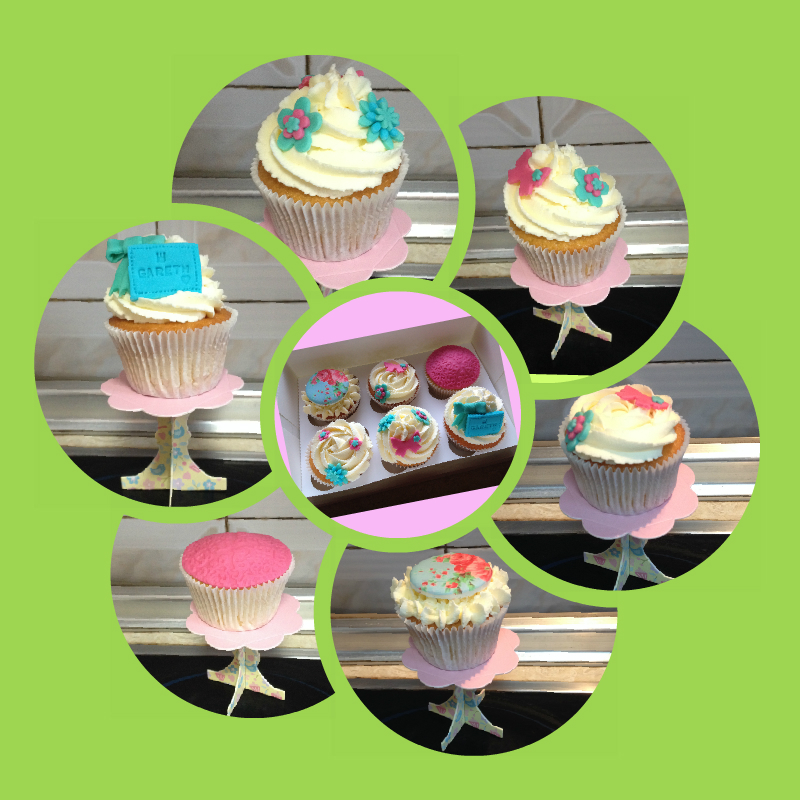
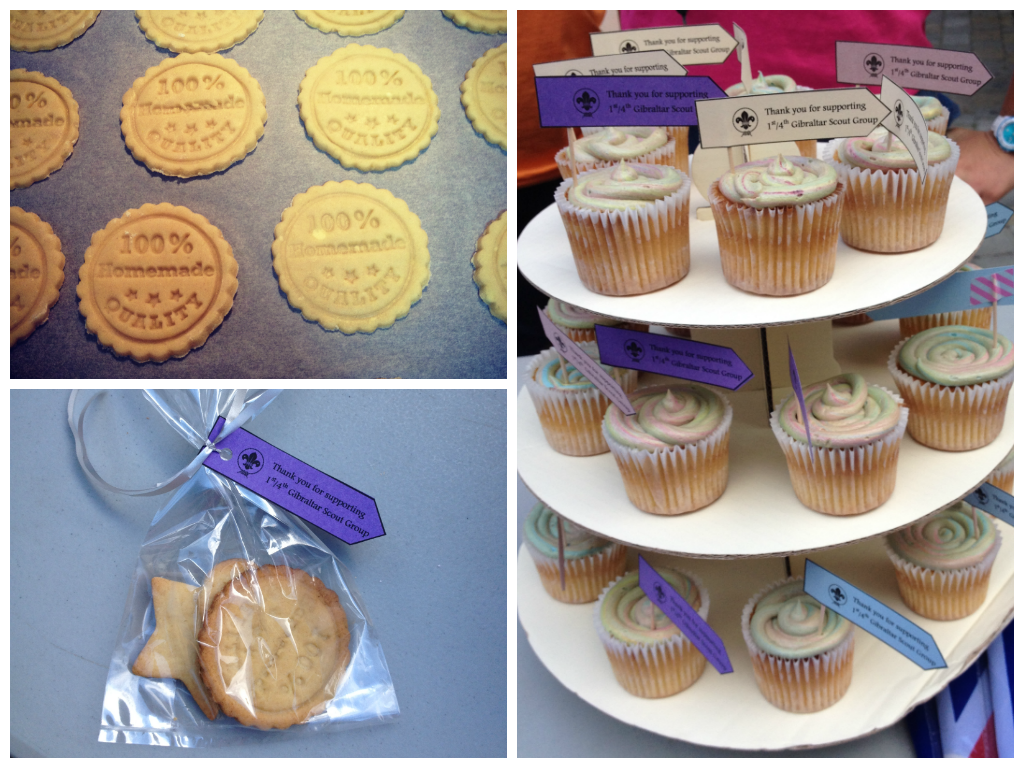
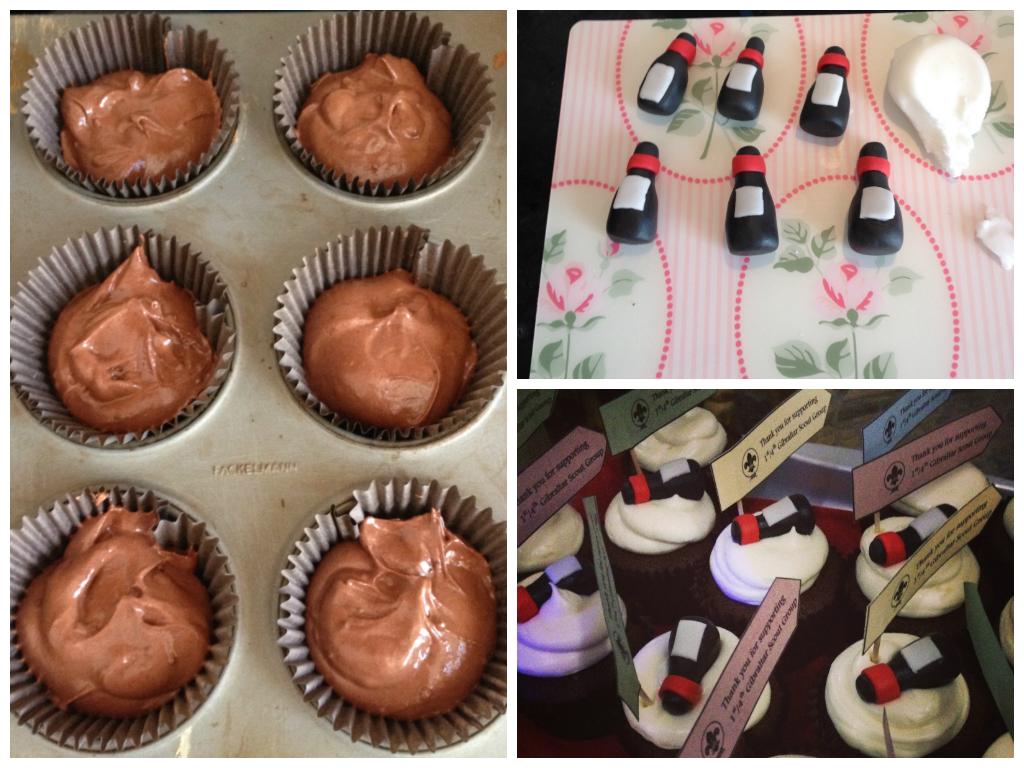
Our Scout group was holding a fundraising cake stall on Saturday morning so I prepared around 3 dozen of individual cookie bags and another 3 dozen of vanilla cupcakes with rainbow frosting. Ok, rainbow frosting was the plan, at least. What I didn’t take into account is that a) temperatures have been rather high around here for early summer (we’re talking 28 degrees Celsius) and b) no air-con in the kitchen. So the buttercream melted from the time I mixed it till the moment I spooned it into the piping bags. So they looked more psychedelic than rainbow but… it happens! I am still pretty proud as we were able to collect plenty of money for the Scout group. And don’t they still look pretty?
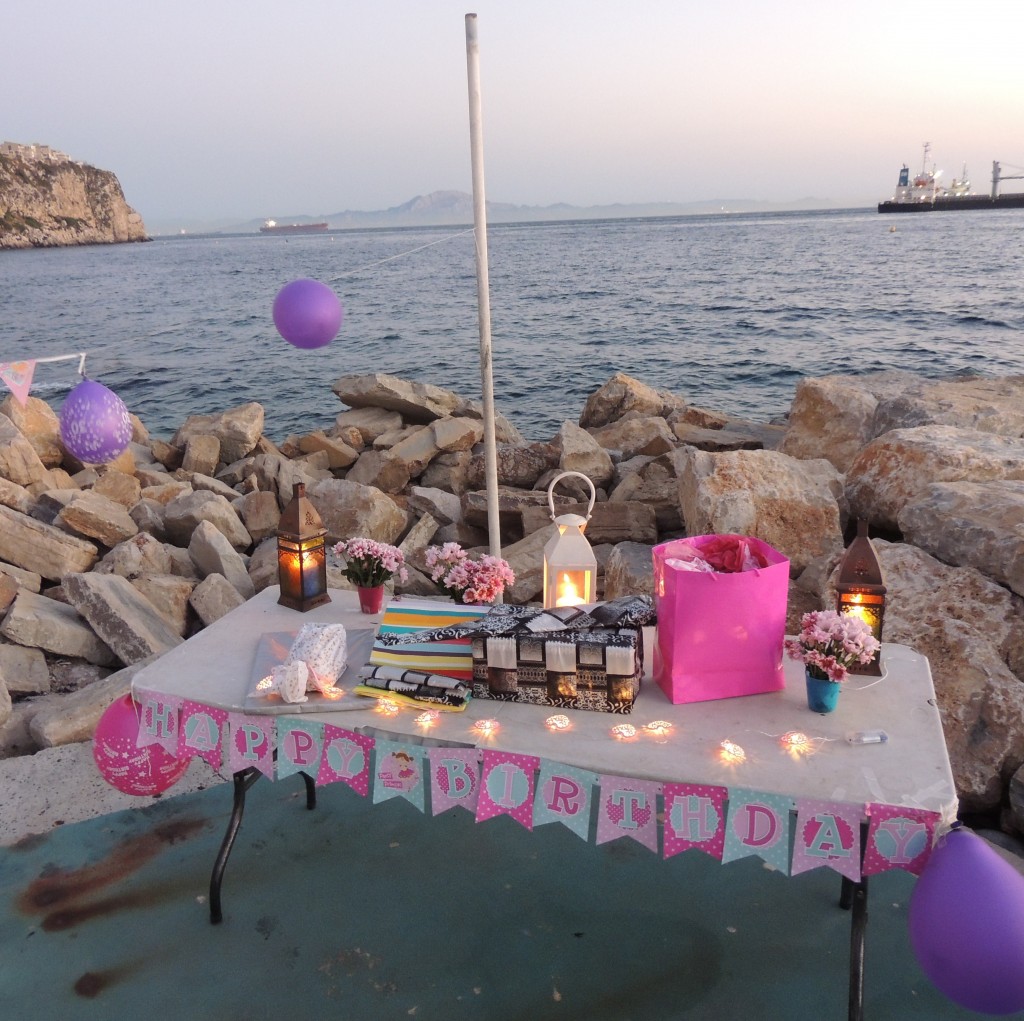
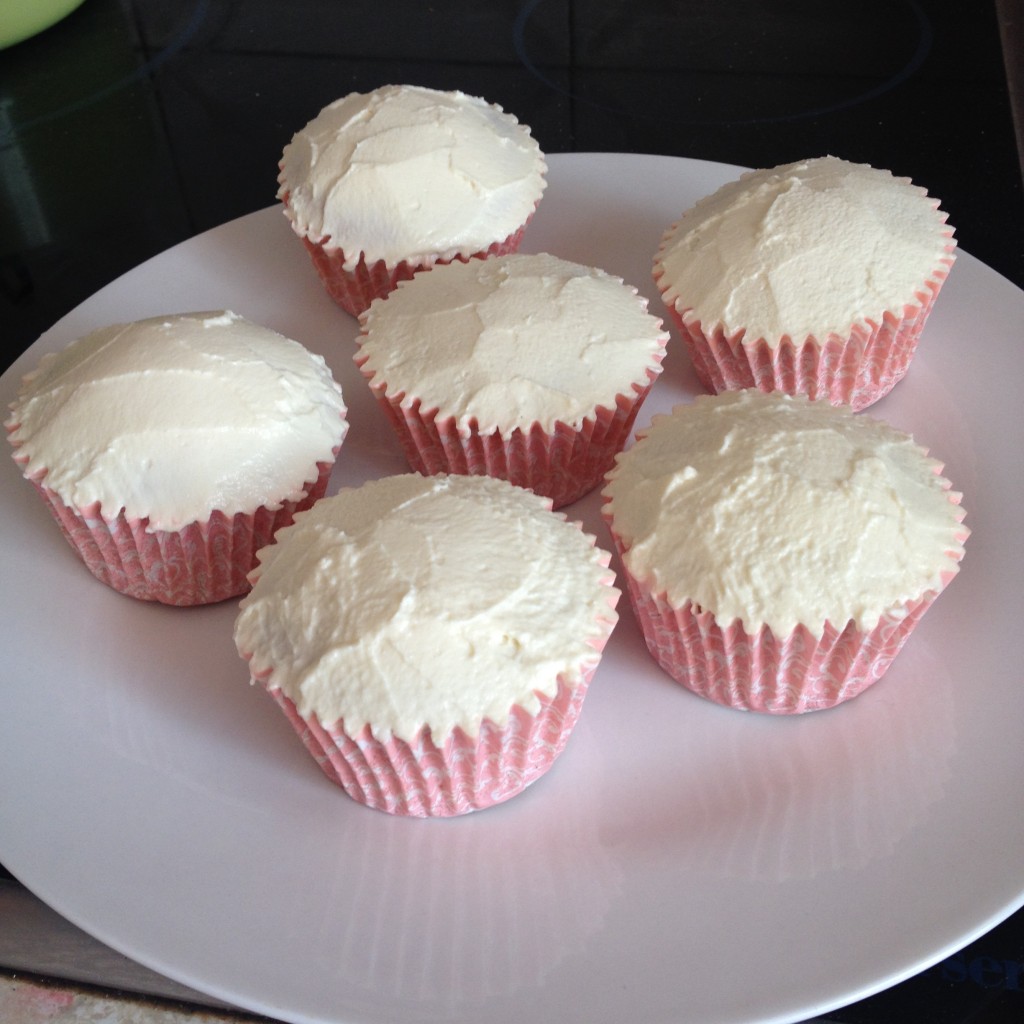
That same evening we were holding another fundraising event in a local wine shop & tasting room and I had set my mind on making wine-spiked cupcakes seeing as it was going to be adult only. The guys from My Wines had been kind enough to provide me with a bottle of mocha coffee flavoured wine – yum!
The cupcakes came out beautifully moist and rich and I topped them up with my favorite Hummingbird Bakery cream cheese frosting and little wine bottles made of fondant. What a treat after drinking plenty of vino! Recipe below.
Red Wine Cupcakes with Cream Cheese Frosting (makes approx. 24)
Recipe taken from: Butter me up, Brooklyn (aside from frosting)
For the cupcakes:
- 260g plain flour
- 100g unsweetened cocoa powder
- 1 tsp baking powder
- 1/2 tsp cinnamon
- 1/2 tsp salt
- 1/4 tsp baking powder
- 170g softened butter
- 300g brown sugar
- 100g caster sugar
- 3 eggs at room temperature
- 355ml red wine (if you use a chocolate wine, reduce the sugar, otherwise you risk them being too sweet)
- 2 tsp vanilla
- red food coloring (optional)
For the frosting (by the Hummingbird Bakery):
- 600g icing sugar, sifted (I normally put less as I don’t like the icing too sweet)
- 100g unsalted butter, at room temperature
- 250g cream cheese, cold
To make the cupcakes:
In a medium bowl whisk together flour, cocoa, baking powder, cinnamon, salt and baking soda. In a large bowl (I use my standing mixer’s one) beat butter and both sugars together until smooth (if using a standing mixer, use the paddle attachment). Add eggs and beat to combine, then add red wine and vanilla and beat until incorporated. At this stage, it will look weird but don’t worry, the dry ingredients will make it smooth again. Add these in several additions, being careful not to over mix. Divide the batter evenly among the prepared cupcake liners until they are 2/3 full.
Bake for 20 to 22 minutes, or until a tester inserted into the center of cupcakes comes out clean. Let the cupcakes cool for five minutes or so in the tin, then turn them out onto a wire rack to cool completely.
To make the frosting:
Beat the icing sugar and butter together in a freestanding electric mixer with a paddle attachment (or use a handheld electric whisk) on medium-slow speed until the mixture comes together and is well mixed (it will look like crumbs).
Add the cream cheese in one go and beat until it is completely incorporated. Turn the mixer up to medium-high speed. Continue beating until the frosting is light and fluffy, at least 5 mins. Careful not to overbeat as it can turn runny quite quickly.


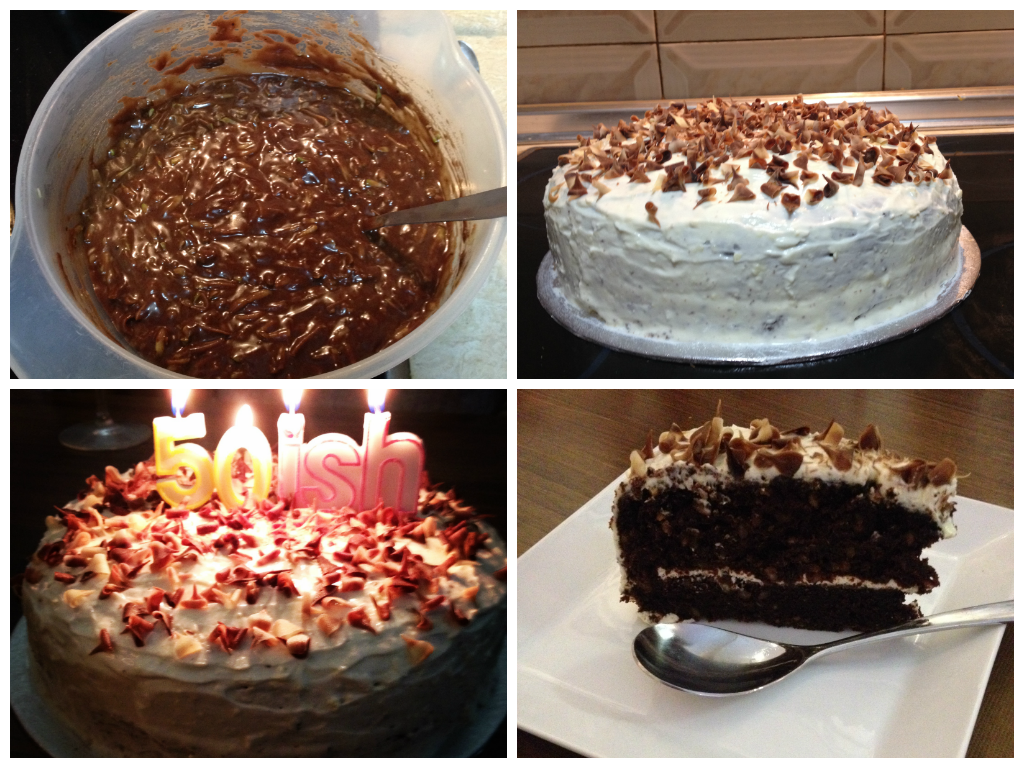
 For the weekend celebrations, I had to make a themed cake. As it turns out, a Game of Thrones cake is not a easy thing. I initially wanted to make
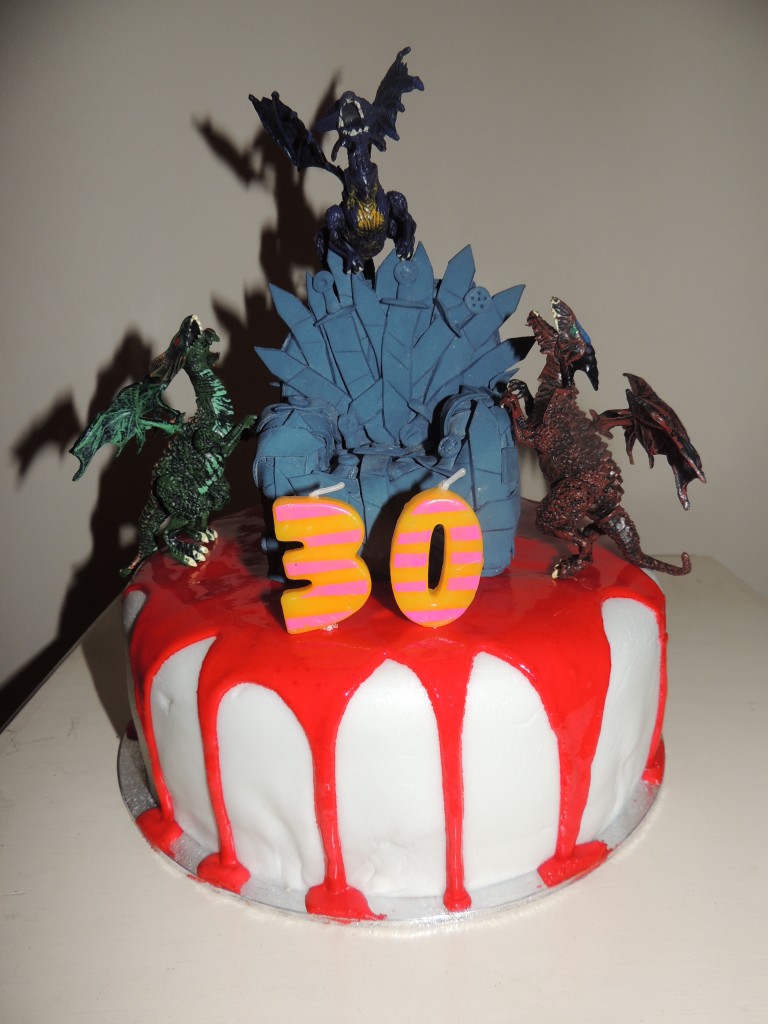

 Once this was done, I brushed a little