Gluten- and (almost) lactose free raspberry cupcakes [+RECIPE]

Sharing is caringShare on FacebookTweet about this on TwitterPin on PinterestShare on Google+Share on Tumblr

What is the best way to say thank you if you are a baker, you may wonder? With cupcakes, no doubt. What is the best say to celebrate an achievement too? Yes, you guessed it. Freshly baked cupcakes all the way.

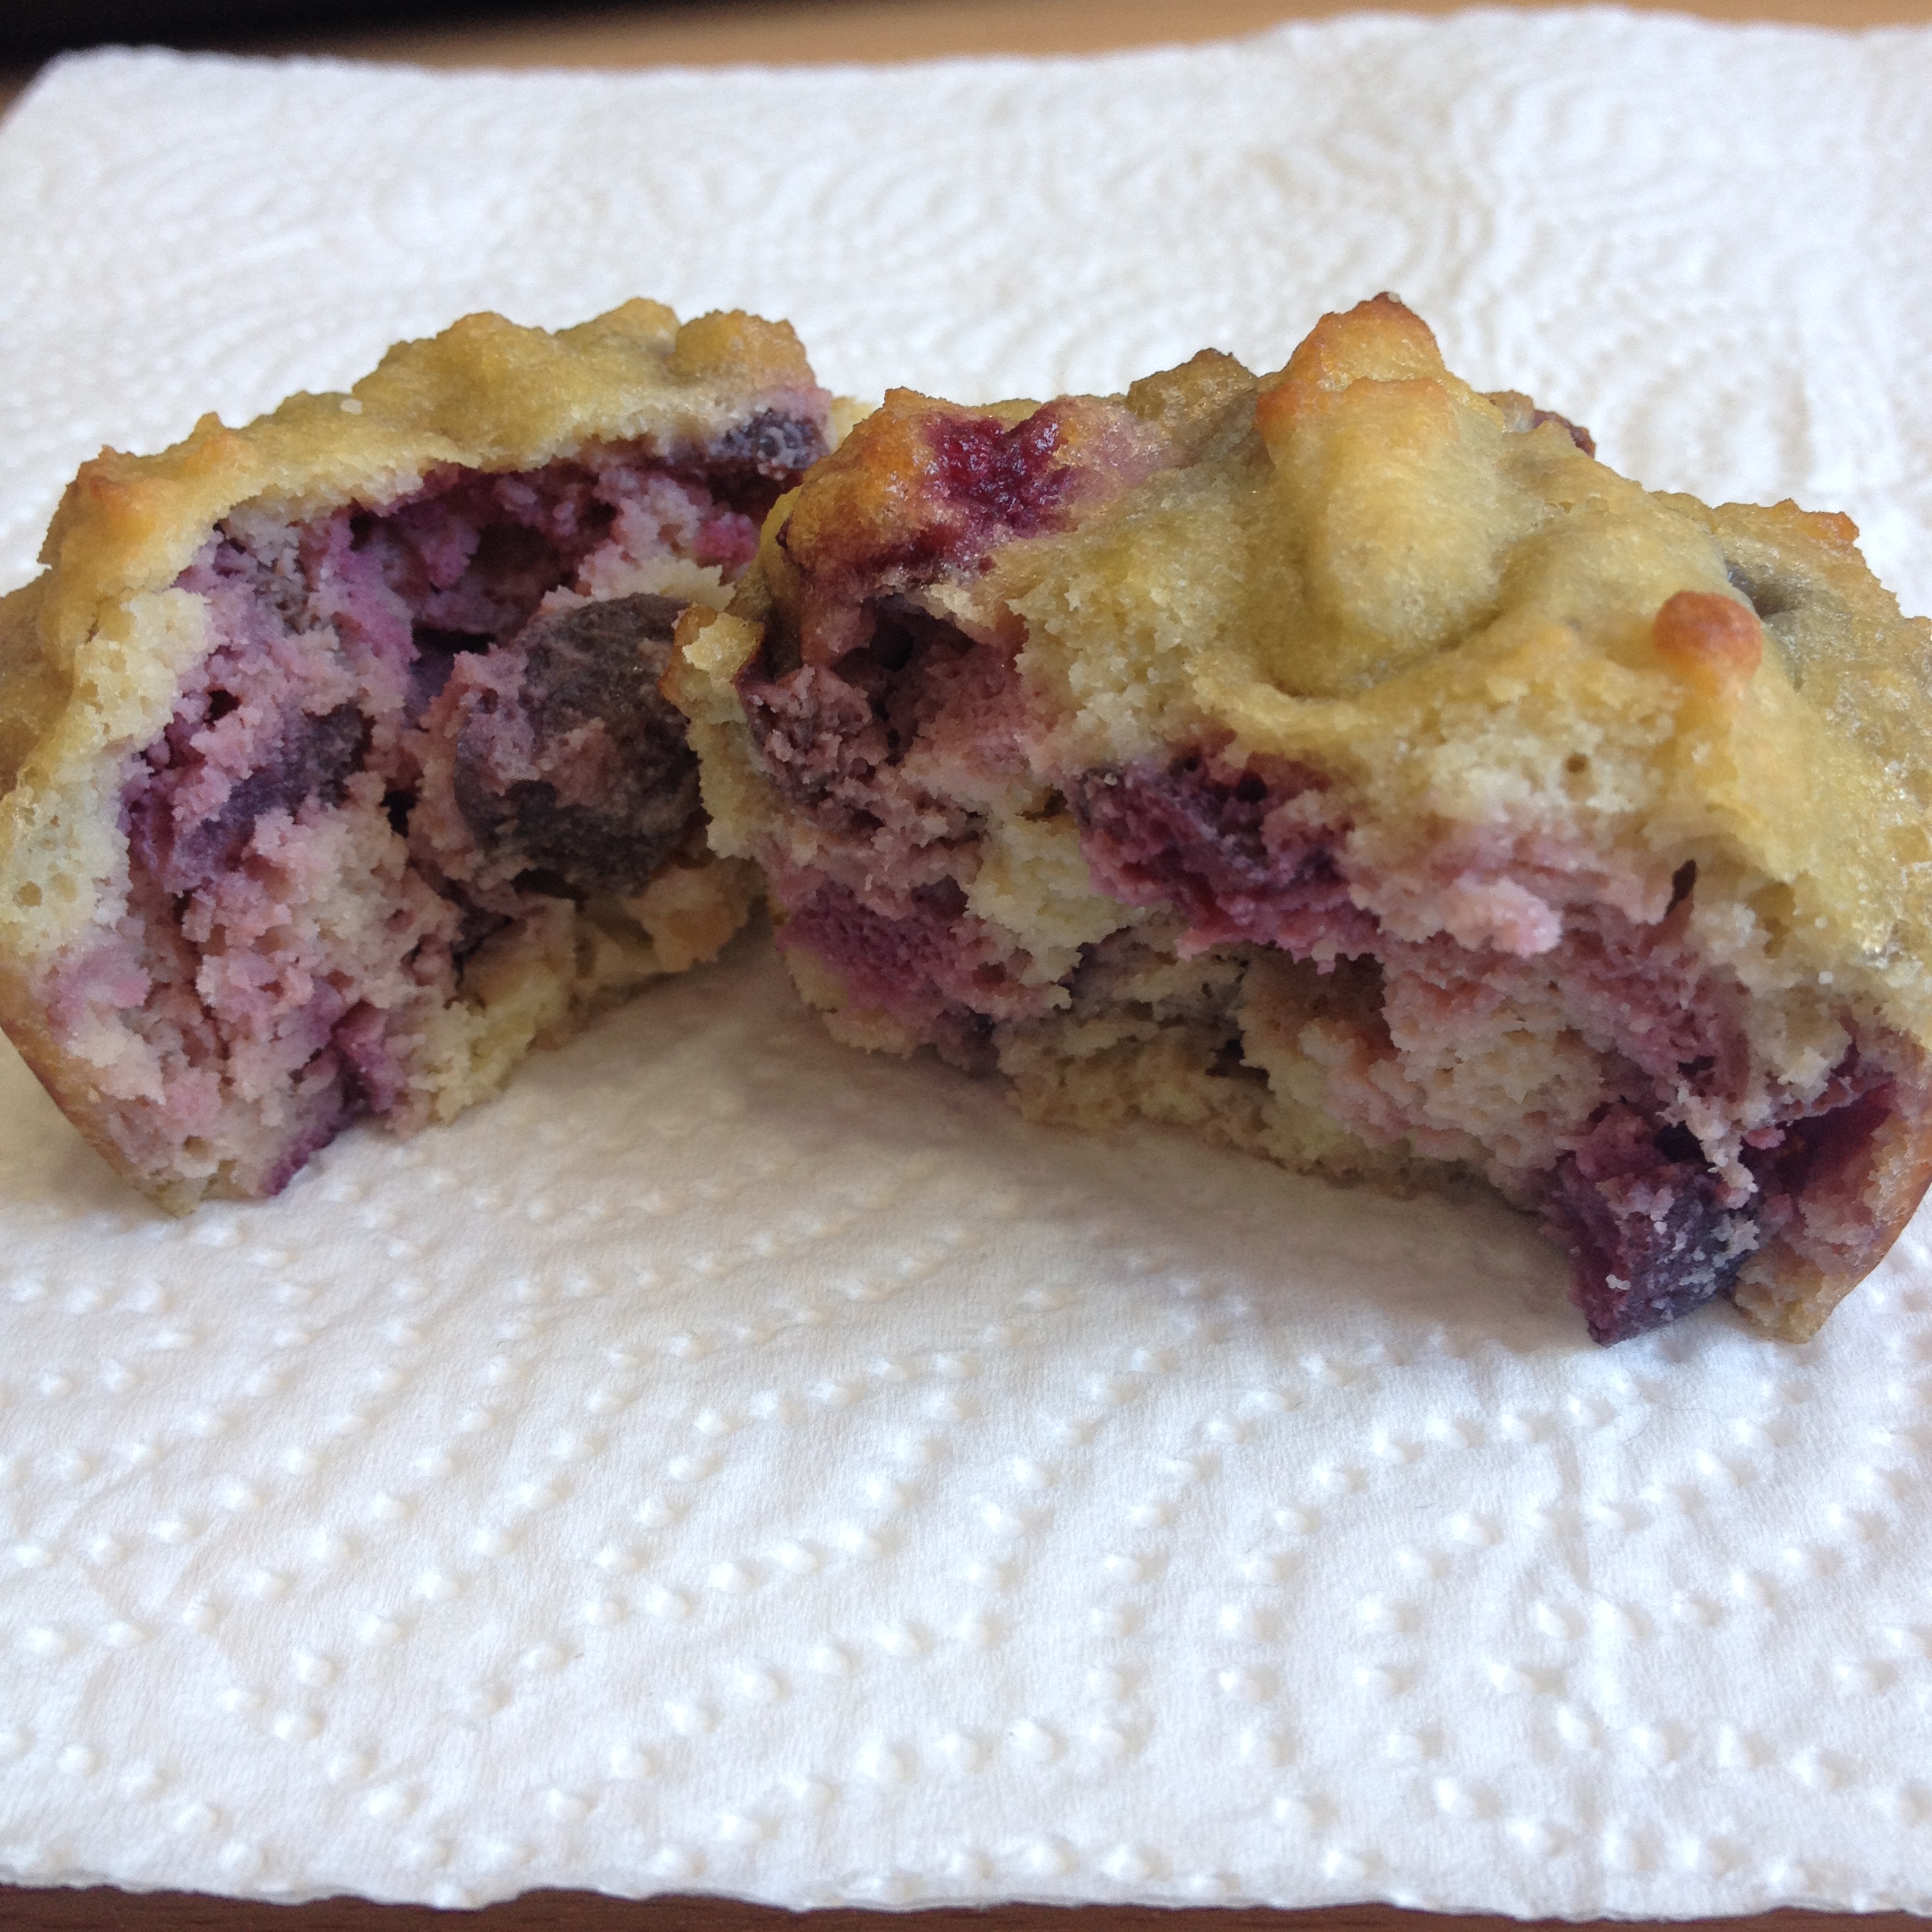
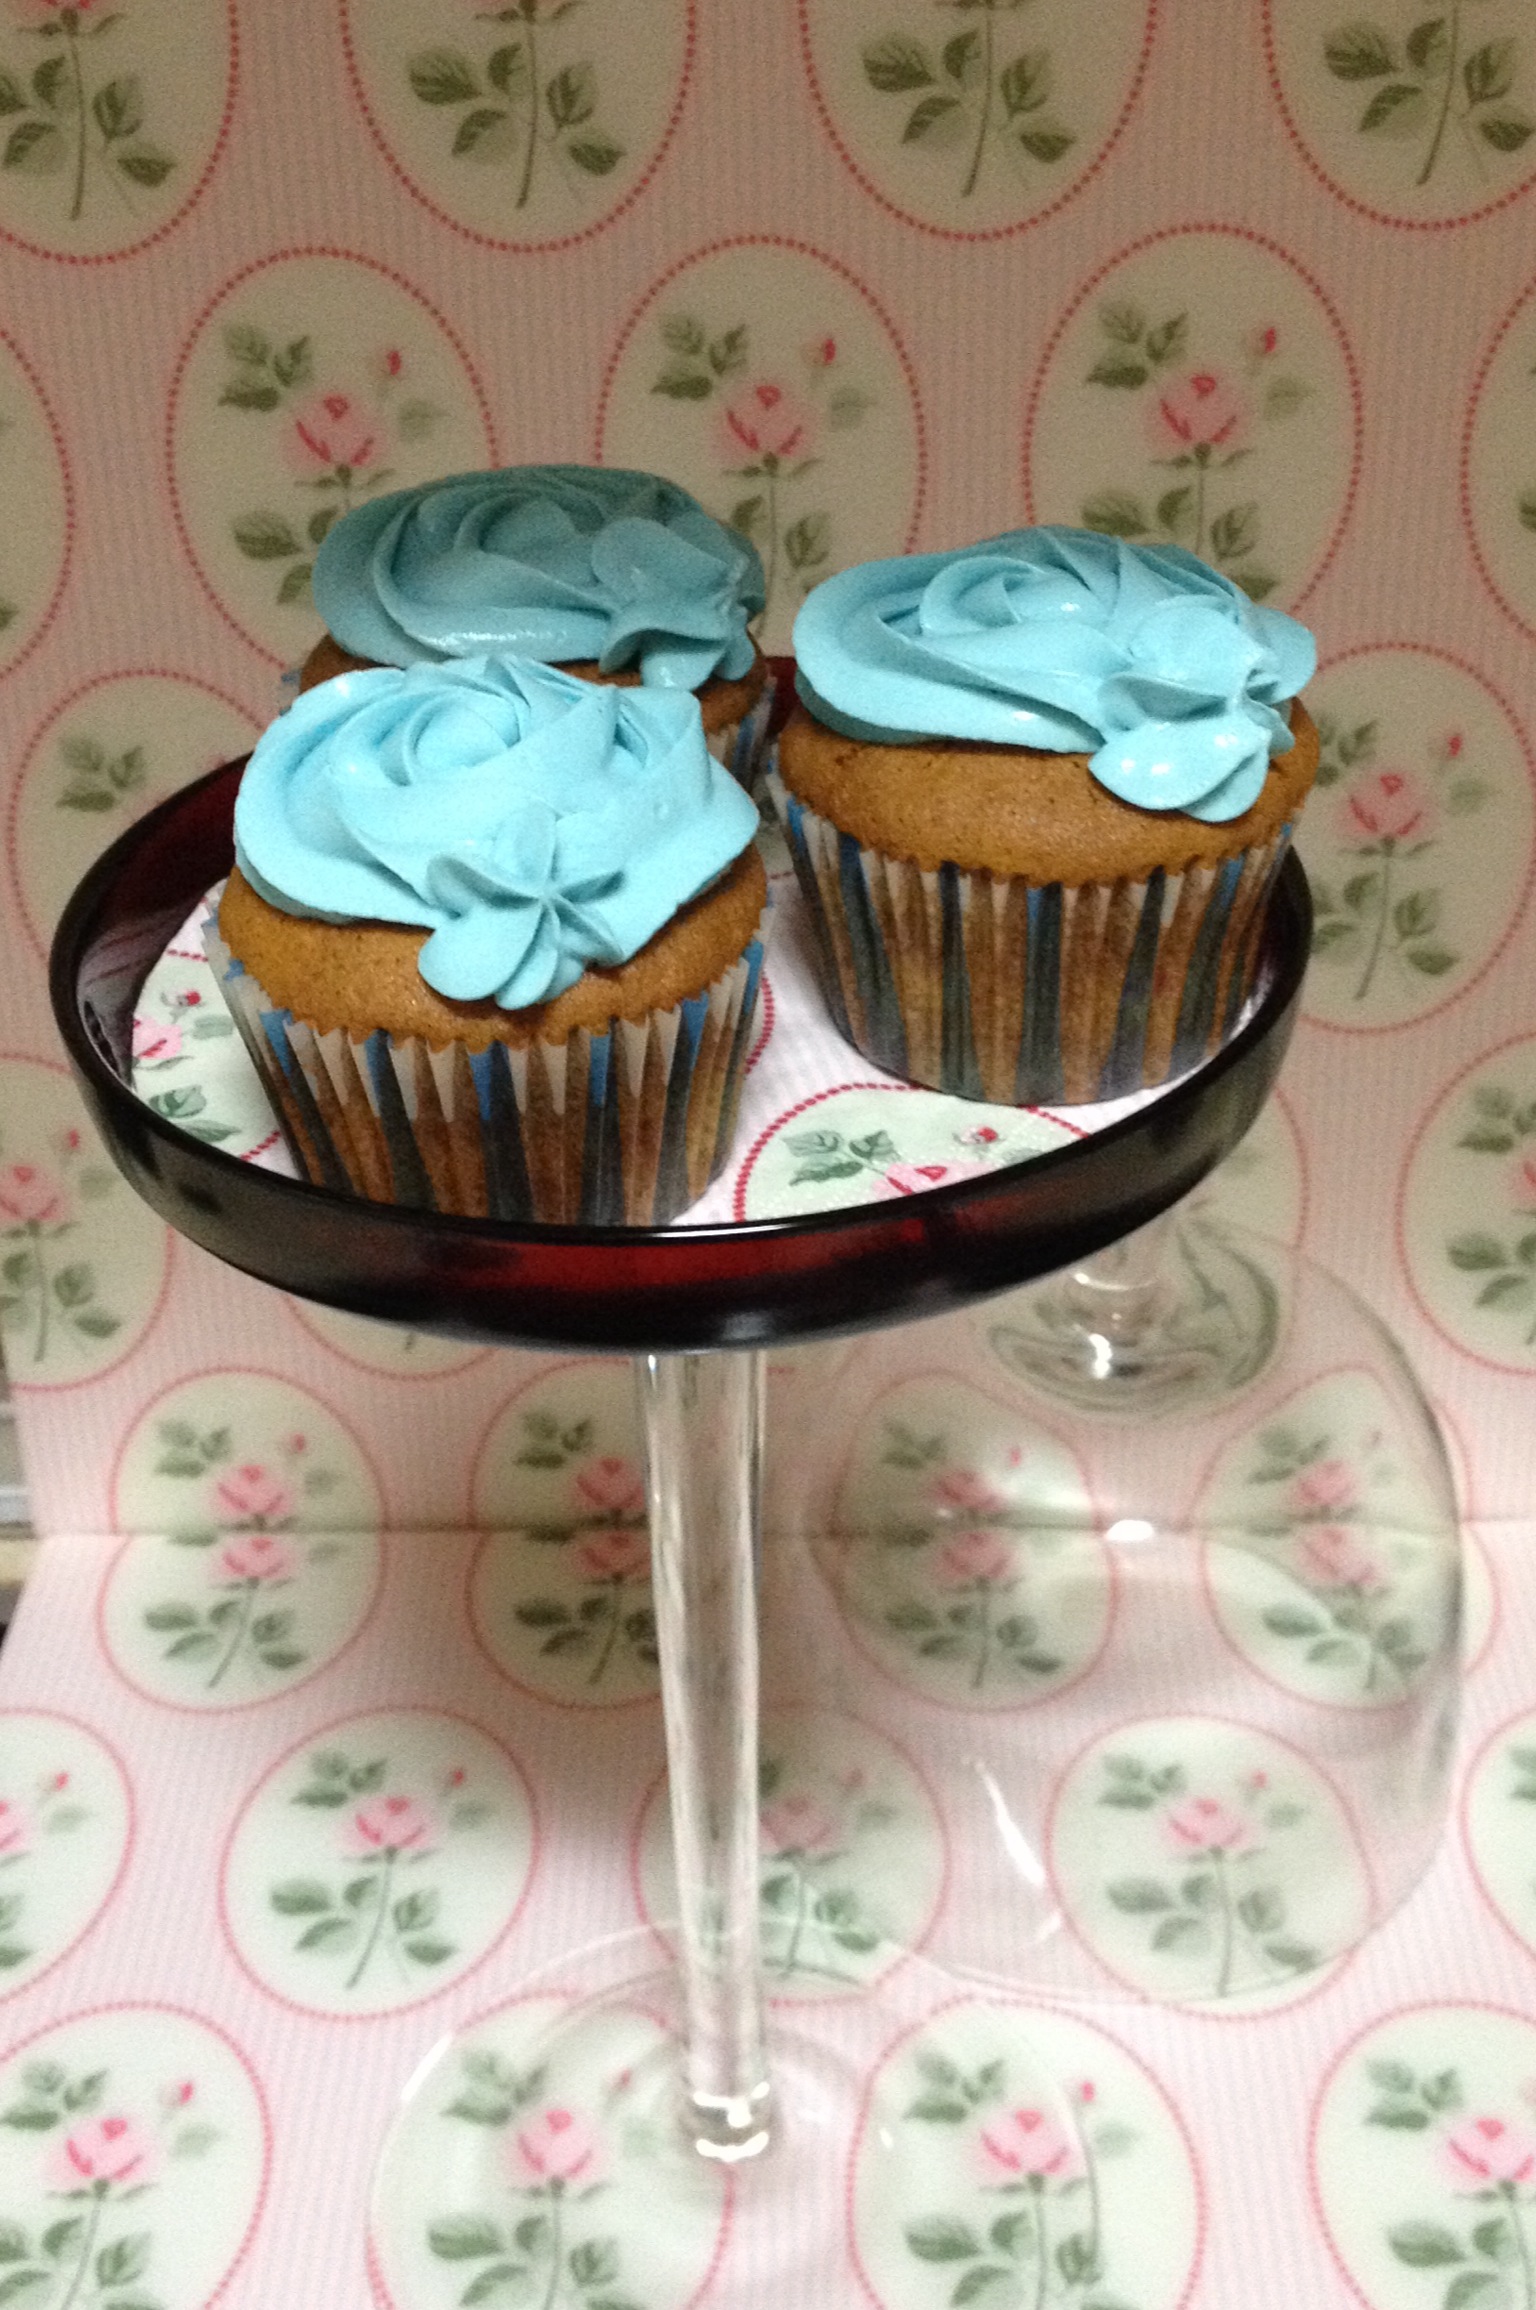
This week I finally passed my theory and driving motorcycle exams and to thank the people who supported me and to mark the occasion, I whipped up some gluten- and (almost) lactose free raspberry cupcakes. What a mouthful! But when allergies are involved, you can never be too careful. There are so many recipes for gluten and/or lactose baking out there, vegan and what not but to be perfectly honest, some of them are not worth the effort, at least from the sound of it. So what I tend to do is use my normal recipes but adjust the ingredients. I think they were a success, especially since I had to run to take a picture of the last one before it was devoured! What do you think?

Aren't the dinosaur sprinkles the best?

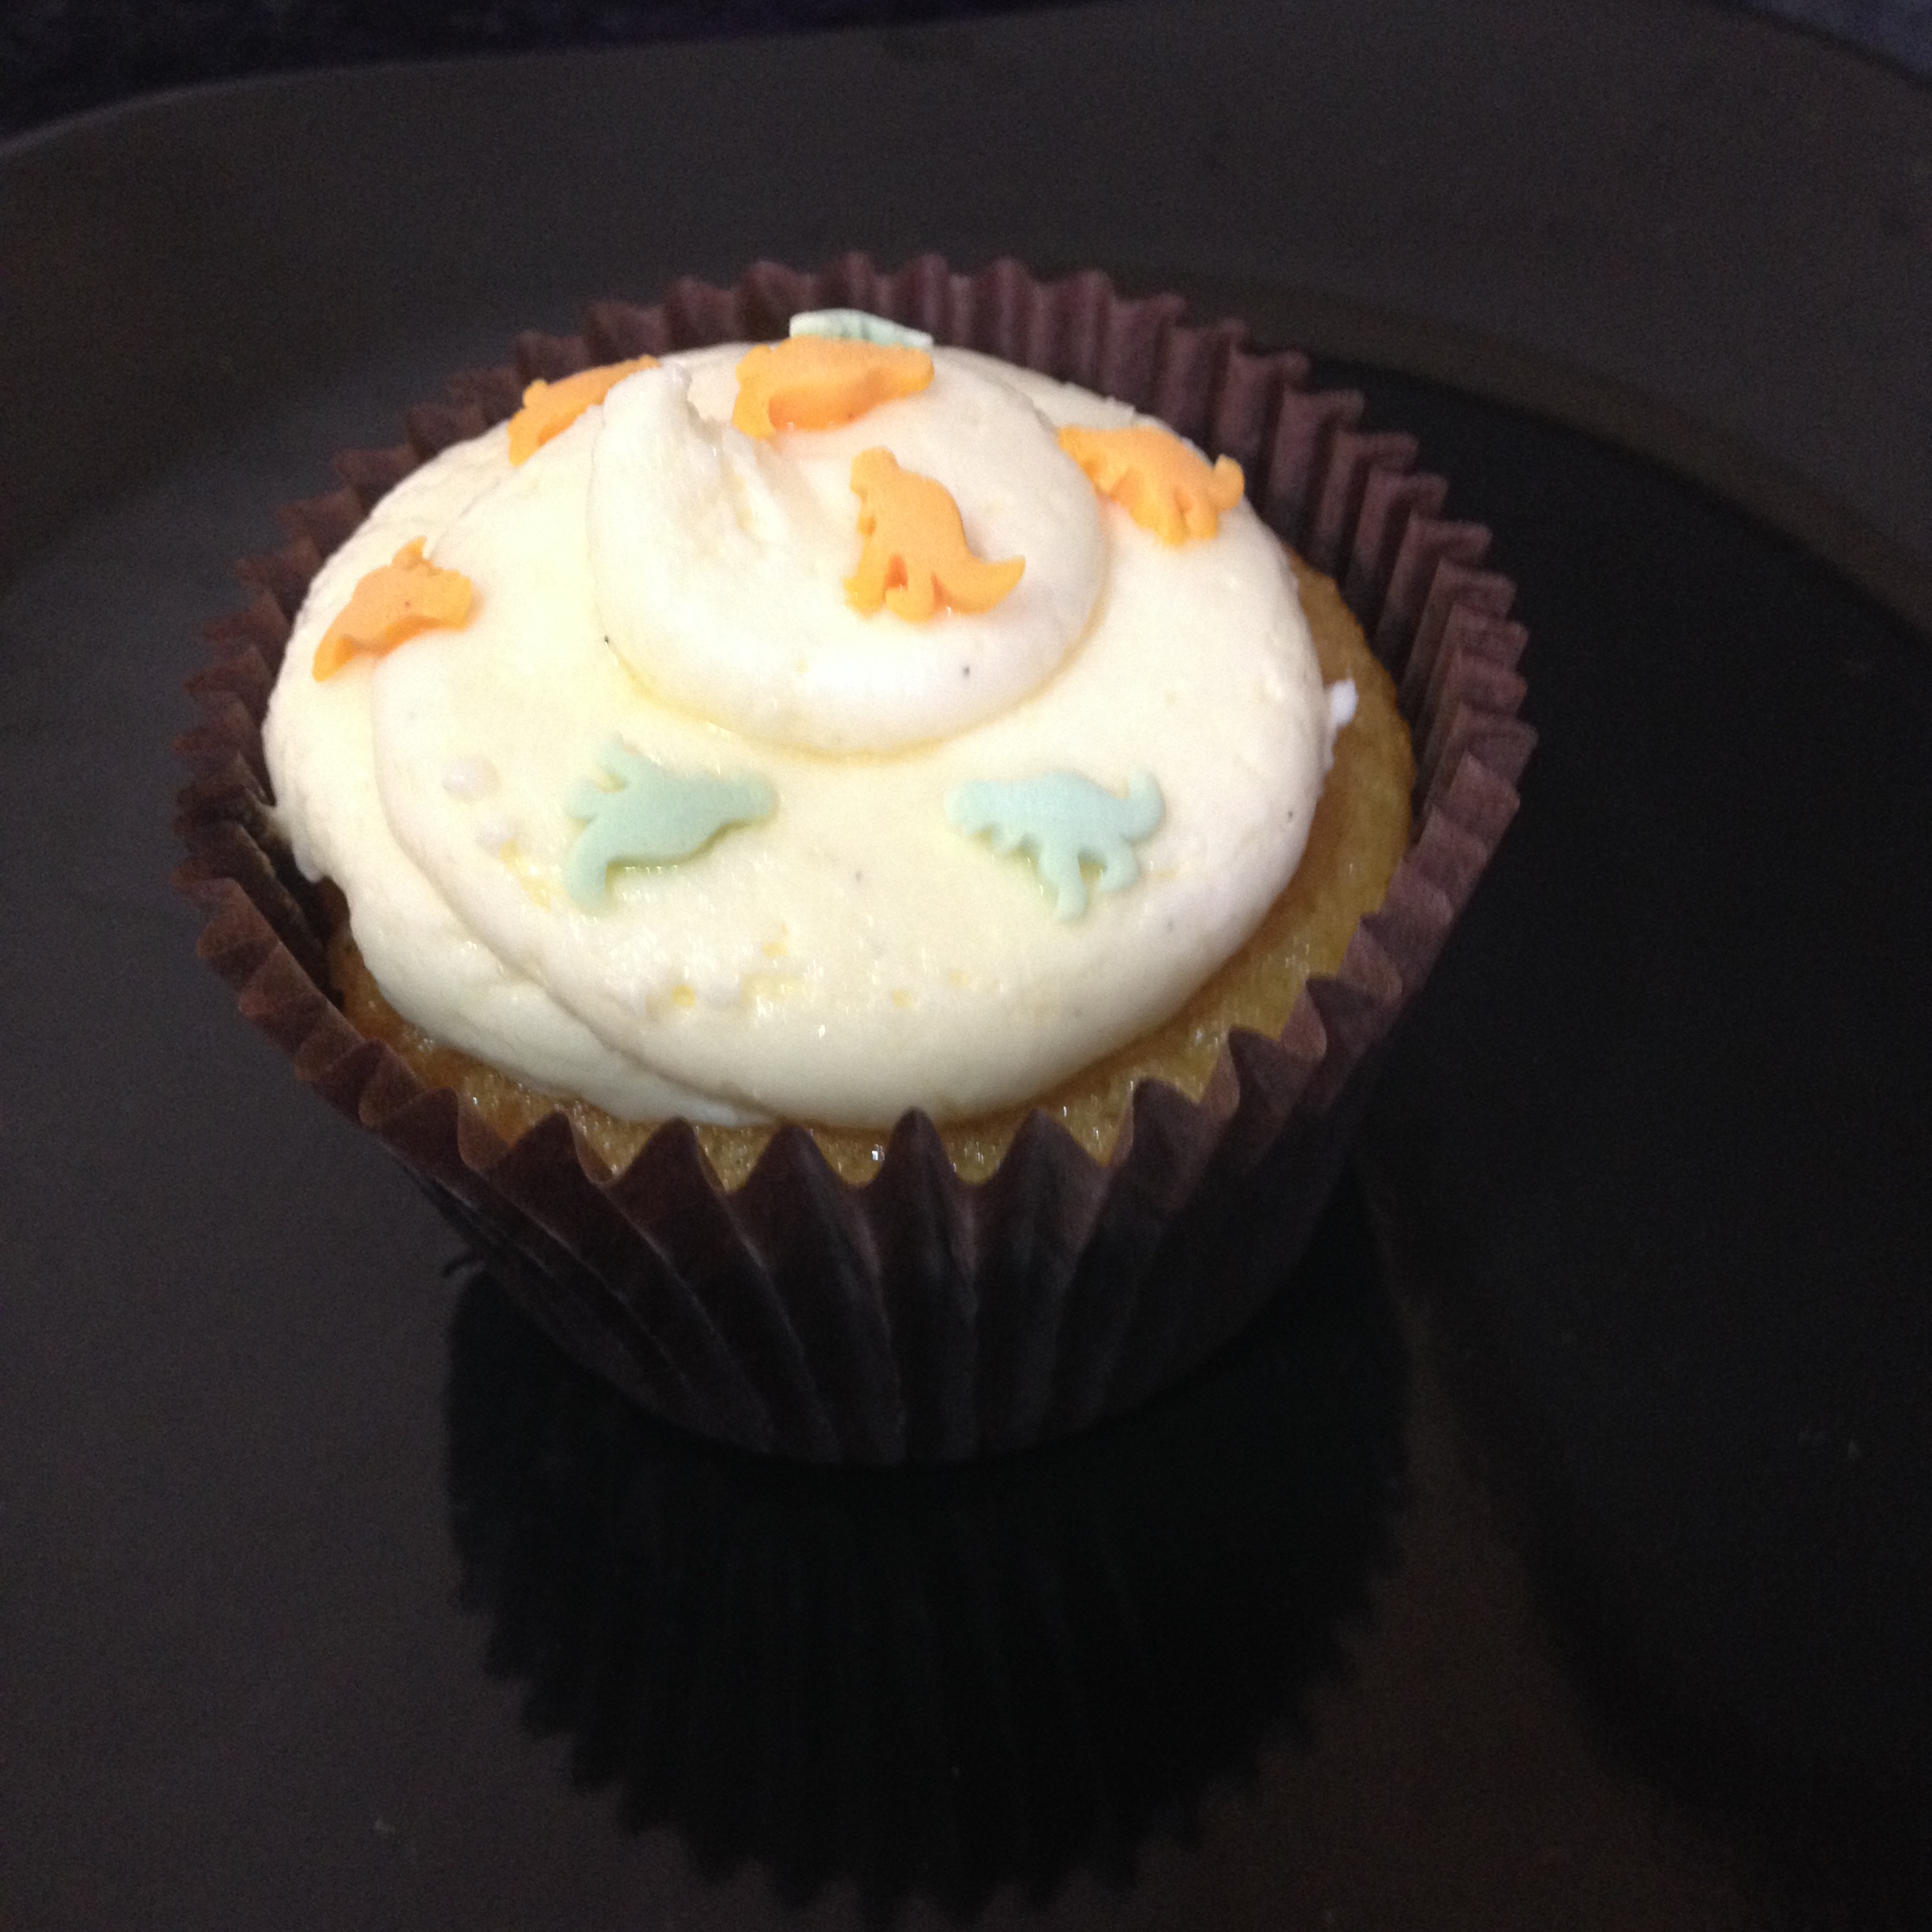
Aren’t the dinosaur sprinkles the best?

I used CupcakeJemma‘s recipe for vanilla cupcakes with her vegan buttercream recipe but replaced ingredients and added my own touch so here we go:

Gluten- and (almost) lactose free raspberry cupcakes
(makes 24)

Ingredients for the cupcakes:
250g self-raising gluten free flour
250g caster sugar
1/2 tsp of bicarbonate soda250g of soft unsalted dairy free soya butter (or spread)
4 large free range eggs
3 tbsp of lactose free milk
1/2 tsp of vanilla extract
100g of chocolate chips (I used normal milk chocolate chip ones – hence it’s ‘almost lactose free’. You can skip those, or substitute for dairy free chocolate)
150g fresh raspberries

Ingredients for the (vegan) frosting:
200g dairy free soya butter (or spread)
660g icing sugar
1/2 tsp vanilla bean paste

Dinosaur (or any other) sprinkles

Method:
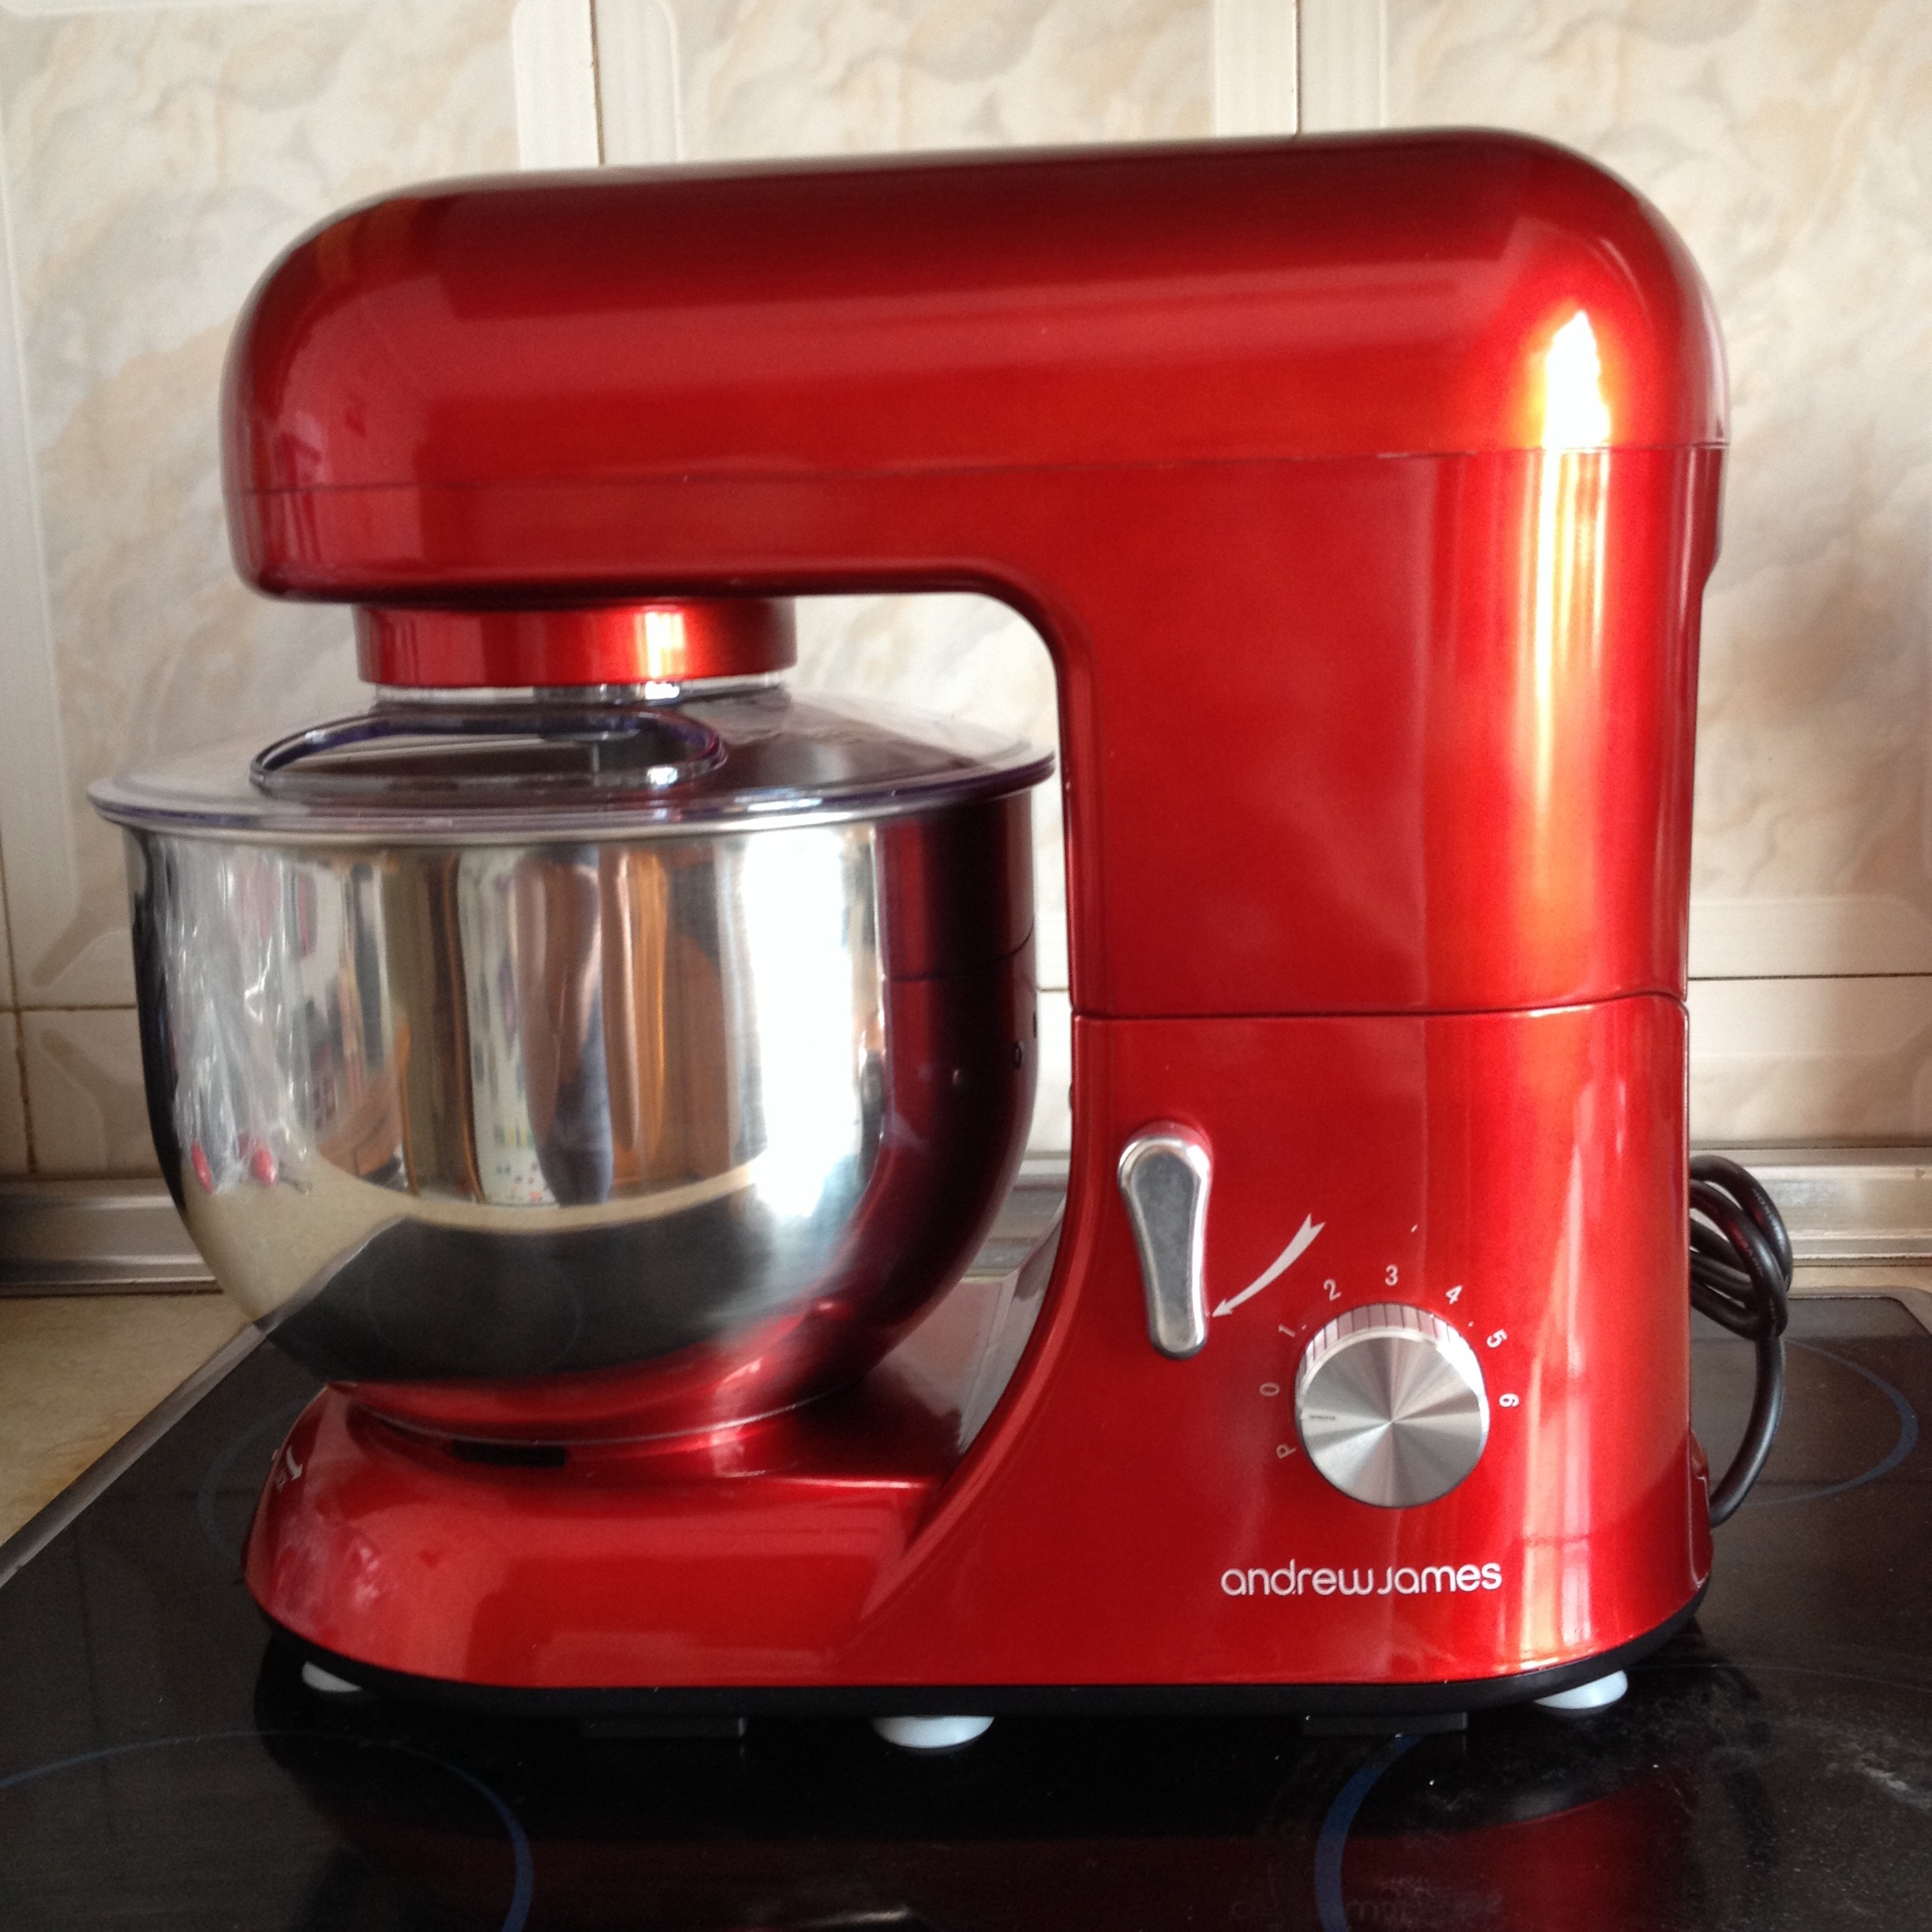
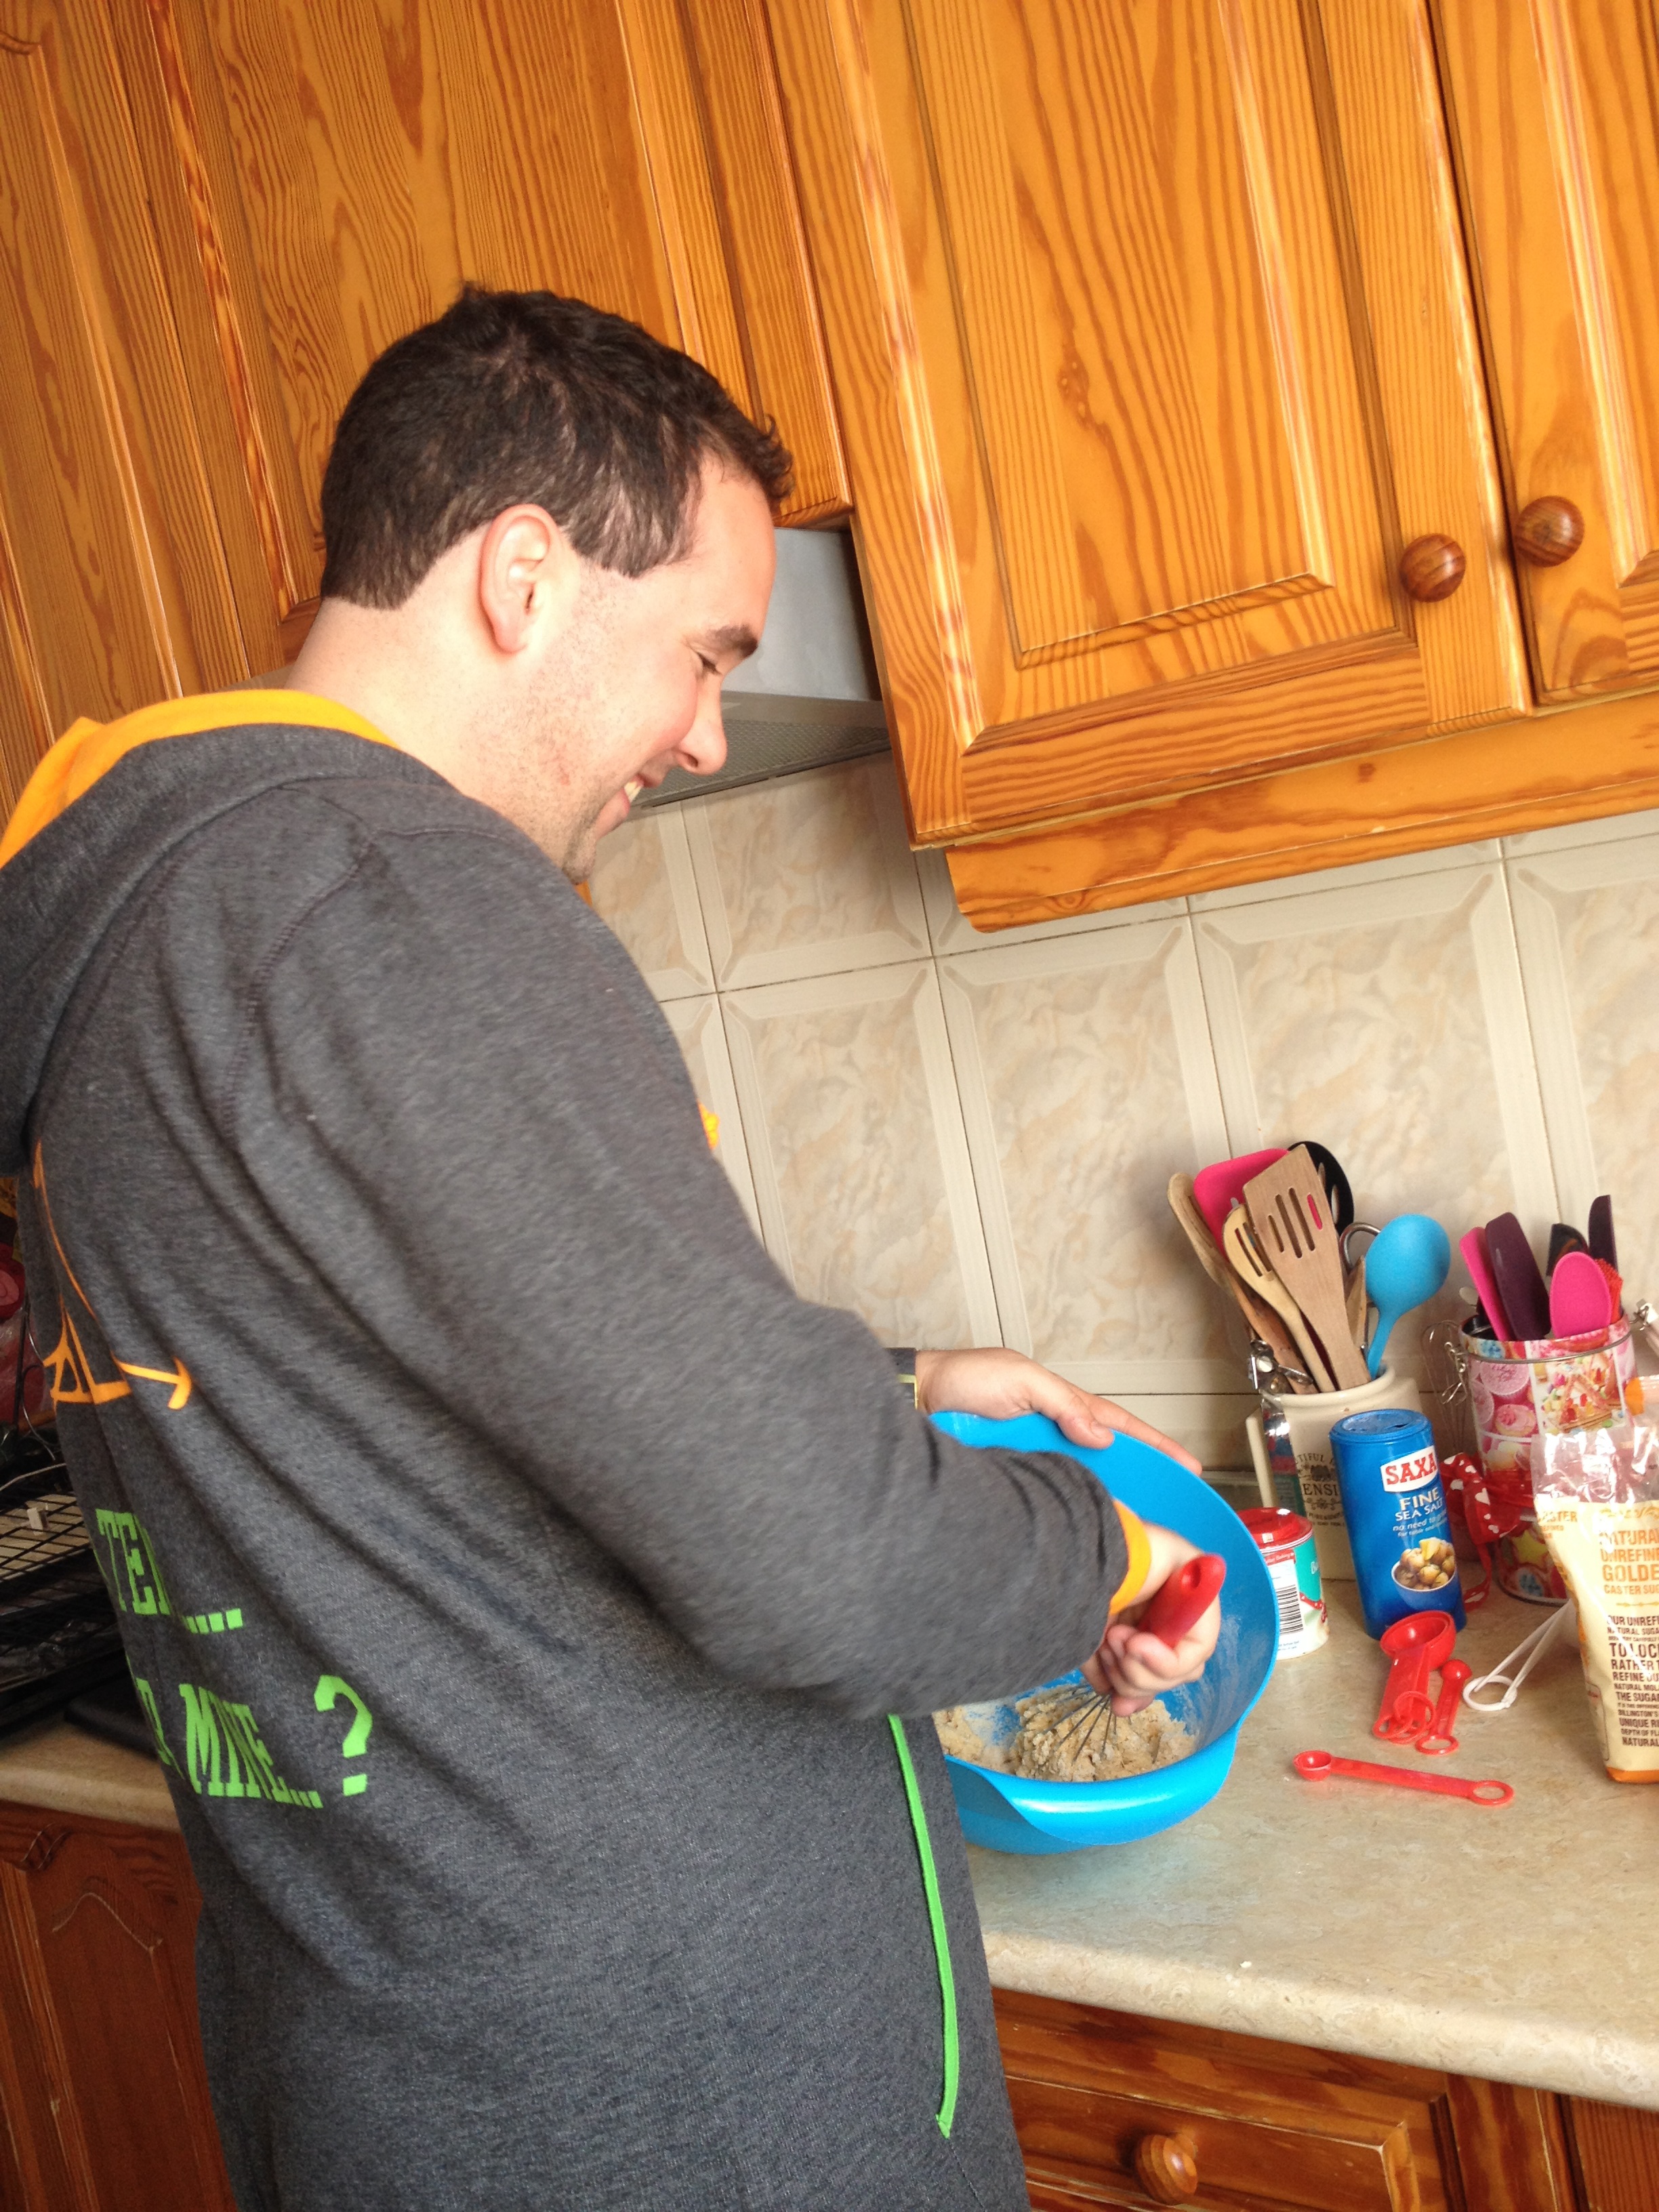
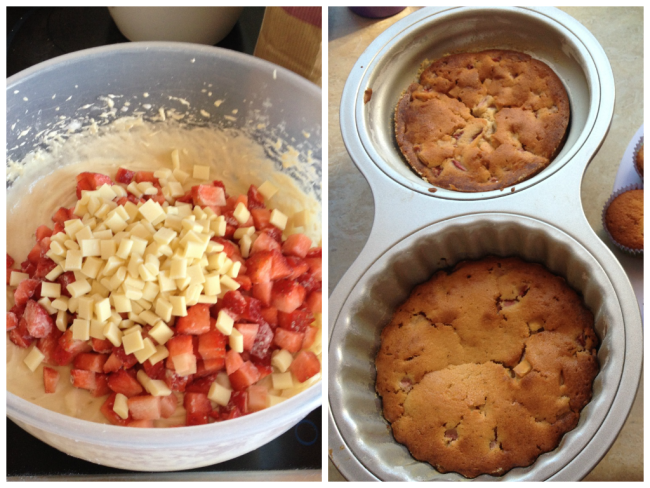
Preheat your oven to 170 degrees Celsius. Sieve the dry ingredients in a large mixing bowl (I have a stand mixer so just use its bowl). Add the butter and eggs and beat for about 60 seconds starting on a low speed and increasing to medium-high. Add milk mixed with vanilla and blast for another half a minute. Scrape everything off the bowl. Gently fold the chocolate chips (if using) and fresh raspberries and fill the paper cases two thirds full. Bale for 20-22 minutes (I baked them 22 as my oven doesn’t have a fan). Leave to cool.
While the cupcakes are baking, make the frosting. Beat the soya butter in the electric mixer until smooth (1-2 minutes). Sift the icing sugar in a separate bowl, then add to the soya butter in 2 batches and beat well after each sugar addition (start on slow speed unless you want it to snow sugar all over your kitchen). Add the vanilla (and a spalsh of water if too stiff) and beat for another few minutes on medium high speed. Once the cupcakes have cooled completely, you can pipe as you wish and add sprinkles. Jemma is showing some pretty cool piping techniques here.

Sharing is caringShare on FacebookTweet about this on TwitterPin on PinterestShare on Google+Share on Tumblr

Sugar free coconut flour muffins [+RECIPE]

Sharing is caringShare on FacebookTweet about this on TwitterPin on PinterestShare on Google+Share on Tumblr

So I have another confession to make. I very very rarely eat what I bake. Believe me, it isn’t the easiest task to bake loads and maintain a low-carb diet. So sometimes I get inspired and bake for myself too.

I had been looking at coconut flour and coconut oil recipes for a while as a healthier substitute to good old flour and butte but wasn’t able to get my hands on coconut flour around here. And while I was in Vienna last week I had no chance to visit any awesome bakeries but brought back a whole kilo of coconut flour – happy days!

I chose an easy recipe for sugar free muffins which involved coconut flour and made a test batch last night. Kitchen smelled fab but… They looked nothing like the ones on the picture… See here for yourselves and compare to mine:

My sugar free, coconut oil, coconut flour and fresh cherry muffin

My sugar free, coconut oil, coconut flour and fresh cherry muffin

They did taste nice, but didn’t rise as much as expected and they were a tad too sweet for me. This could be because I changed a few things from the original recipe: I didn’t wait for the eggs to warm up completely; I used powdered Stevia (maybe the liquid sweetener works better for consistency); I replaced the melted butter for coconut oil – also not sure if this affected its fluffiness. And also I used cherries which probably have a higher water content than raspberries and blueberries. My experiments with coconut flour continue till I find the perfect recipes!

You can find the recipe I used on the link above but I will type it out for you here too with the changes I made. Please do shar your results if you decide to make it!

Sugar free, coconut oil, coconut flour and fresh cherry muffins
(makes 6)

Ingredients

  • 3 eggs (room temperature – important)
  • 1/3 cup coconut flour
  • ¼ cup coconut oil
  • ½ teaspoon vanilla
  • ¼ teaspoon salt
  • ¼ cup powdered Stevia (or a little less if you like me don’t like overly sweet cakes)
  • ½ teaspoon baking powder
  • 2-5 Tablespoons water (see below)
  • ½ cup pitted and chopped cherries


Preparation

Heat oven to 180° C. Line a muffin tin with 6 muffin cases – before that add a sprinkle of rice under the cases  in the tin (this will ensure that the cases don’t get too wet/soggy as it allows for air under).

1) Whisk the eggs until whites and yolks are well-mixed. Add in the coconut oil little by little while continuing to whisk. Add salt and vanilla and mix until combined. .

2) Mix the remaining dry ingredients — coconut flour, baking powder, and sweetener.

3) Mix the dry and wet ingredients together. Now whisk in water, one tablespoon at a time. The coconut flour will absorb the liquid from the wet ingredients like crazy. You want to get it to a consistency that will hold up the cherries, but not be too thick.

4) Mix the cherries with a spoon of the flour so they don’t fall to the bottom. Gently add them to the batter and divide among 6 muffin cases. Bake for about 15 to 18 minutes, or until just turning golden on top. I had to bake mine for about 22 mins as the cherries added extra moisture.

Sharing is caringShare on FacebookTweet about this on TwitterPin on PinterestShare on Google+Share on Tumblr

BAKING FOR A GOOD CAUSE! [+RECIPE]

Sharing is caringShare on FacebookTweet about this on TwitterPin on PinterestShare on Google+Share on Tumblr

Last weekend was full of baking and experimenting! And it was great (until the moment when my lower back decided I have abused it enough and left me rather crippled for most of Sunday but that was OK as I did really need a break)!!!

Our Scout group was holding a fundraising cake stall on Saturday morning so I prepared around 3 dozen of individual cookie bags and another 3 dozen of vanilla cupcakes with rainbow frosting. Ok, rainbow frosting was the plan, at least. What I didn’t take into account is that a) temperatures have been rather high around here for early summer (we’re talking 28 degrees Celsius) and b) no air-con in the kitchen. So the buttercream melted from the time I mixed it till the moment I spooned it into the piping bags. So they looked more psychedelic than rainbow but… it happens! I am still pretty proud as we were able to collect plenty of money for the Scout group. And don’t they still look pretty?

bake sale cookies and cupcakes

That same evening we were holding another fundraising event in a local wine shop & tasting room and I had set my mind on making wine-spiked cupcakes seeing as it was going to be adult only. The guys from My Wines had been kind enough to provide me with a bottle of mocha coffee flavoured wine – yum!

The cupcakes came out beautifully moist and rich and I topped them up with my favorite Hummingbird Bakery cream cheese frosting and little wine bottles made of fondant. What a treat after drinking plenty of vino! Recipe below.

red wine cupcakes

Red Wine Cupcakes with Cream Cheese Frosting (makes approx. 24)

Recipe taken from: Butter me up, Brooklyn (aside from frosting)

For the cupcakes:

  • 260g plain flour
  • 100g unsweetened cocoa powder
  • 1 tsp baking powder
  • 1/2 tsp cinnamon
  • 1/2 tsp salt
  • 1/4 tsp baking powder
  • 170g softened butter
  • 300g brown sugar
  • 100g caster sugar
  • 3 eggs at room temperature
  • 355ml red wine (if you use a chocolate wine, reduce the sugar, otherwise you risk them being too sweet)
  • 2 tsp vanilla
  • red food coloring (optional)


For the frosting (by the Hummingbird Bakery):

  • 600g icing sugar, sifted (I normally put less as I don’t like the icing too sweet)
  • 100g unsalted butter, at room temperature
  • 250g cream cheese, cold


To make the cupcakes:
In a medium bowl whisk together flour, cocoa, baking powder, cinnamon, salt and baking soda. In a large bowl (I use my standing mixer’s one) beat butter and both sugars together until smooth (if using a standing mixer, use the paddle attachment). Add eggs and beat to combine, then add red wine and vanilla and beat until incorporated. At this stage, it will look weird but don’t worry, the dry ingredients will make it smooth again. Add these in several additions, being careful not to over mix. Divide the batter evenly among the prepared cupcake liners until they are 2/3 full.

Bake for 20 to 22 minutes, or until a tester inserted into the center of cupcakes comes out clean. Let the cupcakes cool for five minutes or so in the tin, then turn them out onto a wire rack to cool completely.


To make the frosting:
Beat the icing sugar and butter together in a freestanding electric mixer with a paddle attachment (or use a handheld electric whisk) on medium-slow speed until the mixture comes together and is well mixed (it will look like crumbs).

Add the cream cheese in one go and beat until it is completely incorporated. Turn the mixer up to medium-high speed. Continue beating until the frosting is light and fluffy, at least 5 mins. Careful not to overbeat as it can turn runny quite quickly.

Sharing is caringShare on FacebookTweet about this on TwitterPin on PinterestShare on Google+Share on Tumblr

HAPPY DAYS!

Sharing is caringShare on FacebookTweet about this on TwitterPin on PinterestShare on Google+Share on Tumblr

Carrying cupcakes around is a messy and complicated affair, let me tell you this. I have been dreading this coming weekend when the Scout Group I am a leader for is hosting a fundraising cake stall, as well as a fundraising wine night for which I am baking cupcakes with chocolate wine (yum!).

But today I nipped into a local pound shop to check out if they had any boxes I can use to carry the cupcakes in, and found The Solution to my problem. Just look at this beauty:
pink cupcake caddy
For a few weeks now I had been eyeing this cupcake caddy on Amazon. But while we are considered UK for anything else, delivery to Gib is not the easiest things of all. It takes ages, costs a fortune or is not possible at all for bulky/heavy objects. I decided not to go through the stand mixer drama again and gave up. So imagine how I felt today when I saw it!!! Insta-buy, obviously.

Cannot wait for Saturday morning to stack all the funfetti cupcakes in it!

Sharing is caringShare on FacebookTweet about this on TwitterPin on PinterestShare on Google+Share on Tumblr

HE’S HERE! HE’S HERE!

Sharing is caringShare on FacebookTweet about this on TwitterPin on PinterestShare on Google+Share on Tumblr

I have some BIG news to share. Are you ready?

Andy has arrived. What a blessing after weeks of delivery (or refusal of delivery) drama. I’m so happy to finally have him home. Here he is, isn’t he just beautiful?

standing mixer

He’s only lived with us for a few days (after having an adventure and travelling to Malaga from Vienna in my suitcase) but I can see how we will be best friends. Not only is he good-looking, but he is a huge help in the kitchen. Welcome home, Andy.

And this is what we did together yesterday over a cup of coffee (quite literally). These Hummingbird Bakery Tiramisu cupcakes:

tiramisu cupcakes

Happy times!

Sharing is caringShare on FacebookTweet about this on TwitterPin on PinterestShare on Google+Share on Tumblr

GLUTEN FREE CUPCAKES AND A SNEAK PEAK!

Sharing is caringShare on FacebookTweet about this on TwitterPin on PinterestShare on Google+Share on Tumblr

Today I have 3 exciting stories to share! 4 actually if we count I finally was able to produce (and reproduce) cream cheese frosting which I was able to pipe! ButI think I will dedicate a separate post to this as it is a huge milestone!

So here are 3 pictures with my 3 stories.

Gluten free cupcakes

gluten free cupcakes

I have been wanting to try gluten free baking for a while. This Saturday I was finally brave enough to attempt it. I used my favorite white chocolate and strwaberry cupcake recipe and simply replaced the plain flour with gluten free one (it was made of corn). My baking powder is anyways gluten free and the rest of the ingredients are safe. I was very nervous because I had never really looked into gluten free baking and wasn’t sure if just substituting the flour would give me the desired result or something else had to be done. But I followed my gut and ended up with these delicious beauties. Success!

An extra hand in the kitchen

help in the kitchen

So my other half has been saying he’d like to me to teach him to bake. At first I thought he’s joking but he asked me again this week so today, he baked his first ever batch of cupcakes and I only helped chop the strawberries, he did everything else himself. They came out amazing! So proud of him!

A photo shoot sneak peak

cupcake photosoot

In my last post I talked about my photography drama. But then awesome Whitney came along and said she’s itching to take photos of food (she prefers it to taking photos of people – aren’t I lucky to have such friends???), and I happened to have some cupcakes and we ended up arranging a mini photo shoot in the kitchen this afternoon while drinking coffee and chatting. She is working on the photos and I haven’t seen them even on the camera so I am totally excited to see them soon and share a few here!

On a different note, I am off to Vienna tomorrow for a week so please bare with me. I will be back soon enough!

Sharing is caringShare on FacebookTweet about this on TwitterPin on PinterestShare on Google+Share on Tumblr

MY FIRST CUPCAKE ORDER – EEEK!

Sharing is caringShare on FacebookTweet about this on TwitterPin on PinterestShare on Google+Share on Tumblr

Something very exciting happened to me last week! Until now baking was just a very enjoyable hobby of mine but I happened to receive my first cupcake order!!! At first I nearly said no: It was rather last minute, I had been already overly busy and it was for minion cupcakes – and I’d never attempted such fancy designs!

But as it was for a friend, I couldn’t say no. So there I was, painting little minion faces until 1am on a Thursday night… I think the result was pretty good but have a look yourselves:

minion cupcakes

Could this be the first of many orders? I think only time will tell.

Sharing is caringShare on FacebookTweet about this on TwitterPin on PinterestShare on Google+Share on Tumblr

EASY PEANUT BUTTER AND NUTELLA BROWNIES [+RECIPE]

Sharing is caringShare on FacebookTweet about this on TwitterPin on PinterestShare on Google+Share on Tumblr

After a stressful day at work and an intense gym class, all I could do to relax was bake. I didn’t fancy cupcakes or cake though, neither could I really be bothered with biscuits, plus going to the supermarket for extra ingredients seemed like such a mission. But I came across a recipe for a 4-ingredient Nutella brownie. YUM!

I must admit, I did add a 5th ingredient (yummy peanut butter) and the brownies didn’t come out as sweet as they should but I learned from my mistakes so I will share the recipe so you can have fresh brownies with minimum effort in minimum time.

peanut butter and Nutella brownies

Easy peanut butter and Nutella brownies

Makes 12 cupcake-sized brownies

Ingredients:

  • 1 cup of Nutella (I didn’t have any and used baking chocolate spread but it turned out not to be sweet enough so I recommend using Nutella or adding some extra sugar)
  • 1,5 tsp peanut butter (you can omit it as it wasn’t in the original recipe)
  • 2 eggs
  • 1 cup of flour
  • A handful of mixed chopped nuts or walnuts to sprinkle on top

Method:
Preheat oven to 180 degrees Celsius. In a mixing bowl, whisk the Nutella, peanut butter and eggs. If your Nutella (or chocolate spread) is too firm, warm up in the microwave for a few seconds. Add the flour and mix well. Line a cupcake tin with cupcake cases (or if you have an oil spray, spray the tin and don’t use the cases) and fill with a generous teaspoon of the mixture. Sprinkle with the chopped nuts. Bake for 8-12 minutes or until they start cracking lightly and the tops have set. Don’t over-bake as the brownies will be too dry (forget that a toothpick should come out clean – in the case of brownies it should come sticky!).

Leave to cool for a while and enjoy!

Sharing is caringShare on FacebookTweet about this on TwitterPin on PinterestShare on Google+Share on Tumblr

FINALLY A DECORATING COURSE

Sharing is caringShare on FacebookTweet about this on TwitterPin on PinterestShare on Google+Share on Tumblr

So this week I finally did a celebration cake and a cupcake decorating class. While I am not 100% happy with the way the celebration cake came out (fondant can be tricky), my cupcakes turned out absolutely adorable, if I may say so. Without further explanations, here they are:

cupcakes decoration

My only concern is that the newly learned techniques might put a stop to my cream cheese frosting obsession, at least for a while. Buttercream is unfortunately the best for piping this way so this weekend I have had to switch already to buttercream.

Stay tuned for pictures of the 24 courgette and chocolate cupcakes I need to decorate tonight. Yes. On a Friday night. No. I am not crazy. K?

Sharing is caringShare on FacebookTweet about this on TwitterPin on PinterestShare on Google+Share on Tumblr

STRAWBERRY SEASON IS UPON US [+RECIPE]

Sharing is caringShare on FacebookTweet about this on TwitterPin on PinterestShare on Google+Share on Tumblr

Strawberries have started popping up at the supermarket – joy! Especially for the converted cake eater I share most of my life with (besides when I am in the kitchen when he knows well he is to leave me alone!). Now, when we first started dating, he would never eat cake but would demolish any quantity of chocolate chip cookies you are stupid enough to give him access to. Whether the smells coming out of the oven have enticed him over time or my constant requests to try this and that and tell me if he likes it have changed his mind, I don’t know. But recently he has started voluntarily eating cake. Not all types, of course, but as he says: baby steps.

Seeing as it was his birthday yesterday (and his work colleagues had ‘gently’ hinted they are expecting cake, those greedy chops!), on Saturday I asked him what he’d like me to bake it. It didn’t even take 3 seconds for him to decide he wants his favorite strawberry and white chocolate cupcakes. I owe the recipe for the base to the Marks & Spencers book Sensational cupcakes. The addition of the strawberries and chocolate was a lucky hunch which has proven to be a success. I did two batches of the batter – one I transformed into a Giant, and the other turned into actual cupcakes. So behold, first a picture of the finished Giant which birthday boy took to work, and then the recipe!

giant strawberries and white chocolate cupcake

Light strawberries and white chocolate cupcakes with cream cheese frosting

For the batter (makes either 1 Giant or 24 cupcakes):

  • 60 ml whole milk
  • 4 large egg whites
  • 1 teaspoon vanilla extract
  • 225 g plain flour
  • 200 g caster sugar
  • 1 teaspoon baking powder
  • 1/2 teaspoon salt
  • 1 teaspoon ground cardamom (or if you, like me, are never able to find it, skip it)
  • 190 g unsalted butter, softened (or if you, like me, forget to leave it at room temperature, melt it slightly in the microwave)
  • + approx. 300 g fresh strawberries (or cherries work as well but are more of a pain to pit) & 100 g white chocolate chip cookies

For the cream cheese frosting:

  • 200-250 g of full-fat Philadelphia cheese (NB: At room temperature. The longer it sits out of the fridge, the better. Not 2 weeks though, please!)
  • 40 g butter
  • Icing sugar to taste (I don’t like overly sweet frosting so normally put around 100 g but up to you)
  • 1 teaspoon of vanilla extract

Cupcakes:

Preheat oven to 170 degrees Celsius (fan oven: 150 degrees) or gas mark 3 1/2.

Mix the milk, egg whites and vanilla together in a medium sized bowl till fluffy and set aside. In a large bowl, mix the dry ingredients to blend. Add the butter to the dry ingredients (I prefer to melt it before as it makes it easier, especially in winter when room temperature is significantly lower) and half the beaten eggs. Mix slowly till everything is moist, then beat vigorously for 1 minute. Add the remaining eggs and beat again. Add chocolate and strawberries. TIP: Gently cover the chopped strawberries with a little flour – this will keep them from sinking to the bottom. Spoon the batter into cupcake cases which you have put in your cupcake tray (or fill kind of equally in a Giant cupcake mold which you have first buttered then sprinkled with flour) – you would need to fill the cases 3/4 as these won’t rise as much as others. Bake cupcakes 25-30 mins or Giant cupcake about an hour or even sligthly more, till they are golden and a skewer comes out clean.

strawberries and white chocolate cake

Frosting:

While the cakes are in the oven, beat the cream cheese on a high speed till smooth yet fluffy (2-3 minutes). Add vanilla extract and beat for a bit again. Then put the mixer speed down and slowly add icing sugar until the mixture has the proper frosting consistency (or you think one more sugar dust and you risk diabetes). Leave in fridge for at least 40 mins to set.

Once the cakes have cooled down, take the frosting out of the fridge and decorate. Voilà!

Sharing is caringShare on FacebookTweet about this on TwitterPin on PinterestShare on Google+Share on Tumblr